

When starting VALORANT, shots can miss even when the crosshair seemed on target. Before repeatedly changing sensitivity or weapons, learn the sequence sensitivity → stopping → head-level placement → peeking.
Movement makes accurate rifle shooting substantially harder. Fast mouse aim cannot reliably place shots where intended while the character is still moving.
Start with stopping before firing and preparing the crosshair where enemies are likely to appear rather than chasing faster flicks first.
This guide is for PC mouse-and-keyboard beginners. It connects sensitivity settings, stopping, crosshair placement, and basic peeking drills.
Beginner Practice Order
| Step | Drill | Check |
|---|---|---|
| 1 | Mouse sensitivity | Repeated overshoots or undershoots? |
| 2 | Stopping | Does the shot follow the stop? |
| 3 | Head-level placement | Is the crosshair at the likely head position? |
| 4 | Peeking | Do you pre-aim before leaving cover? |
| 5 | Match application | Do the fundamentals survive pressure? |
You need not begin by chasing Range scores or bot counts.
Even with a missed bot, stopping, aiming at head level, and then firing repeats the intended action. That is a useful practice result.
Sensitivity: Read DPI and In-Game Sensitivity Together
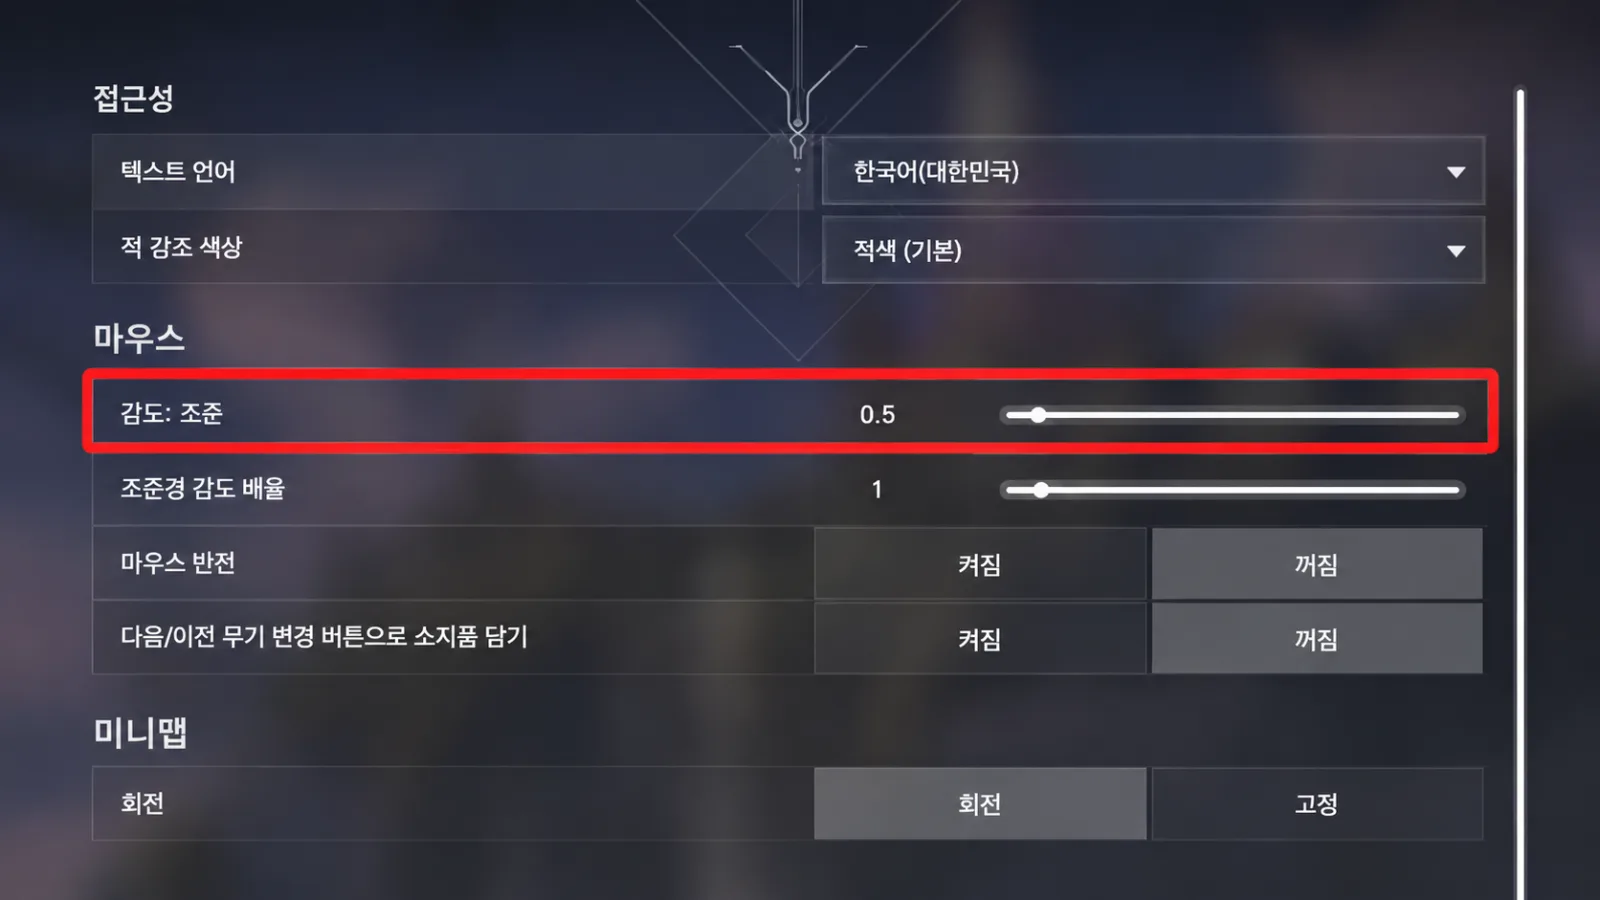
Players often compare only the in-game number.
Different mouse DPI values produce different turning speeds even with identical in-game sensitivity.
A common comparison value is eDPI.
eDPI = mouse DPI × VALORANT in-game sensitivity
These examples have the same calculated eDPI:
| DPI | In-Game Sensitivity | eDPI |
|---|---|---|
| 800 | 0.3 | 240 |
| 400 | 0.6 | 240 |
One possible starting example is 800 DPI and 0.3 in-game, then adjust to your own movement and space.
That value is not mandatory.
Repeated overshoots can justify a small decrease. Persistent undershoots or uncomfortable large turns can justify a small increase.
A Simple Sensitivity Check
Choose a fixed point on a Range wall or pillar and repeatedly aim at it.
-
Pick the target point.
-
Look away.
-
Move the crosshair quickly toward it.
-
Check overshoot or undershoot.
-
Make a small change and repeat.
One attempt is not enough evidence.
Changing settings after every miss makes adaptation difficult. Once a value feels reasonably comfortable, keep it long enough to compare consistently.
Choose Phantom or Vandal for the Initial Drills

Instead of constantly changing weapons, practice repeatedly with either Phantom or Vandal.
Both are main rifles, with different characteristics.
| Weapon | Relevant Characteristic |
|---|---|
| Phantom | Relatively manageable sustained fire and recoil control |
| Vandal | Potential for a one-shot headshot at any distance against a normal full-health target, without penetration or damage-reduction effects |
| Both | Suitable for stopping and head-level placement drills |
Starting with Phantom is reasonable; if Vandal already feels comfortable, you do not need to switch.
More than the weapon choice, prioritize a simple, observable shooting action.
Begin with one shot or a short two- to three-round burst rather than holding full auto.
Extended spraying adds recoil control, making it harder to distinguish movement, aim, and recoil errors.
Stopping Before Shooting: What the Korean Guide Calls ‘Braking’
The term means ending movement so accurate fire is possible.
Rifles lose accuracy while moving.
Instead of firing immediately on sight, learn the sequence:
Move → stop → aim → fire
Complex key inputs are not needed to begin.
Release the strafe key, let the character stop, then shoot.
Basic Stopping Drill
With Phantom or Vandal in the Range:
-
Strafe using A or D.
-
Release the movement key.
-
After stopping, fire one or two shots at the wall.
-
Move in the other direction.
-
Stop and fire again.
A small pause between movement and shooting is fine at first.
As the sequence becomes familiar, reduce unnecessary delay while preserving the stop.
The initial objective is fewer shots fired while still moving, not maximum speed.
Use the Shooting Error Graph as a Check
The game’s shooting-related graph settings can help inspect your firing state.
Compare moving shots with stopped shots to support the drill.
The graph is an aid, not the whole diagnosis.
A clean movement-error result does not mean the crosshair was centered on the enemy’s head.
In matches, check stopping and aim placement together.
Crosshair Placement: Stop Looking at the Floor
One useful beginner habit is preparing at expected head height.
This means the height where the opponent’s head is likely to appear.
A low crosshair creates a longer sequence:
See enemy → move crosshair upward → center head → shoot
Prepared placement shortens it:
See enemy → make a small correction → shoot
Pre-aiming reduces the adjustment needed after contact.
Head-Level Placement Drill
Spawn several bots and move between head positions before shooting.
Watch whether switches introduce large vertical drift.
Then connect:
Strafe → stop → confirm head height → fire one or two shots
Begin slowly enough to repeat the intended action.
Head Height Changes with Terrain
Do not picture it as one fixed screen line.
Flat ground gives similar references, but stairs, boxes, and slopes change the head’s position.
When learning a map, remember common enemy holds and the corresponding head height alongside the routes.
Those references help you prepare likely contact points naturally.
Peeking: Aim Before You Leave the Wall
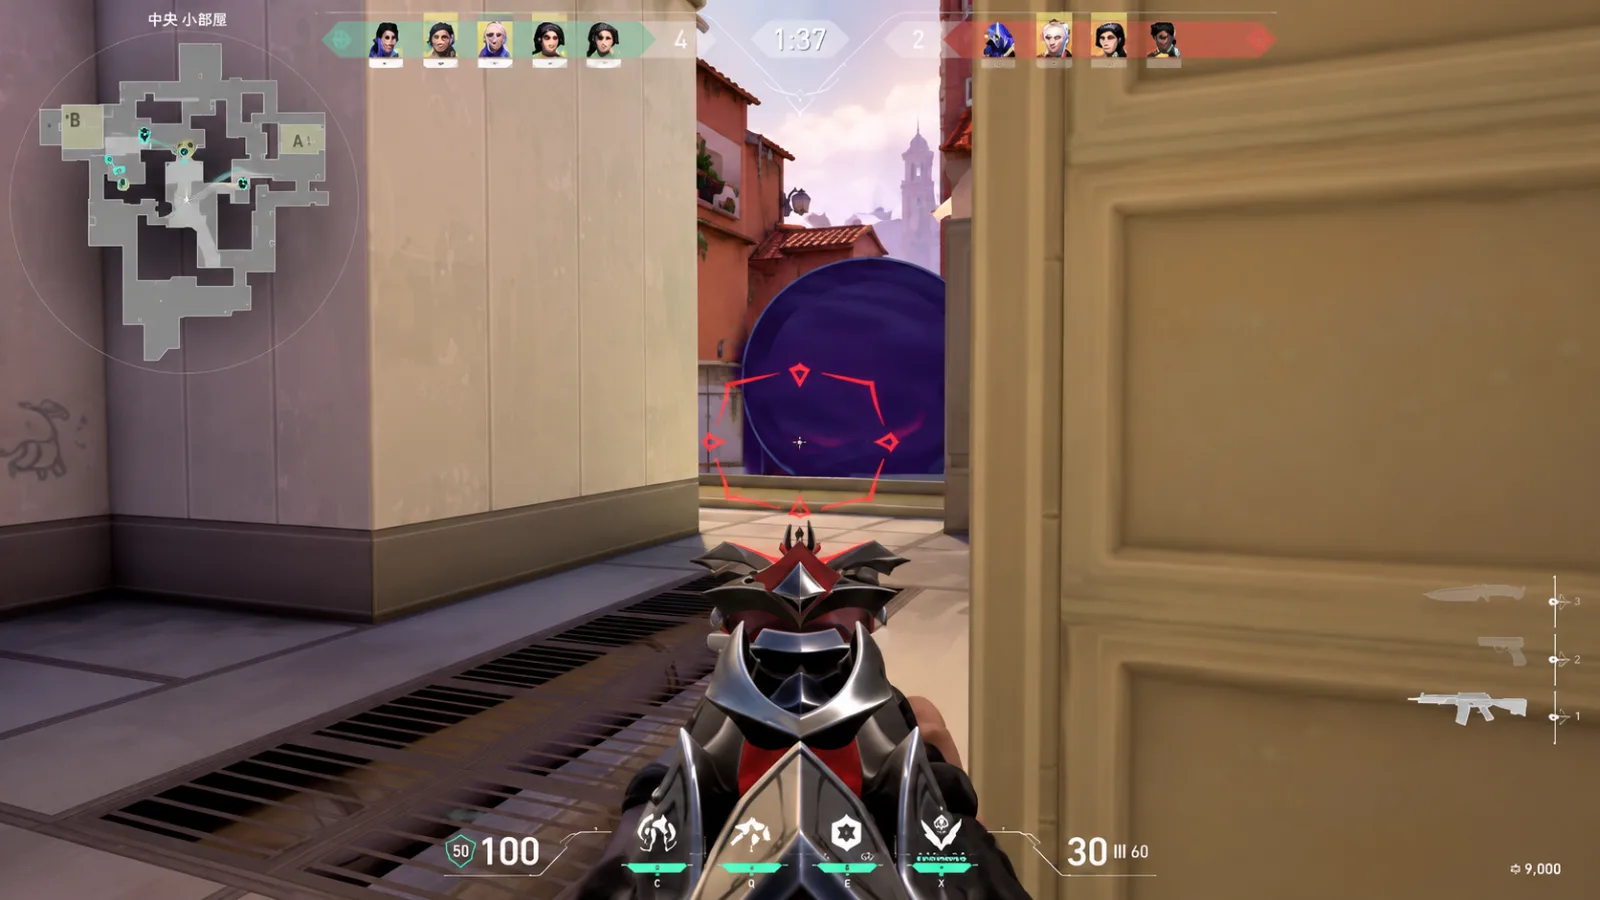
A peek exposes you from cover to gather information or start a fight.
A common beginner mistake is:
leave the wall first, see the enemy, then begin aiming.
That adds crosshair travel after contact.
Instead, prepare the likely position through pre-aiming while still behind cover.
If expecting an opponent right of a corner, prepare the expected head position before exposing.
Strafe into view, make the small final correction, stop, and shoot.
Three Basic Peeking Concepts
You need not memorize every advanced movement technique.
Start with these concepts:
| Movement | Concept | Beginner Check |
|---|---|---|
| Small exposure | Check the nearest relevant angle | Are several positions opening at once? |
| Wide swing | Move farther beyond the corner | Did you plan the stopping and firing point? |
| Clear in slices | Gradually reveal more space | Is the crosshair ready for the newly exposed angle? |
Do not prioritize speed immediately.
Choose a likely position behind the wall and repeat pre-aim → strafe out → stop → fire.
Distance from Cover Changes Angle Geometry
Your distance from a corner can affect when players see one another.
Hugging a wall can expose part of you first, depending on both positions.
But do not memorize farther from the wall is always better as a universal rule.
Corner geometry, opponent position, and movement direction change the situation.
Reduce automatic wall-hugging peeks and learn the visibility differences through varied angles.
Beginner Shooting Habits to Check
If drills do not transfer, look for these habits.
Automatic Crouch Spraying
Crouching to shoot is not inherently wrong.
But automatically crouching and spraying on every contact can hide stopping and placement mistakes.
For fundamentals, repeat stop while standing → short burst first.
Dropping the Crosshair During Movement
Looking down between fights is another common habit.
Even without a visible enemy, prepare the next likely head position.
That can reduce the mouse movement needed when contact occurs.
Tracking Only Bot Kills
Counts are a useful record, but the action matters more at this stage.
Twenty bots killed with moving sprays may offer poor practice for the intended skill.
Ten bots with consistent stopping and head-level placement can be a better repetition of the target habit.
An Adjustable 10-Minute Range Routine
With limited time, use roughly 10 minutes for these fundamentals. This is a practice example, not a guaranteed improvement dose.
| Time | Drill | Goal |
|---|---|---|
| 2 minutes | Aim toward a fixed wall point | Sensitivity check |
| 3 minutes | Strafe, stop, and shoot | Stopping timing |
| 3 minutes | Track bot heads and shoot | Head-level placement |
| 2 minutes | Pre-aim behind cover, then expose | Peeking |
Step 1: Sensitivity
Choose a small wall or pillar point and aim toward it from elsewhere.
Watch repeated overshoots and undershoots.
Step 2: Stopping
Move with A and D, stop, then fire one or two shots.
Avoid moving shots rather than chasing the largest hit count.
Step 3: Placement
Move between bot head positions.
Minimize unnecessary vertical movement.
Step 4: Peeking
Pre-aim a likely enemy position from behind a wall or structure, then strafe out.
Connect the stop to the shot.
Take One Goal into Matches
Do not expect every action to become perfect immediately in Unrated or ranked.
Today, focus on not firing the rifle before stopping; another session can emphasize head-level crosshair placement.
Add another skill after the first becomes more automatic.
Beginner FAQ
Is Lower Sensitivity Always Better?
No.
DPI, desk space, mousepad size, and wrist or arm movement affect comfort.
Reduce repeated overshoots or raise an uncomfortably restrictive setting in small steps.
Must I Press the Opposite Key to Stop?
Beginners can start by releasing movement and waiting to stop before shooting.
The core is ending movement when precise fire is needed rather than memorizing one mandatory key method.
Phantom or Vandal for a Beginner?
Both support these fundamentals.
Learn placement and stopping with one, then compare firing rate, recoil, and range behavior afterward.
Will a Pro’s Crosshair Improve My Aim?
A setting alone does not produce a large accuracy improvement.
The crosshair helps distinguish the target from its background and identify your aim center.
Use something readable while practicing placement instead of searching endlessly for an elaborate code.
Should I Begin on Hard Bots?
Repeatable correct actions matter more than maximum difficulty at first.
After a miss, check stopping and head placement.
Increase speed after the sequence becomes familiar.
Start with Stopping and Placement
Flashy peeks and fast aim can look like the first priority.
The starting sequence is simpler:
Move → stop → confirm head height → short burst
Use it to settle sensitivity, then add pre-aimed corner peeks.
Consistent stopping and placement reduce unnecessary shooting errors with the aim you already have.
Begin by checking one fight: was I moving when I fired, and where was the crosshair? Those observations give your fundamentals practice a concrete starting point.
Regional and version notes
This guide uses US English terminology. The drills and tactical examples are practice frameworks, not a guarantee of rank improvement. Mouse-and-keyboard inputs refer to PC and may differ from console controls. Some illustrations are retained from the Korean edition and may include Korean labels. Use the English article text for instructions.
Localization sources checked October 22, 2026 (Korea time):