

Stardust is often one of the first resources a new or returning Pokémon GO Trainer runs short of.
Raid power-ups, PvP move unlocks, and trades can use hundreds of thousands quickly. Ordinary catches add relatively little at a time, so it can feel as though the balance never grows.
Sometimes the biggest improvement is spending less on unnecessary builds. Decide what a Pokémon is for before searching for a faster way to fund it.
Why Your Stardust Balance May Not Grow
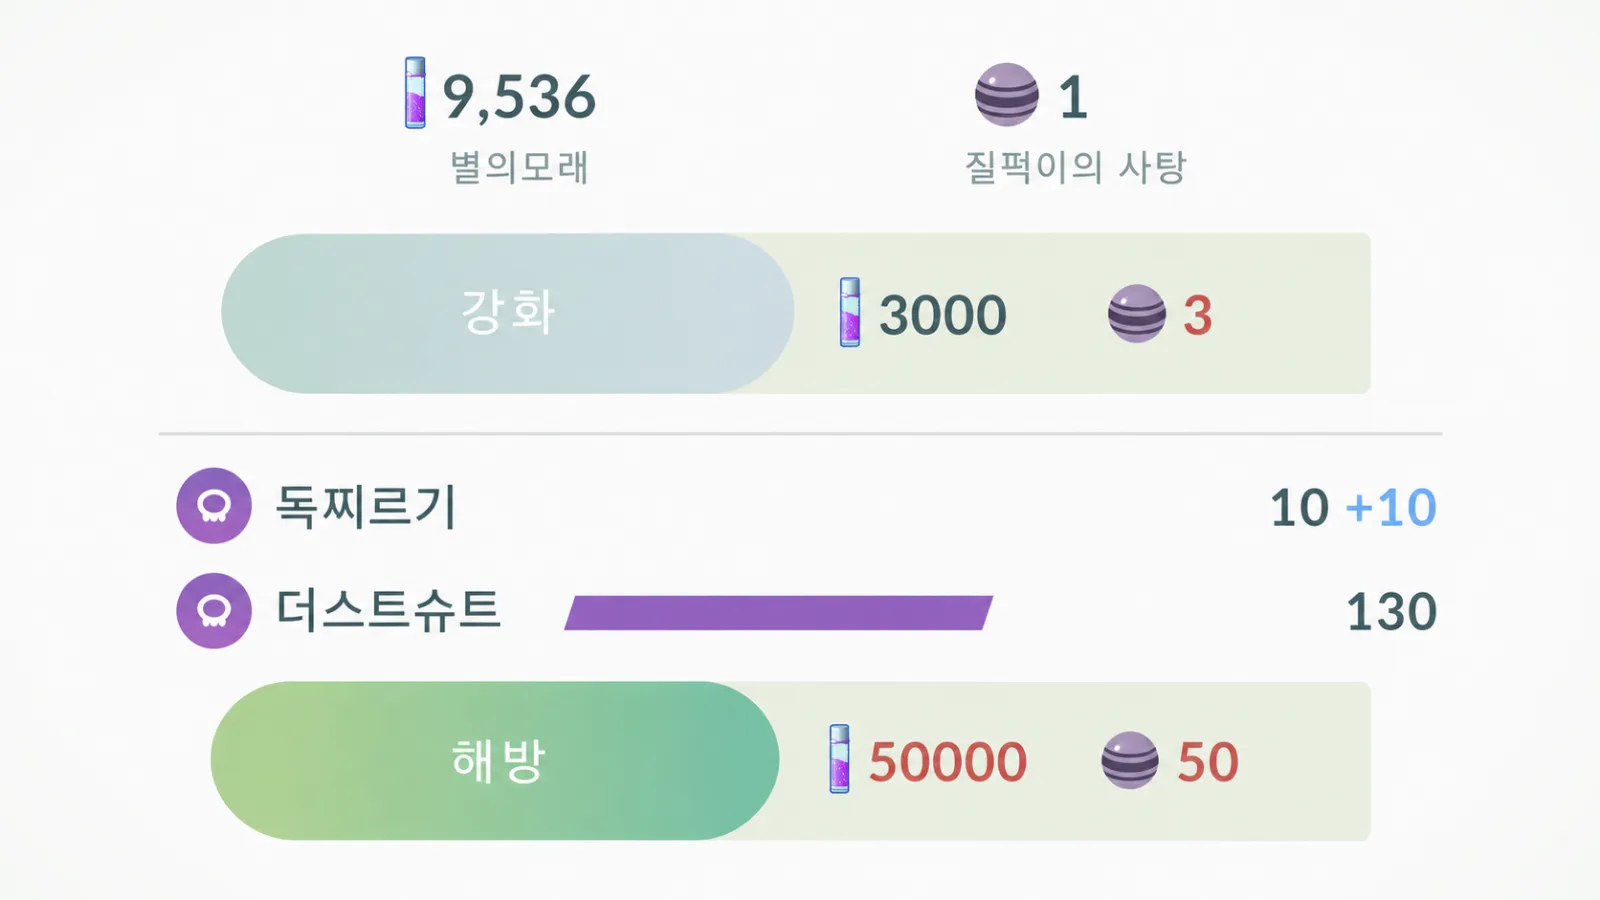
Do Not Use Power-Ups as Routine Revives
A power-up that raises maximum HP can sometimes leave a fainted Pokémon with a little HP again. That depends on the HP change; it is not a reliable free revive.
Even when it works, it spends Stardust and Candy. The cost can become substantial at higher levels.
If that power-up was already part of a necessary build, the spending may be justified. Repeatedly doing it to temporary attackers is different. Replenishing healing items through normal sources such as stops and Gifts can avoid unnecessary upgrades.
Avoid Overbuilding Early Low-Level Catches
As your Trainer level rises, you can encounter higher-level wild Pokémon within the game's limits. A suitable later catch may need much less Stardust than powering an early low-level specimen from scratch.
Do not use appraisal stars as your only early raid criterion. A useful species caught at a high level can contribute sooner even with imperfect IVs.
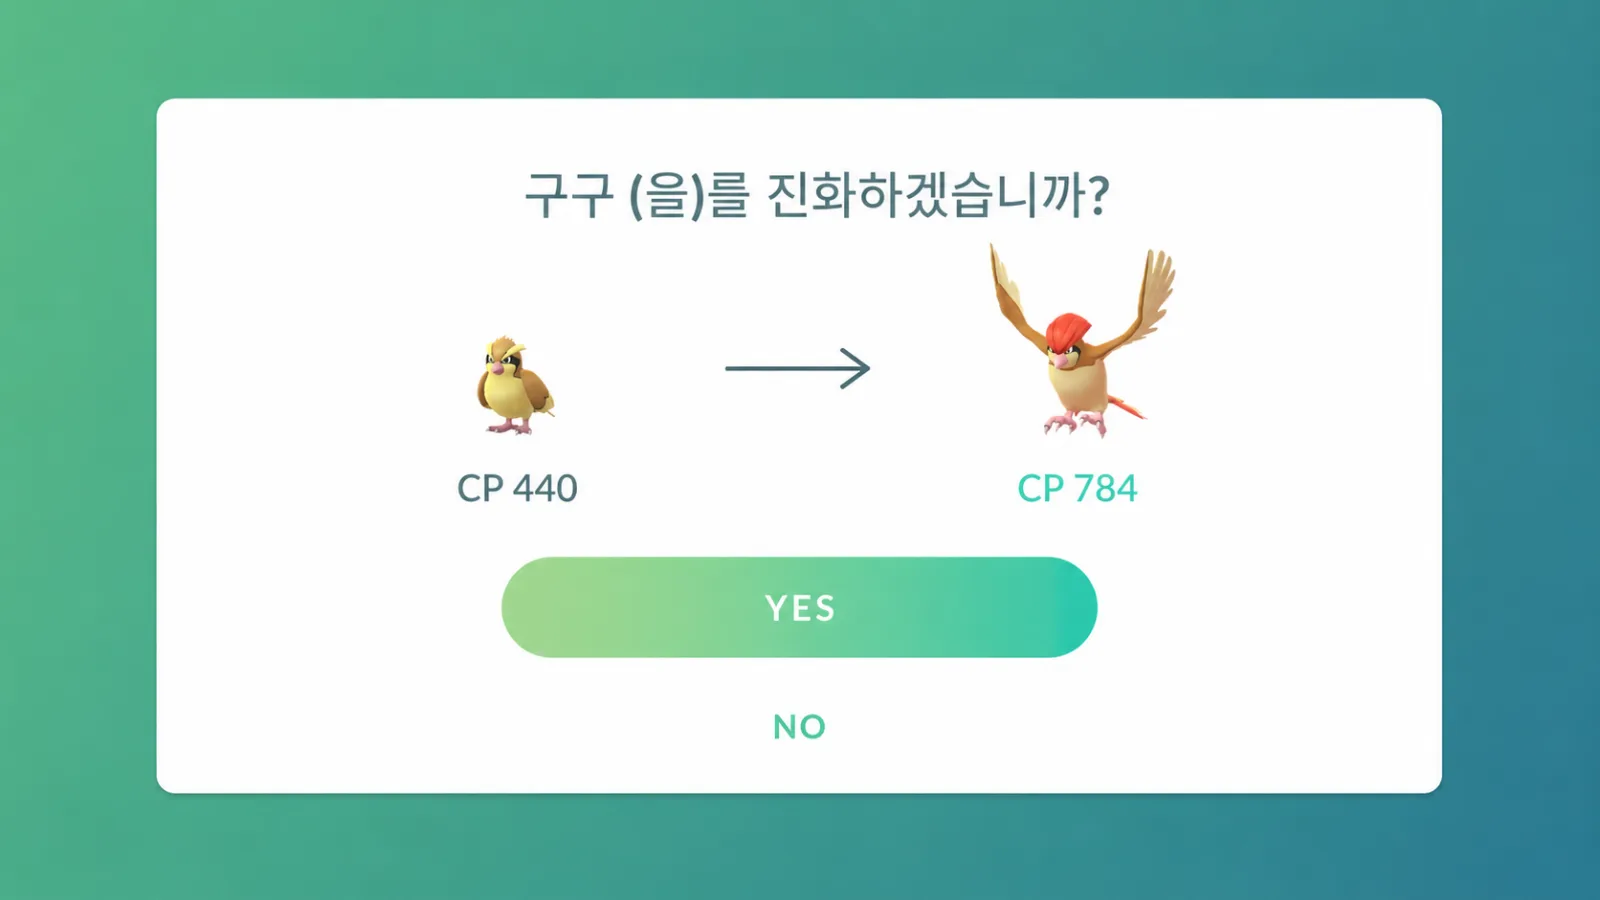
For example, a suitable high-level Machop evolved into Machamp can provide Fighting coverage against appropriate Rock, Steel, Dark, or Ice targets with little power-up spending, provided it has the right attacks.
Unlock a Second Charged Attack for a Reason
A second Charged Attack is valuable in GO Battle League, but many single-role raid attackers can function with one appropriate Charged Attack.
Some Legendary or Mythical unlocks can cost 100,000 Stardust plus substantial Candy. Check the button's actual cost before confirming.
Reasons to consider the unlock include:
- A Pokémon you will actually use in an eligible PvP format
- A worthwhile dual-type raid set
- A long-term individual or Lucky Pokémon with a clearly identified role
- A checked plan for its moves and power-up level
Two Ways to Reduce Power-Up Costs
Consider a Suitable Lucky Pokémon
Lucky Pokémon use less power-up Stardust. The standard community-recorded values in the source are a 50% reduction and an ordinary 12/12/12 IV floor. Those do not make every Lucky spread optimal for a capped PvP format, nor do they halve every possible Stardust expense.
For a costly raid project, a planned eligible trade may be worth considering before powering up an ordinary individual. Trading rerolls IVs, and a desired result is not automatically guaranteed.
The source referred to seasonal Friendship Friday Lucky bonuses. Treat that as a schedule-dependent opportunity: check the active event rather than assuming every Friday permanently has the same bonus.
Use Suitable High-Level Wild Catches as Temporary Teams
A low-level Legendary is not automatically stronger than a developed ordinary attacker. Species, level, moves, and matchup all matter.
A practical early sequence is:
- Catch usable high-level wild candidates.
- Check the attack types and moves needed for the boss.
- Use a suitable Evolution as temporary coverage where possible.
- Choose a clear long-term project after comparing better or Lucky candidates.
Wild Catches Are the Basic Stardust Routine

The usual base catch rewards are 100 Stardust for many unevolved species, 300 for a first Evolution, and 500 for a second Evolution. Species-specific rewards and bonuses create exceptions.
One hundred ordinary 100-Stardust catches total 10,000 before bonuses. A matching event and Star Piece can raise that return without changing the catch count.
Species with Higher Base Catch Rewards
The source recorded these higher-reward examples. Values below exclude weather, event multipliers, and Star Pieces; check the actual reward if an event changes the rules.
| Base Stardust | Examples |
|---|---|
| 500 | Paras, Meowth, Delibird, Shroomish, Foongus, Morelull |
| 700 | Parasect, Persian, Breloom, Amoonguss, Shiinotic |
| 750 | Alolan Meowth, Combee, Staryu, Trubbish, Sableye |
| 950 | Alolan Persian, Vespiquen, Starmie, Garbodor |
| 1,000 | Shellder, Chimecho |
| 1,200 | Cloyster |
| 2,100 | Audino |
If you cannot check every encounter, higher-reward species such as Shellder, Chimecho, and Audino can be useful priorities when available.
Using the source's 2,100 base for Audino, a 3× catch-Stardust event and 1.5× Star Piece give 2,100 × 3 × 1.5 = 9,450, before any weather adjustment. This calculation requires an actual applicable event.
Deferring Field Research Encounters
Leaving a Field Research reward encounter without catching it can place it in the pending reward queue above your tasks. This is not the same as secure Pokémon Storage.
The source suggested deferring high-Stardust encounters for a confirmed catch-bonus window and Star Piece, rather than catching them immediately.
It also described applying a Golden Razz Berry before leaving an encounter and returning later. Treat that as an observed gameplay tactic, not a documented guarantee that every future update preserves the state.
The pending queue is not a protected storage system or an itemized collection you can freely browse. The source cites an approximately 100-encounter practical limit and possible loss of older encounters. Catch rare or important rewards promptly rather than relying on that queue to keep them safe.
Making Star Pieces Count
A Star Piece normally grants 50% more Stardust for 30 minutes; some events extend its duration. Plan what you can actually claim or catch during the active period.
Potential Star Piece Windows
- A confirmed 2×, 3×, or 4× catch-Stardust event
- Concentrated encounters with a high-base-reward species
- Catching any safely retained research rewards you chose to defer
- Several planned Egg hatches
- An eligible Adventure Sync weekly reward claim
- Relevant GO Battle League set or season reward claims
- Planned Max Battles with suitable Stardust rewards
Clear storage and prepare balls first. Sorting a full box while the timer runs reduces the time available for the actual plan.
Community Days and Spotlight Hours
These events can concentrate many encounters into a short period.
For a day with an actual catch-Stardust multiplier, prepare:
- Pokémon Storage space
- Enough Poké Balls and Ultra Balls
- A Star Piece if the expected activity justifies it
- Appropriate Incense and regular Lure Modules
- A catching method you can use consistently
- A working accessory connection if you intend to use one
Quick catching is an unofficial input technique for shortening animations. Its behavior can change with updates, and leaving an animation does not by itself prove the catch succeeded. Check results when that matters.
Spotlight schedules and bonuses can change with seasonal operation. Use the current in-game calendar rather than assuming an old weekday or multiplier.
Nests and Egg Hatches

Some parks have rotating concentrated species spawns commonly called nests. A high-Stardust species can make a useful local catch session, but a dark-green map area alone does not guarantee a particular nest or pool.
Nest species can change on their normal cycle or around event changes. Confirm what is actually appearing before planning a long session.
The infinite Incubator provides another source of Candy and Stardust as you walk. You do not need to keep buying Incubators; simply using an available one on an Egg you want makes better use of ordinary walking distance.
Adventure Sync and Weekly Activities
Adventure Sync can record eligible distance while the app is not actively open. The source describes the usual Monday weekly rewards and 25, 50, and 100 km planning milestones; consult your current weekly report for the actual goals and rewards rather than treating those examples as a complete guaranteed schedule.
There is no need to force extra distance solely for Stardust. Recording the walking you already do can still support rewards, Buddy Candy, or Eggs.
Other possible sources include:
- Eligible Weekly Challenges
- PokéStop Showcases
- Team Leader training rewards
- Team GO Rocket Grunt and leader battles
- Timed and Special Research
- Daily first-catch and seven-day catch-streak rewards
GO Battle League as a Longer-Term Project
The initial cost of a PvP team can be substantial, particularly when it needs power-ups and second Charged Attacks.
Reusing suitable builds over multiple seasons can offset some of that cost through battle and season rewards. It is not a guaranteed net profit, because results, balance, and available formats vary.
Starting with one affordable format and reusing existing Pokémon is more manageable than building several leagues at once. The source suggested a Rank 20 goal where supported by the season's rules; check current reward requirements.
Gigantamax Rewards: Fast Returns with Real Costs
Some difficult Max Battles offer substantial Stardust. For a hypothetical battle awarding 25,000 base Stardust, an active Star Piece would make that 37,500. Not every battle has that reward.
If that battle also offers a 200-PokéCoin reward-doubling option and the bonuses stack as shown, the arithmetic is:
| Condition in this example | Stardust per win |
| Base reward | 25,000 |
| With a Star Piece | 37,500 |
| With the stated 200-coin reward doubling | 50,000 |
| With both reward doubling and a Star Piece | 75,000 |
At those exact hypothetical conditions, 10 wins total 750,000 Stardust and 20 wins total 1,500,000. Actual battles still require entry resources, access, and successful clears.
Buying that 200-coin option 20 times would cost 4,000 PokéCoins, before any other costs. Treat extra Stardust as part of a battle you wanted to do, rather than assuming paid doubling is an efficient universal farming method.
Check the actual victory screen and current event terms before spending. Base rewards and upgrade prices can differ, and this example does not establish today's reward rate.
A Manageable Stardust Routine
You can build a balance gradually with a few habits rather than trying every tactic at once.
- Collect a daily first catch when you play.
- Catch suitable wild encounters along your usual route.
- Prioritize available high-Stardust species where useful.
- Keep the infinite Incubator working on a chosen Egg when practical.
- Enable Adventure Sync if it fits your device and permissions.
- Avoid power-ups or second moves without a clear purpose.
- Reserve Star Pieces for relevant planned bonus windows.
- Favorite future candidates and postpone the spending until you need the build.
- Consider appropriate Lucky trades before costly long-term projects.
- Check the weekly battle, Showcase, and activity rewards you actually qualify for.
Regional and version notes
English localization reviewed October 23, 2026. Global schedules marked local time use the clock at your play location, including North America. Korean destination activities retain KST. Ended event and reward windows do not reopen through this guide. Recommendations and tier comparisons are the original author’s strategic assessment, not an independently measured current leaderboard or guaranteed outcome. Species Stardust amounts, the Lucky floor and discount, and the approximate pending-research queue limit are retained community-recorded source details; the official links confirm general features, not every numerical table. Star Piece arithmetic is independently checked. A 25,000-Stardust Max reward and 200-coin doubling are conditional examples, not a present universal reward schedule. The pending queue is not guaranteed safe storage. Some illustrations are retained from the Korean edition and may include Korean labels. Use the English article text for instructions.
Localization sources checked October 23, 2026 (Korea time):