

KMS boss reference · About these guides
KMS changed weekly and monthly boss timers to 20 minutes and adjusted boss HP in its June 18, 2026 update. This guide uses that Korean ruleset; check your own region and encounter rather than applying the timer globally.
A converted-stat boss ratio is a third-party estimate, not an official clear requirement. Class, HEXA Stats, Sacred Power, execution, and burst timing can all change the result.
The KMS timer and HP changes

The Korean update reduced weekly/monthly timers to 20 minutes and lowered HP for listed bosses. Hard Black Mage received a particularly large reduction. These are version-specific changes, not a claim that every GMS boss has the same timer.
A shorter encounter makes these planning questions useful:
- How many complete burst windows fit before the deadline?
- Will a phase transition waste an active burst?
- Can you maintain damage safely during mechanics?
- Which phase needs the Origin skill most?
- How much damage and buff time is lost to deaths?
Before entering, map the class's actual burst cooldowns to the encounter. The source uses two- and three-minute examples, but your current kit may differ.
Reading the source's readiness ratios
The calculator ratio compares estimated character output with its modeled clear requirement. Around 100% is near that model's theoretical threshold. A higher number adds modeled headroom, not a guaranteed clear or an exact timer prediction.
| Source ratio range | How the source described it | Suggested experience level |
|---|---|---|
| 100–119% | Near-threshold attempt | Players highly familiar with the encounter |
| 120–139% | Experienced-player attempt | Players comfortable with survival and damage uptime |
| 140–159% | More general progression attempt | Players with some pattern practice |
| 160–179% | More modeled damage headroom | First-clear attempts or players still practicing |
| 180% or higher | A more comfortable estimate, not a guarantee | Players seeking additional room for errors or a faster clear |
These are the Korean source's planning bands, not independently reproduced calculator benchmarks. A 170% result does not imply a fixed clear time; class interactions, phase downtime, force, and calculator version matter.
Using a converted-stat calculator
A third-party calculator can estimate boss readiness from the supplied stats and gear. If it supports upgrade simulation, compare candidate changes with the same inputs and version.
Before spending, check:
- Boss Damage and effective Ignore Enemy Defense
- Any Sacred Power damage penalty
- HEXA Stats and sixth-job upgrade efficiency
- Potential, Bonus Potential, and Star Force improvements
- The likely useful gain per meso, rather than the score increase alone
A higher calculator score is helpful only if the improvement contributes to the skills and attack windows you actually use in the encounter.
Building a boss plan

A clear plan records burst, shorter attacks, Origin skills, and key buffs from entry to the final phase.
Count the available burst windows
For a 20-minute encounter, start with a simple cooldown timeline:
- Two-minute burst: roughly 9–10 practical uses in the source's example
- Three-minute burst: roughly 6–7 practical uses in the source's example
- Origin: place uses according to its current cooldown and the required phase
- Shorter attacks: fit them between major windows and transitions
A cast at entry followed by exact two-minute intervals gives starts at 0 through 18 minutes; three-minute intervals give 0 through 18 in seven starts. Actual complete windows can be fewer because of setup, deaths, transitions, and boss downtime. A cast starting at the deadline contributes no usable window.
Allocate damage by phase
Spending every major skill immediately is not always best. A later phase may require more HP removal or offer fewer safe opportunities, making a reserved skill more valuable.
Record these details by phase:
- Phase-entry time
- Number of burst uses
- Where Origin was used
- Major buff cooldowns
- Damage needed for the next phase
- A fallback after a death or missed burst
Hard Black Mage: the source's planning range
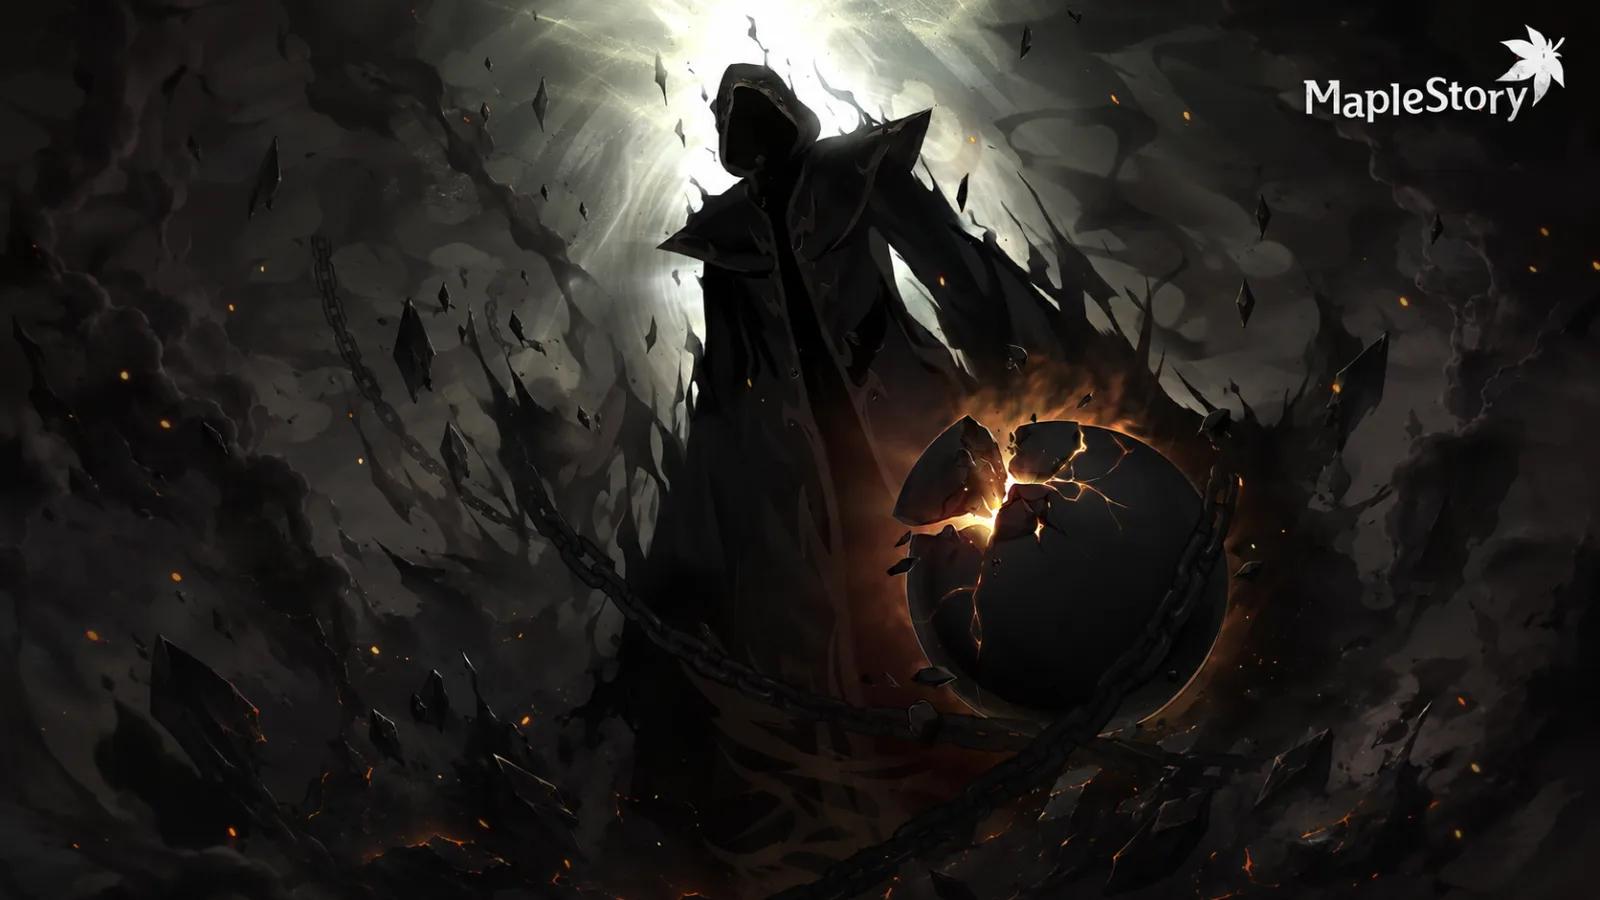
The KMS timer and HP changes altered the old endurance plan. Curse interactions, creation/destruction effects, and major test patterns still required execution even with sufficient modeled damage.
For a first attempt, the source suggested 160–180% as a planning buffer. Treat it as its recommendation, not a verified minimum for every class or calculator revision.
- Do not save so much damage in phase 1 that it delays the entire run
- Find safe damage windows around phase-2 tests and chains
- Preserve uptime in phase 3 while respecting push attacks and tests
- Check major cooldowns before phase 4
- If lives are running out, address survival before buying more damage
Chosen Seren: force and gauge management
Sacred Power and the sun gauge can determine whether modeled damage becomes actual damage. Gauge mistakes can cost both attack time and lives.
The source suggested 170–190% for first-clear planning, with the same class, version, and execution limitations.
- Its example aimed to leave phase 1 around the second burst, rather than holding damage indefinitely
- Plan phase-2 bursts around the encounter's time-of-day cycle
- Use Midnight's attack opportunities where safe
- Prioritize dodging when the gauge is dangerous
- If Sacred Power is short, verify actual damage separately from the headline ratio
Kalos the Guardian: interference and downtime
Phase-2 interference and system mechanics can remove attack time. A favorable estimate will not compensate for unreliable interference handling.
The source suggested 160–180% as a first-clear buffer, rather than an official or independently verified requirement.
- Avoid spending excessive burst resources in phase 1
- Prepare major skills and Origin for phase 2
- Assign interference handling and its order in a party
- Account for system activations when selecting a burst window
- Prepare a fallback if burst is delayed
Solo interference handling can remove more of your own attack time, so a party-derived estimate may not translate directly to a solo attempt.
First Adversary: phase-to-phase planning
The source's KMS First Adversary encounter has Easy, Normal, Hard, and Extreme difficulties and allows up to three players. The English name here is descriptive of the Korean boss.
Attack opportunities change by phase. For a first Normal attempt, the source used 160–180% as a planning buffer while reserving resources for later phases.
- Avoid starting a major burst immediately before a transition
- Include class-specific setup or ramp time
- Use Origin where a full attack window is available
- Arrange cooldowns so the later phases are not left empty
- Use the available phase-practice options to address repeated failures
Kaling: distribute damage across the beasts
Time spent on the phase-1 beasts can determine whether enough time remains later. Strong late-phase damage does not recover an excessively slow opening.
The source suggested 160–180% for first-clear planning, with the same limitations as its other ranges.
- Plan the order for Peril, Taowu, and Hundun
- Track remaining HP and allocate burst accordingly
- Avoid wasting a full burst on a beast with little HP left
- Keep a usable damage window ready for phase 2
- Use phase-3 attack opportunities without sacrificing mechanic control
- Place Origin in a stable attack window rather than immediately before a transition
The source's first-clear reference ranges
| Boss | Source's suggested ratio | Key variable |
|---|---|---|
| Hard Black Mage | 160–180% | Curses and major test mechanics |
| Hard Chosen Seren | 170–190% | Sacred Power and sun gauge |
| Normal Kalos the Guardian | 160–180% | Interference and system handling |
| Normal First Adversary | 160–180% | Transitions and damage allocation |
| Normal Kaling | 160–180% | Beast handling and phase timing |
Use these source ranges as context for practice, not as a promised clear threshold. Experienced players may clear lower, while another class, patch, calculator model, or gear configuration may need more. Your own full-phase practice is the decisive check.