

KMS boss guide · About these guides
Against Bellona in Korean MapleStory, knowing when to stop attacking can matter more than another damage upgrade.
Learn the recurring teleport and flip attacks first. That foundation helps preserve lives through the horizontal, vertical, X-shaped, border, and pinball patterns.
Link each tell to an action—crouch, jump, dash, or stay still—instead of trying to memorize every animation at once. Pattern names below are descriptive names for the Korean encounter.
Bellona quick-reference responses
| Pattern | Response |
|---|---|
| Teleport | Stop attacking and prepare to crouch when Bellona vanishes |
| Upright flip | Crouch |
| Inverted flip | Jump as Bellona becomes visible |
| Horizontal-line cue | Crouch |
| Vertical-line cue | Dash at the attack timing |
| X-shaped cue | Stop moving |
| Hanging drop | Leave the landing point, then dash inward after the drop |
| Pinball | Read the paths and move into the gap |
| Bottom-center rush | Up-jump, then read both follow-ups |
Start with this shorthand:
Horizontal: crouch. Vertical: dash. X: stay still.
Normal and Insane states
How the state changes the fight
The fight alternates between its ordinary presentation and a darker Insane state. In Insane, attack areas may be harder to see, so animation cues become especially useful.
Handling Insane-state attacks produces symbols. When three accumulate, the corresponding enrage attacks follow in sequence.
Watch which symbols appear as well as the attack currently in front of you.
Prioritize surviving the sequence
When Bellona disappears or the screen darkens, briefly ease off sustained attacks. Skill effects and your own animation can obscure the next tell.
Unless every moment of uptime is essential to a tight clear, giving up a few attacks usually costs less than losing another life.
Recurring attacks
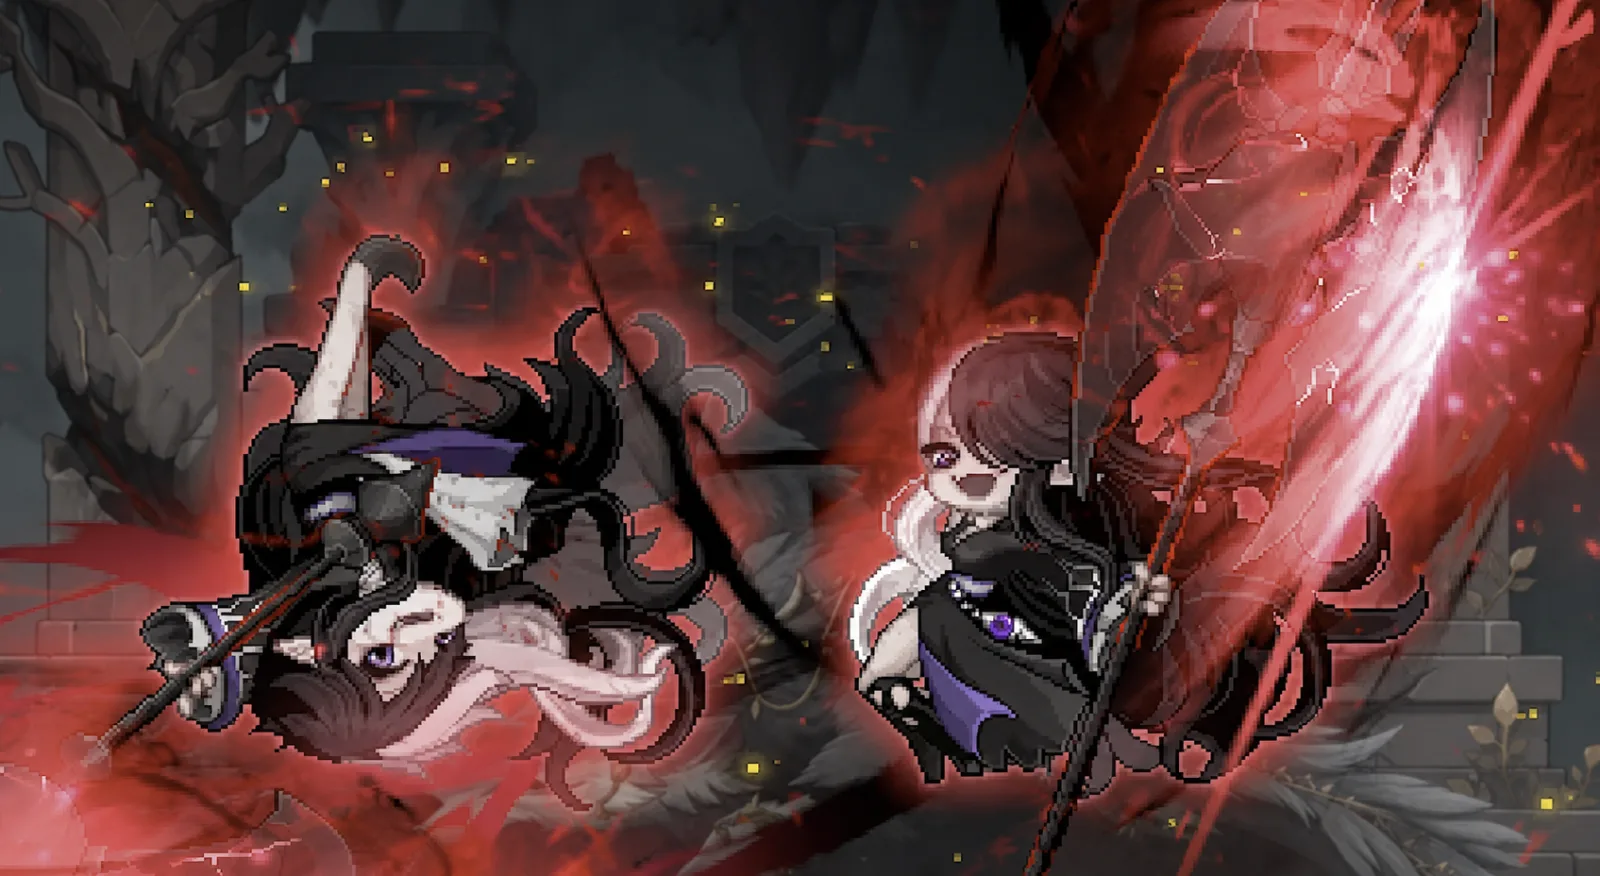
Teleport
Bellona vanishes, then appears near the character to attack. The location varies, and another pattern can follow quickly.
A useful learning habit is to stop attacking and prepare to crouch on the disappearance. Resume after confirming the follow-up has ended; do not treat crouching as immunity to every possible attack that follows a teleport.
Flips
The required response depends on Bellona's orientation.
- Upright appearance: crouch.
- Upside-down appearance: jump.
During Insane, read the silhouette and rotation above the character. A large, rounded rotation is the crouch cue; the elongated vertical white-hair silhouette is the jump cue in the source's visual shorthand.
For the inverted flip, jumping as the body becomes fully visible is more reliable than jumping too early.
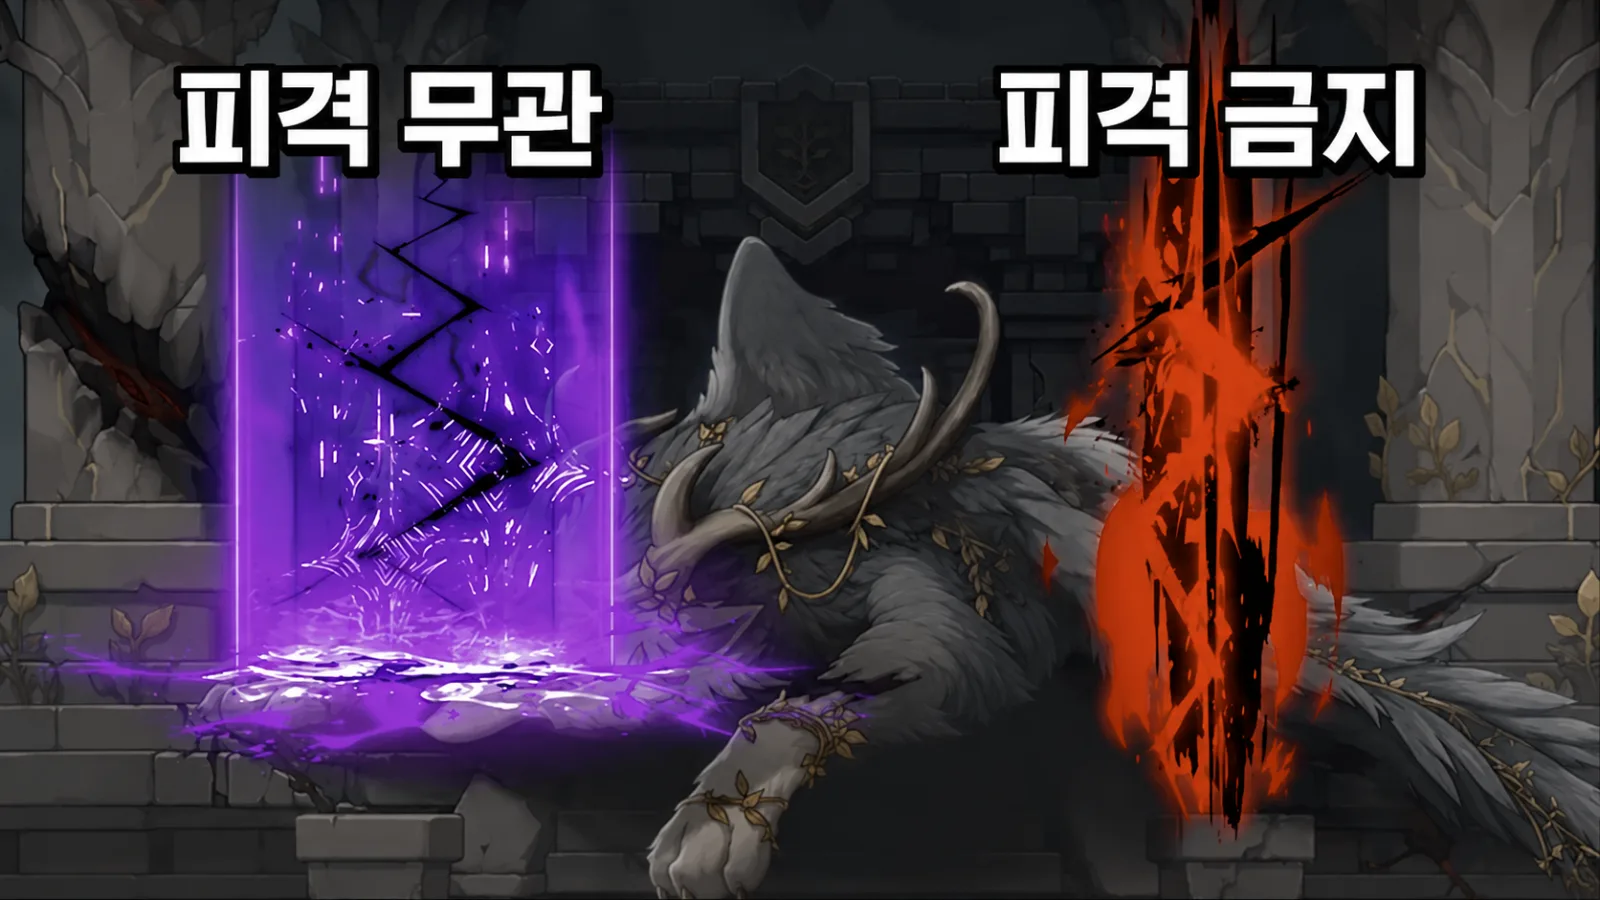 Phase 1
Horizontal, vertical, and X cues
A sharp sound and an eye-shaped tell announce the pattern. Stop the damage loop and read Bellona's pose.
- Horizontal line: Crouch through the attack.
- Vertical line: Dash when the attack commits.
- X: Stay in place without movement input.
The vertical attack tracks your position before committing. Moving early can simply make it follow you; learn the commitment timing rather than dashing immediately on the tell.
Several cues can chain. Read the next one before returning to attacks.
Phase-one border attacks
Bellona appears at the upper center or on the left. Positioning near the middle makes the source's suggested responses easier to reproduce.
If Bellona appears on the left
Avoid the opening with a rightward dash, or an appropriate up-jump and Blink route. Jump the subsequent attack at its timing.
Your position can affect the first rush direction, so practice the pattern from a consistent central position.
If Bellona appears at the upper center
Dash the first hit. Stay close enough to read the hands, then dash inward as the attacks on both sides detonate.
Phase 2
Remember the three-cue sequence
Phase two previews three cues before executing the attacks.
Read the sequence, repeat the required actions to yourself, then perform them in order.
- Horizontal: crouch
- Vertical: dash
- X: stop
You have more preview time than in phase one, but forgetting the order can cause consecutive hits. Avoid distracting casts while reading it.
Hanging drop
Bellona disappears and reappears hanging in the air.
Leave the indicated landing location first. After Bellona hits the ground, the follow-up threatens the outer area, so dash inward toward Bellona.
Right-side border attack
After Bellona appears on the right, avoid the opening and identify the safe gap between pillars.
An up-jump can leave an awkward landing for the pillars. A well-timed dash may make the transition easier; focus on finding the gap instead of attacking immediately.
Walk to fine-tune the final position rather than overshooting it with repeated dashes or jumps.
Bottom-center rush below 50% HP
Bellona appears low in the center, rushes, and follows with two randomly combined attacks.
- Up-jump over the opening rush.
- On landing, stop attacking and read the axe.
- Axe raised upward: dash behind Bellona.
- Axe held to the side: crouch.
- Read and answer the second follow-up too.
Do not assume the sequence ends after one response. Confirm both follow-ups have finished.
Pinball
Bellona ricochets across the map along previewed paths, with two rushes in the sequence described by the source.
Several lines can overlap near the middle. Check the left-side gaps first, then read the second route immediately after avoiding the first.
If the paths also cover the left edge, an appropriate jump/Blink hover can help you avoid the ground route. Its usefulness depends on your class and position.
Below 50% phase-two HP, a slam follows the pair of rushes. Save the response for that final hit rather than attacking as soon as the second rush ends.
Enrage patterns
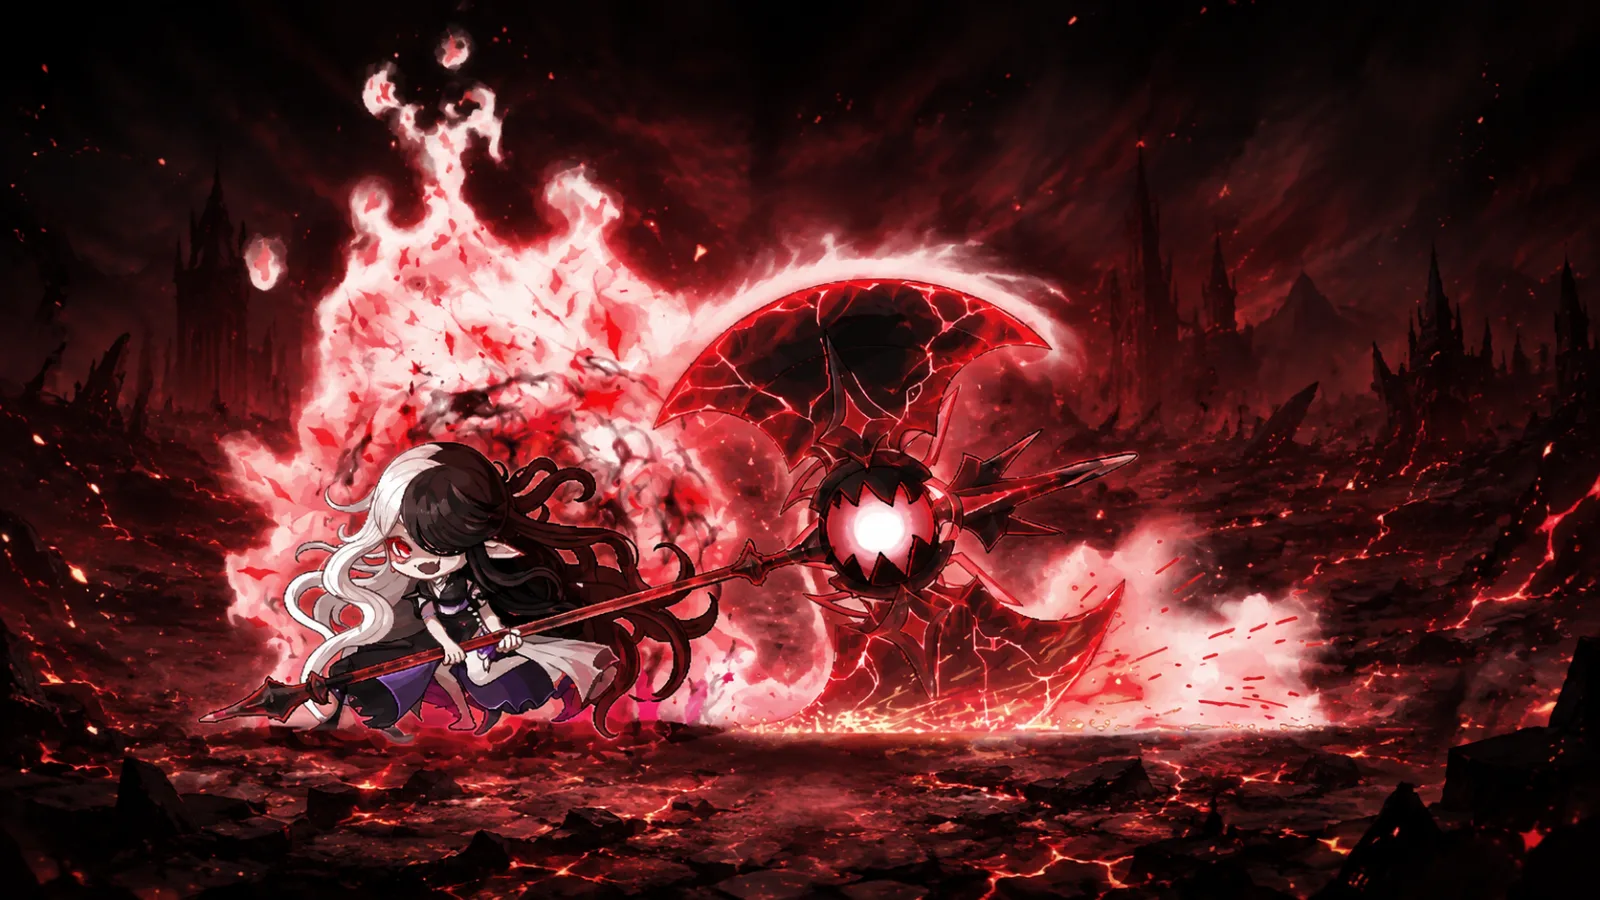
The three symbols generated during Insane determine the successive enrage attacks.
The source's response order is:
- Sword hilt
- Whirlwind
- Single-bladed axe
- Double-bladed axe
Duplicate symbols can make the next action less intuitive. Watch the symbol that lights up rather than relying solely on a memorized order.
Sword-hilt symbol
Follow Bellona to the sword location and enter the triangular safe area beneath the boss.
Whirlwind symbol
Move into the long horizontal safe area below Bellona, then crouch.
Keep crouching until the effect ends. Standing early can expose you to the remaining hit.
Single-bladed axe symbol
Leave room to move horizontally instead of following Bellona closely. After the axe and dash animation commits, dash toward the side with more space.
Moving too early can let the attack direction track you. Read the dash commitment first.
Double-bladed axe symbol
Hands appear across the map in this enrage pattern.
Stop attacking and read their appearance order. If a hand threatens your position first, move to an unoccupied gap and return only after the relevant attack clears.
A bind or invulnerability skill can help with a difficult sequence, subject to the boss's current state and resistance. Do not assume a bind always cancels the pattern.
Practice tips
Keep the useful sound cues audible
The opening sound helps identify the horizontal/vertical/X sequence. Lower distracting sounds while keeping monster effects distinguishable.
Watch phase-two HP
The source's extra bottom-center sequence and final pinball slam appear below 50%. Missing that threshold can make an otherwise familiar pattern catch you out.
Do not immediately resume attacking after a hit
Bellona chains attacks quickly. An uncontrolled movement or attack after taking damage can expose you to the next tell.
Stabilize your position, then read the next cue.
Practice survival first
For early attempts, respond to patterns without forcing an attack into every gap. Add sustained damage once the defensive actions are familiar.
Read the tell, then choose the response
Start with horizontal=crouch, vertical=dash, and X=stop. Then practice the extra follow-ups below 50% in phase two. Later KMS notes changed some tell timing and pinball paths, so learn the live version's animations rather than an exact delay from an older clip.