

The Nemesis and C.A.R. work well together because they can turn a mid-range advantage into a close-range finish. Pressure shields with the Nemesis, then switch to the C.A.R. as the gap closes. Season 31 increased the Nemesis's vertical recoil, though, so its old reputation does not mean effortless damage at every distance.
The appeal is having a clear weapon for starting a fight and another for finishing it, rather than simply maximizing theoretical damage. Decide when to keep bursting, swap weapons, or take cover. Those decisions are what make a recommended pairing useful in practice.
Why consider the Nemesis and C.A.R. together?
There is official data behind their reputation. In developer-published Ranked and Trios results for October 1–7, the Prowler stood out in knock share and encounter win rate, with the C.A.R. and Nemesis also near the top. Rising Nemesis and Prowler usage and win rates helped explain the following season's nerfs.
These figures predate Season 31. They explain past strength, not an unchanged ranking after the patch. Encounter win rate also includes the ranges and situations players chose; it is not a promise that one gun beats another in every equally skilled duel.
The pairing still has a sensible structure. A mid-range pressure weapon and a close-range response reduce the gaps left by relying on one gun. It is worth trying if you can control sustained Nemesis bursts and track moving opponents with the C.A.R.
What did the Season 31 Nemesis nerf change?
Season 31 began on November 3, and the key Nemesis nerf was increased vertical recoil. Calling it a bullet-damage reduction would be inaccurate. The change makes landing the same number of shots more demanding.
If your first burst hits the body but later bursts climb over the target, theoretical damage remains while actual value falls. Staying exposed to finish a distant enemy also gives them more time to shoot back. Recoil changes should prompt you to reconsider range and exposure, not just gun feel.
The update also added input buffering when manually tapping automatic burst weapons, including the Nemesis. Smoother input and harder recoil are separate changes. Easier chaining does not automatically mean easier hits.
Keep using the weapon if you can land consecutive bursts consistently at your usual range. If they repeatedly climb off target, move the engagement closer or choose another mid-range option. You do not need to defend a gun's reputation by taking fights you cannot reliably hit.
Manage the Nemesis's burst rhythm and ammo stockpile together
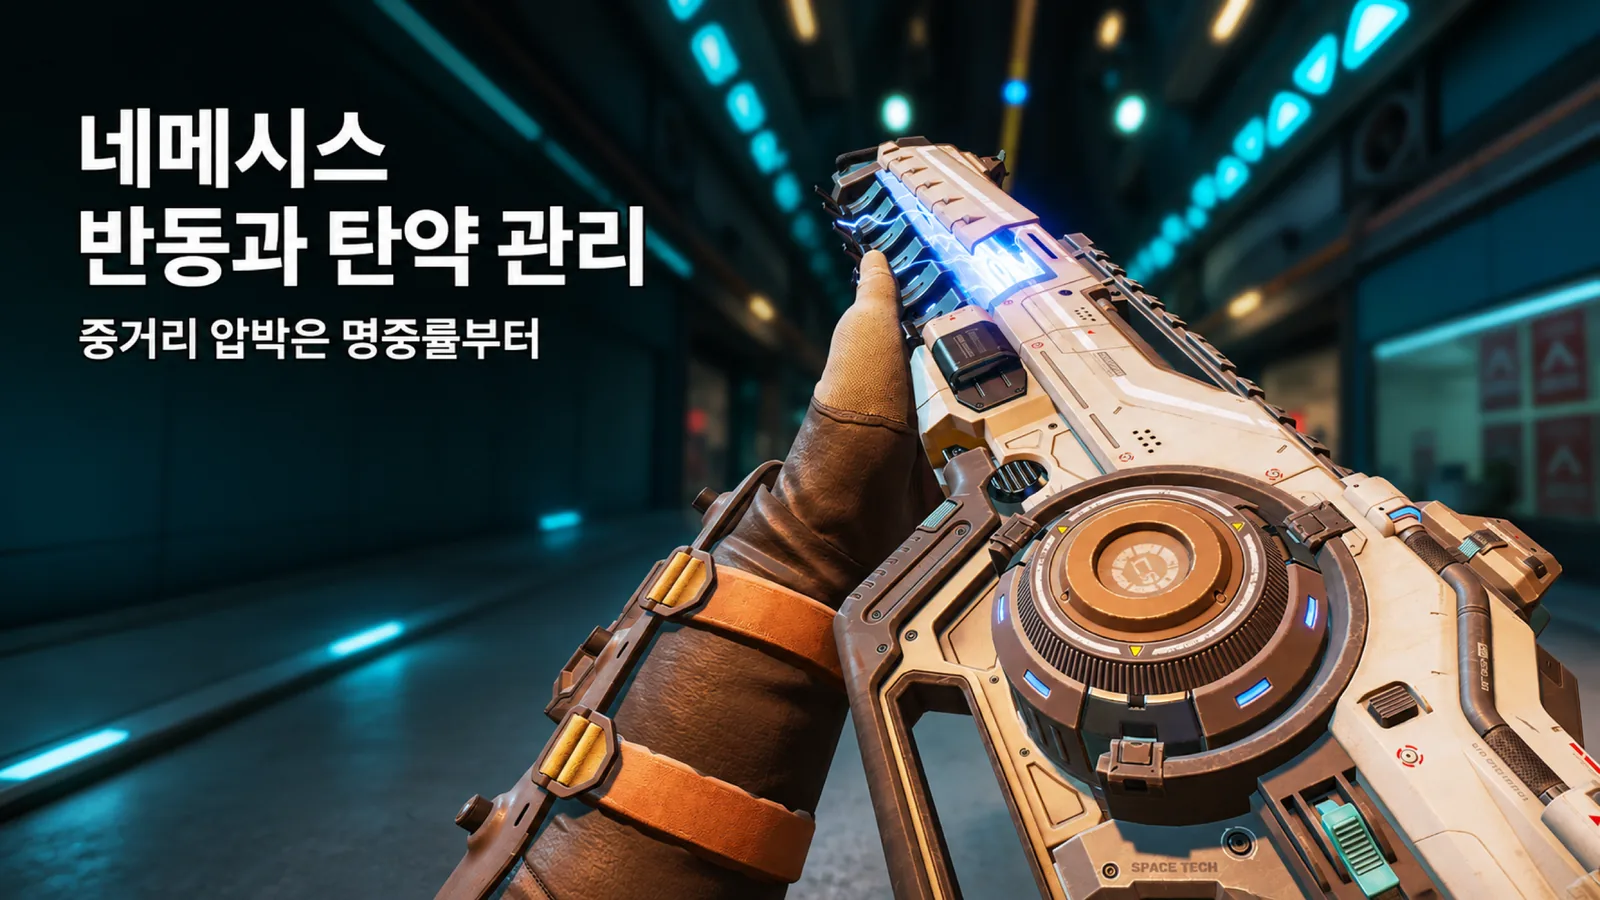
The Nemesis is an energy assault rifle that fires four-round bursts. Continued fire shortens the gaps between bursts, and holding the trigger chains them automatically. You need to keep tracking through each burst, rather than aiming as if every shot were an isolated tap.
An active Turbocharger reaches maximum fire rate in two bursts. In core modes such as Ranked, however, an attached hop-up does not activate until its point requirement is met. The Nemesis requires 600 points for Turbocharger, so a freshly picked-up gun and an unlocked one have different opening rhythms.
Returning players should also note the Season 30 energy-ammo rework. Energy ammo boxes were replaced by regenerating weapon stockpiles. In standard Battle Royale, the Nemesis carries three magazines' worth in reserve and regenerates one magazine in 18 seconds. Firing or reloading that weapon pauses regeneration.
You no longer need to hunt energy boxes or fill your backpack with them. Long poke fights and consecutive engagements can still exhaust immediately available ammunition, though. Check reserves as well as the loaded magazine. Wildcard uses different stockpile and regeneration settings, so do not transfer the same assumptions unchanged.
Be careful about firing into nothing just to ramp up. You may spend the ammunition you need for the actual fight. Useful pressure matters more than maintaining maximum fire rate for its own sake.
The C.A.R. is your close-range finishing tool
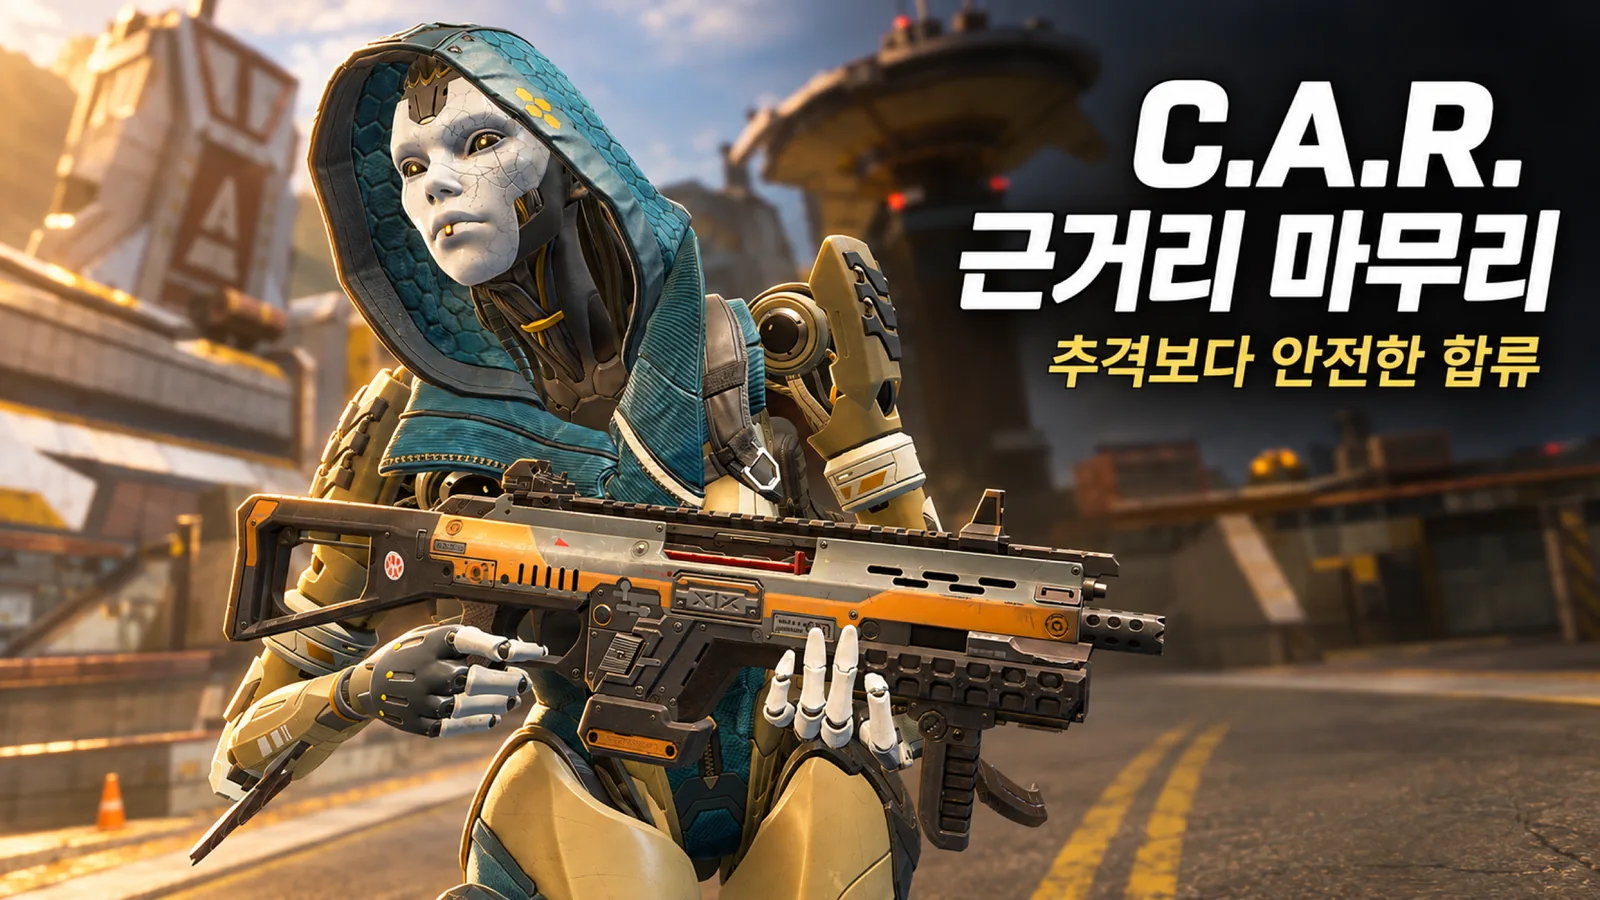
The fully automatic C.A.R. SMG accepts both Light and Heavy Ammo, along with both corresponding extended magazine types. That flexibility helps with looting. It also complements the Nemesis's regenerating stockpile with a weapon supplied through conventional ammo pickups.
Use it where movement feels fast and close: inside a doorway or beside cover. After dealing damage with the Nemesis, prepare your close-range weapon rather than forcing the same rifle through every stage of the encounter.
That does not make the C.A.R. easy for everyone. Losing tracking can burn a magazine without securing a finish. Practice following strafing targets, not just emptying a magazine into a stationary dummy.
Check that it is reloaded before the engagement. Swapping after a strong Nemesis opening only to find an almost empty magazine defeats the purpose of splitting roles. Both weapons need to be ready for the range change.
A shield crack is a reason to assess a push, not permission to sprint in
Cracking shields naturally makes you want to close with the C.A.R. But the rest of the enemy squad can still fight, and your damaged target may already be healing behind cover. A crack alone does not make entry safe.
Suppose an enemy retreats from a doorway. If a teammate covers a side window and you can approach through cover, a coordinated push can work. If your squad is healing and you must cross an open road alone, the same crack offers much less. Terrain and teammate readiness change the decision.
Check damage dealt, allied firing positions, and cover along the approach. If one is missing, a new angle or more pressure on the heal may be better than an immediate rush. Seeing one damaged opponent does not mean the unseen teammates are weak too.
You can also swap before you reach point-blank range. If a close fight is likely beyond the next cover, ready the C.A.R. during a protected transition. Movement and regrouping connect the Nemesis opening to the finish; skipping them can leave you isolated despite carrying two good guns.
New and returning players can choose a different pairing
A target loadout helps, but do not loot indefinitely for both guns. If your current weapons are serviceable and your squad is moving, delayed regrouping can cost more than the perfect combination gains.
Choose around your actual difficulty. These are playstyle guidelines, not an official weapon ranking.
| Common problem | Option to consider | Why it may help |
|---|---|---|
| Mid-range bursts land, but close enemies overwhelm you | Nemesis + C.A.R. | Separates mid-range pressure from close-range response |
| Consecutive Nemesis bursts keep missing | A familiar R-301 or Hemlok for mid-range | Damage only adds up when you can consistently connect |
| You fight through brief doorway and corner peeks | A mid-range weapon + shotgun | Fits short exposure windows |
| You spend fights trading distant poke | Find a closer useful angle or assign a long-range role | Your close-range weapon needs a fight where it can contribute |
If choosing the Hemlok, remember that Season 31 removed the Elite version and brought back the Hemlok Burst AR with burst and single-fire modes. Expecting the previous automatic fire and Breach Charge will make it feel like a different weapon.
The process stays the same whichever alternative you choose: find a mid-range gun you can hit with, then pair it with a close-range answer. Passing on the Nemesis does not mean abandoning a coherent loadout.
Use the Firing Range to find where your fight breaks down
Start at a distance where repeated Nemesis bursts stay grouped, rather than immediately testing the farthest target. Compare the first burst with the follow-ups to separate tracking errors from insufficient vertical recoil control.
Then fire the Nemesis, swap to the C.A.R., and follow a moving target. Watch whether you lose the crosshair during the swap and how much ammo remains, not just the kill time. Include taking cover and re-engaging after a failed one-magazine finish.
Unlimited ammo can hide stockpile problems. Finish with conditions that make you account for firing, reloading, waiting, and regeneration. The goal is to identify when your weapons or ammunition stop being ready, rather than chase the range's highest damage number.
This pairing makes sense when you have a plan to move from mid-range pressure into a close fight. Judge the post-nerf Nemesis by sustained accuracy, and judge a push by teammates and cover. Can you safely convert damage into a finished fight? That principle lasts longer than any one weapon patch.
