

Losing after landing the first shots in Apex is not always an aim problem. You might crack a shield at range and die crossing the gap, or keep shooting from one rock until another squad pinches you. Damage only becomes a win if you can turn the advantage into a useful next action.
The key question is whether you can reach your next position without giving back the advantage you created. Hurting an enemy and being able to close safely are different things. Routes, teammates, enemy healing, and approaching squads all affect the answer.
Damage does not automatically mean a push
Cracking a distant enemy is tempting, but consider the open ground between you and their building and whether teammates are still watching elsewhere. They may heal faster than you can close, and you may take damage crossing. Your initial health advantage might disappear before arrival.
Even modest damage can create an opening if an enemy is isolated, two teammates can see that target, and nearby cover offers a route forward. Useful damage is more than a statistic: forcing an enemy to hide or heal can buy movement and focused-fire opportunities.
After trading shots, check where the enemy took cover and who protects them. Chasing one cracked target into two healthy teammates’ firing lines does not mean you weakened the whole squad. Spread-out poke and focused damage that temporarily removes one player from the fight are different advantages.
Long-range fire still has purposes: stopping movement, suppressing an enemy while teammates reposition, or holding a strong location. Just know which purpose it serves. If you are only trading ammunition and healing without gaining space or stopping a push, a new position may be worth more than another volley.
Choose your next cover before moving
A push is rarely just a straight sprint at an enemy. It is a sequence of moves toward rocks, corners, or terrain that breaks fire. Your first destination need not be point-blank range: gaining an angle on the side of their cover can change the next exchange.
Before moving, identify who can see the route and where you can hide on arrival. A rock blocking one opponent may leave your entire body visible to another. Cover must actually break enemy fire, not merely look large on your screen. Height is not automatically safe if the climb is exposed or several angles overlook it.
Support distance is not a fixed number of meters. A nearby teammate behind a wall may be unable to help, while a more distant teammate sharing the angle can apply pressure. Ask whether they can shoot the enemy when you take damage, or whether you should wait for them to finish healing.
Rules about how many shield bars you can afford to lose miss the context. Cover on arrival, the number of enemies watching, and available abilities all matter. Judge a push by whether you still have options when you arrive, not just whether you got closer.
Closing the gap does not finish setting up the fight
Getting close does not require an immediate peek. Filing through a doorway one at a time into a held angle can turn a successful approach into a losing fight. Decide whether to enter that prepared line or create pressure elsewhere.
Grenades can force movement as well as deal damage. Abilities can break sightlines or buy healing time instead of all being spent on entry. The right tool depends on the Legend and terrain, but the aim is to disrupt comfortable enemy aim and create a moment your team can fight together.
Suppose an enemy behind a crate has teammates covering both sides. Running straight at the crate may expose you to those teammates first. Denying one line while pressuring from another changes what they must answer. This means avoiding a single predictable direction while staying mutually supportive, not spreading out without limits.
If the first attack fails, the distance you already crossed is not a reason to commit until death. Take cover to reload or heal and re-engage with teammates’ shots. An escape route planned before entry gives you room to correct a bad initial read.
A third party changes the terms
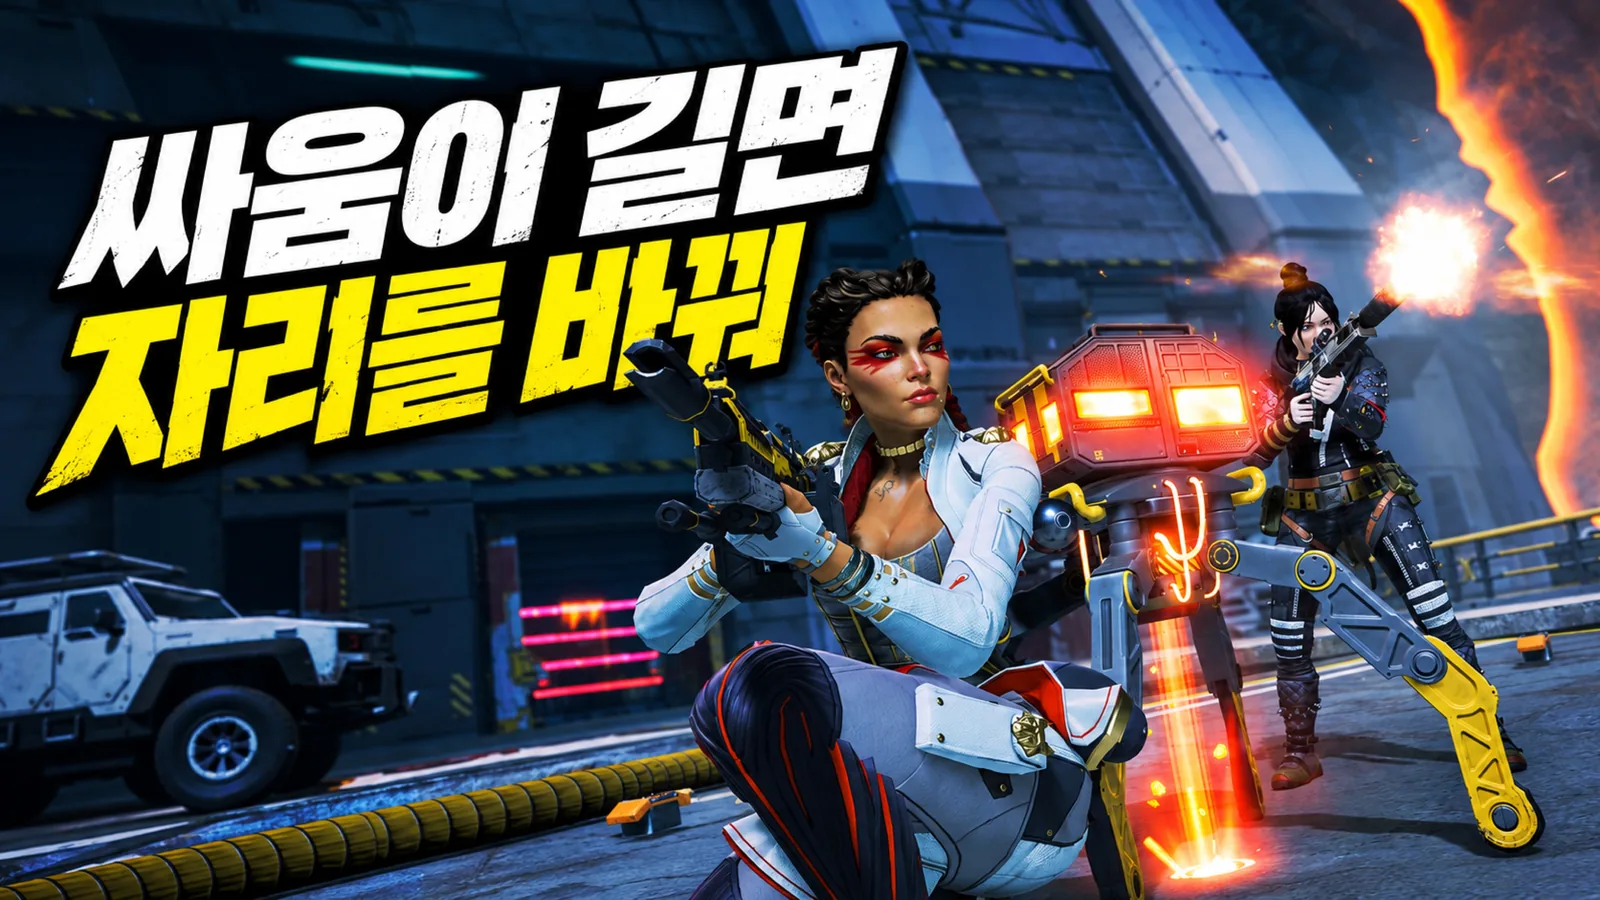
Another squad appearing on a nearby ridge changes the calculation even if the fight began as a clean three-on-three. You now need to consider whether you can heal and move after winning. Tunnel vision on one nearby enemy can make the moment after victory the most dangerous one.
There is no universal timer telling you to leave a fixed interval after the first shot. Terrain, surrounding squads, ring movement, and remaining supplies vary. Instead, use a brief exchange as a reminder to look around and reassess if repeated shooting still creates no opening.
Avoid being caught between two squads’ firing lines. Cover against one side may expose you to the other. Breaking one line can be more valuable than landing another shot. If the ring will force you through a route soon, use it while it is open rather than wait for the fight to finish.
Disengaging does not necessarily mean abandoning the fight. Moving to another building to watch a chase, or leaving an isolated angle before firing again, can be enough. What matters is changing unfavorable sightlines and routes, not simply stepping backward.
In solo queue, call the next action
A quick decision only helps if teammates understand it. Announcing damage and sprinting away leaves them unsure whether to keep shooting or move with you. Enemy-location information and your intended destination are different messages.
When using voice, attach an action to the update: “Cracked one left; moving to the front rock.” On retreat, name the building instead of only shouting “back.” Without voice, combine an enemy ping with a destination ping. Clear destinations reduce the chance of teammates splitting in different directions.
A shared plan is not a permanent order. Change it if a teammate takes heavy damage or another enemy appears before you move. Teamwork is about quickly sharing changed conditions, not defending the first decision out of stubbornness.
Review the departure, not just the last missed bullet
Looking only at aim after a fight misses fixable decisions. Check what teammates were doing after the crack, how many angles exposed your route, and whether your destination offered cover. Those details make the cause of a loss more specific.
Change one practice goal at a time: choose destination cover before the next push, then observe teammate firing access in later fights. Separate the reason to push from execution rather than calling every lost push a bad decision. Likewise, a lucky win does not make an unsupported crossing worth repeating.
Connect three questions: does your damage still matter, can your team fight together, and can you reach the next cover? Pressure when those conditions align; reposition when repeated shooting does not improve them. Good aggression means acting on an opening and stopping when it closes, not always moving closer.
