

Missing an enemy you clearly saw doesn't mean aim is the only thing to fix. Your crosshair may have been misplaced, you may have repeeked a held angle, or you may have fought where nobody could trade you. If you want to improve at VALORANT, look beyond faster mouse movement and review the conditions you created before taking the shot.
A repeatable advantage matters more than one highlight flick. Winning once on reaction and repeatedly being ready for the enemy's likely position are different skills. Good aim helps, but if every fight demands a difficult correction, your practice may not translate into ranked results.
Work out why you lost the fight
Two deaths that look like an aim diff can have different causes. If you were stationary, knew the enemy's position, and still missed, mouse control is worth checking. If you exposed yourself to several angles while watching only one, faster reactions won't fix the setup. Your path and how much of your body you exposed matter too.
Learn movement and shooting as separate actions. Riot's beginner guide also tells players to stop before firing for accurate shots. In rifle fights, check whether you were still moving, even if your crosshair was on target. Movement penalties vary by weapon and situation, so don't treat every gun the same way.
When reviewing a death, go beyond “I should have hit that.” Separate a missed adjustment from shooting before you were ready, and both from taking a bad fight in the first place. That tells you what to practice in the Range and what to change about your pathing.
Pre-aim the position, not just head height
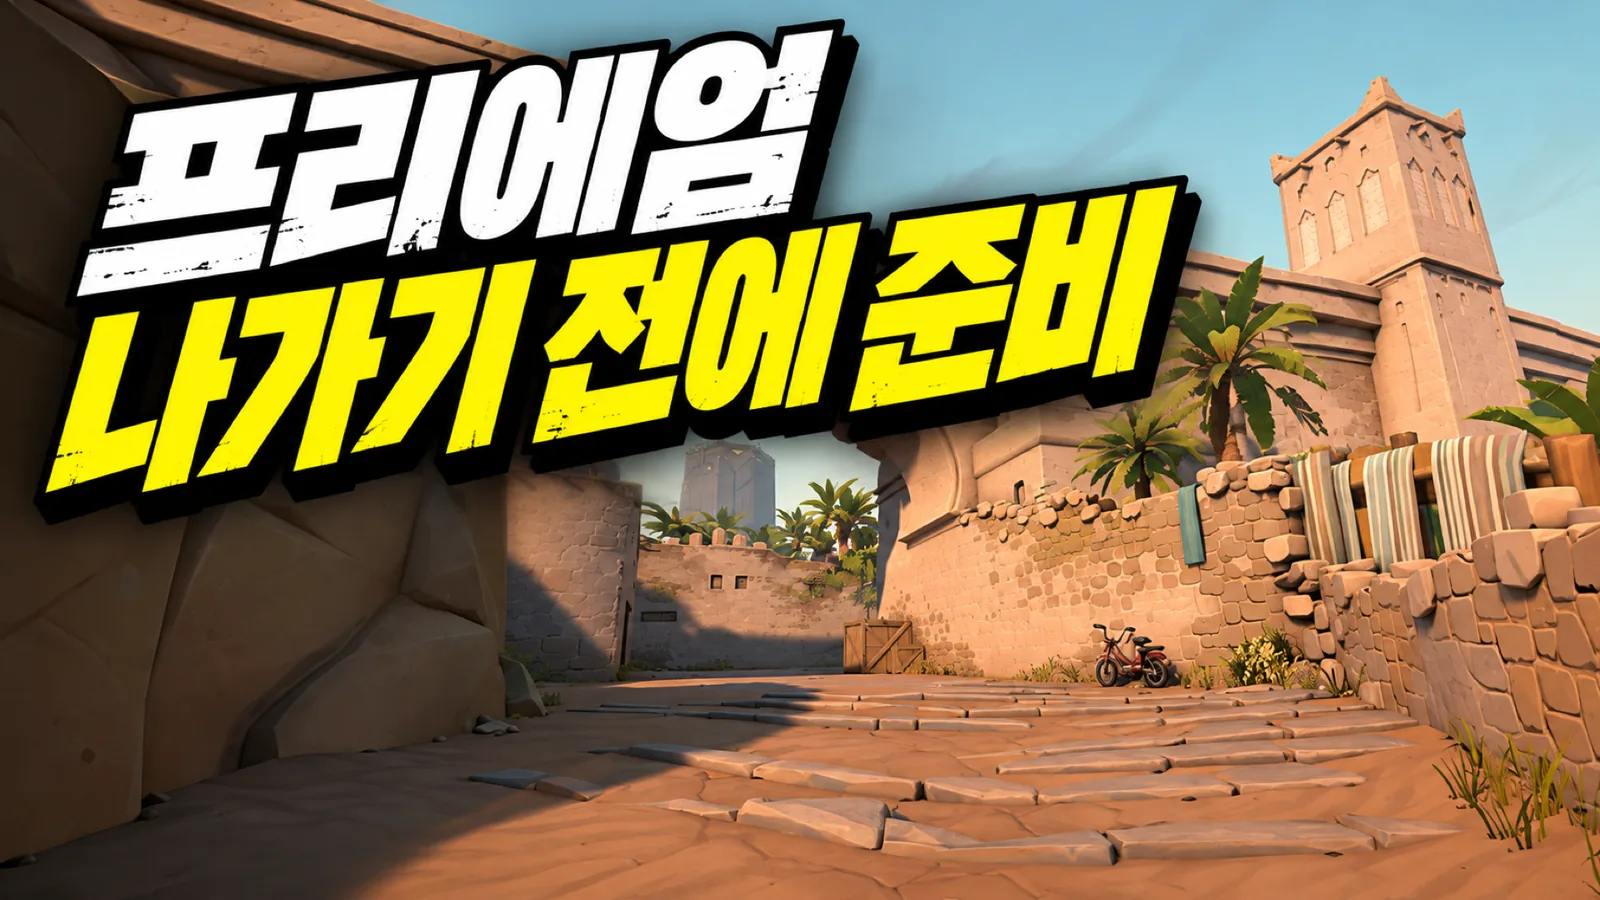
Pre-aiming means setting your crosshair where you expect an enemy before you see them. Head height is a useful starting point, but enemies can occupy several positions at that height. Line up the horizontal placement with the specific corner you're clearing to reduce the correction you'll need.
Imagine clearing the right-hand corner at the end of a corridor while aiming down its center. You'll have to move your crosshair right when someone appears. If it's already prepared for that corner as you peek, the adjustment is smaller. Calling the difference “reaction time” overlooks the preparation you could have done earlier.
Keep checking your crosshair while moving. A good starting placement doesn't help if it drifts into a wall or toward the floor during a strafe. Slopes and elevated positions also change the right head height. Understand the height relationship between you and the enemy instead of relying on one memorized wall marking.
Practice clearing one expected position at a time. Put your crosshair there, move, and check whether it's still ready as you become visible. If several angles open at once, change your route or use utility to cut off sightlines rather than expecting crosshair placement to solve everything.
Before repeeking, ask what has changed
Peeking exposes you from cover to gain vision or take a fight. Once you've made contact, peeking the same spot again isn't a fresh duel. Your opponent now knows where you are and can hold your return.
The useful question is “What changed?” Can a teammate pressure another angle, can a flash disrupt the defender, or can you change your position or elevation? If the conditions haven't improved, there's less reason to take the same fight again.
That doesn't mean never repeek. The clock may force you to act, or an enemy looking elsewhere may give you a timing. Just separate a decision based on new information from an emotional attempt to win back the last exchange.
Utility has a clearer purpose when you think this way. Smokes reduce the sightlines you must handle at once; recon narrows down the positions to clear. Sova's Recon Bolt reveals nearby exposed enemies, but it can be destroyed and doesn't clear every hiding spot. Use what it tells you without treating unscanned areas as safe.
Defense is about controlling space, not staying in one spot
If defense means standing still until the attackers arrive, you'll struggle to react to pressure elsewhere. That doesn't mean pushing every round. Useful aggression is mainly about changing your role as information comes in, rather than covering the most ground.
When several attackers show on one side, pressure elsewhere may be lighter. Checking empty space or taking a forward position can limit rotations and give your team information. Even without a kill, making opponents watch their flank or letting teammates commit elsewhere can have value.
Seeing several enemies doesn't make your route safe. A lurker may still be waiting, or the attackers may have moved since the information arrived. Check how old the information is, what opens up if you die, and whether you can get back. A distant push can also delay your rotation while teammates are already losing the site.
Repeating the same push at the same time makes you predictable. Sometimes show pressure and back off, sometimes use utility to threaten the route, and sometimes fight with a teammate. Judge the play by the information and pressure it creates, rather than how far forward you got.
Hold or fall back? Check support and your exit
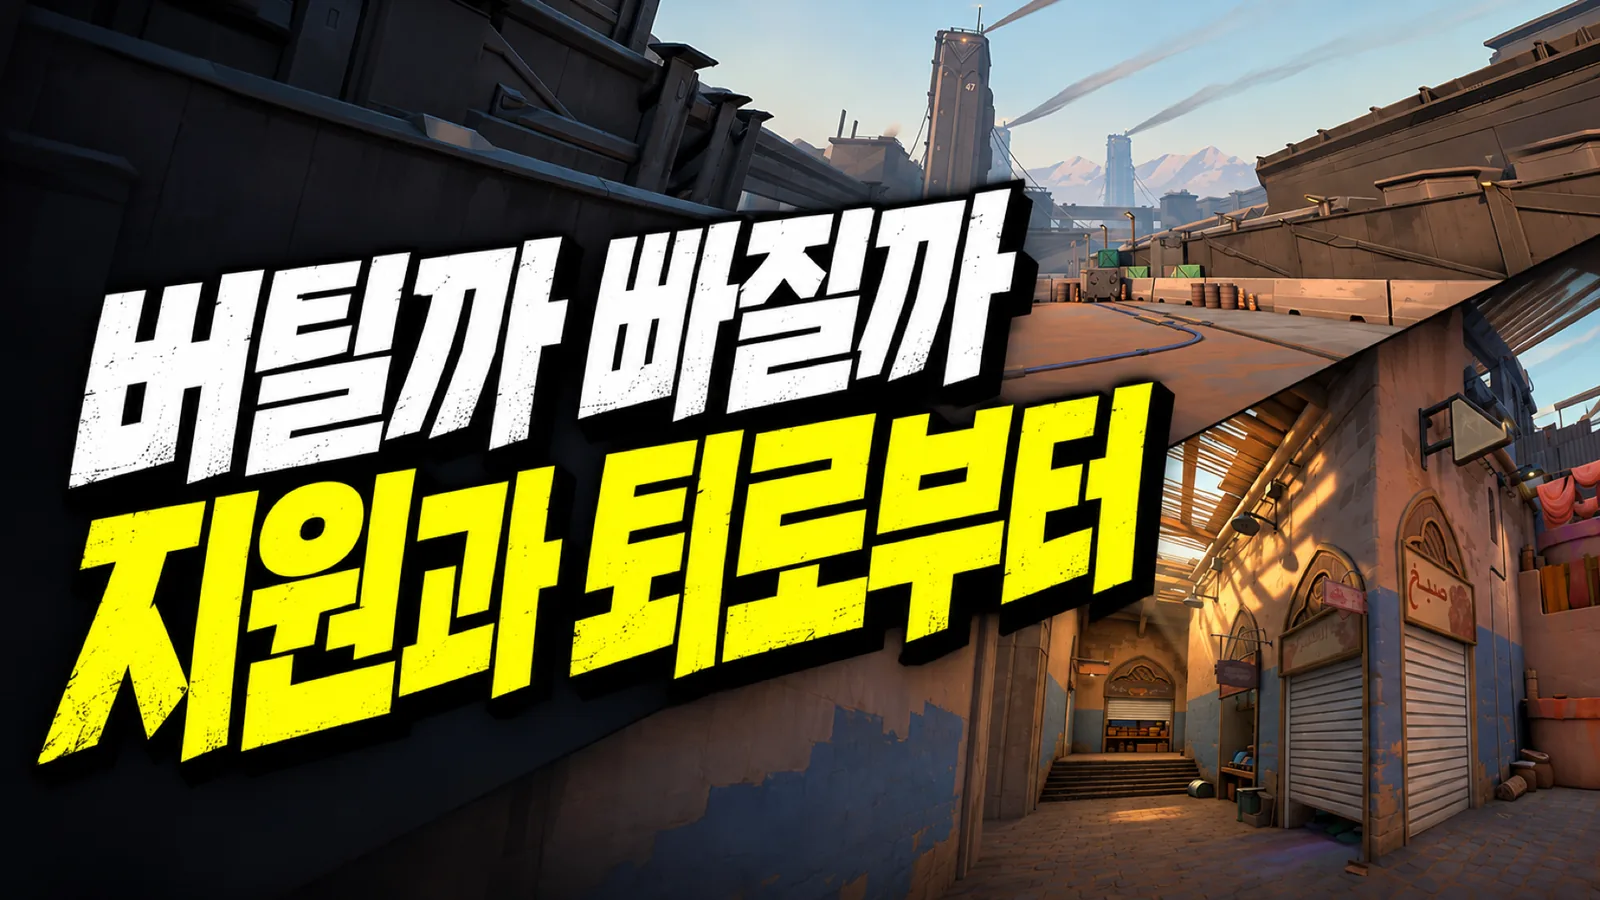
Giving up a little space is often less costly than dying without buying time. Staying alive can force the attackers to clear another position and let you fight again with teammates. An isolated death removes those options.
Enemy numbers aren't the only factor. Can a teammate actually help, do you have utility to delay the hit, and will an escape route remain once the pressure arrives? A teammate nearby but blocked by a wall or smoke may not be able to shoot the same enemy at all.
| Check | Reason to hold | Reason to reposition |
|---|---|---|
| Teammate support | You can watch the same entry together | You're isolated and help is late |
| Tools available | Cover and utility can delay the push | Your vision and movement are restricted |
| Escape route | You can leave if pressure builds | Waiting may get your exit cut off |
| Team objective | Holding the lane serves a clear purpose | Surviving for a coordinated retake is more useful |
Suppose you're alone at an entrance and several pieces of enemy utility arrive together. Repositioning behind the next piece of cover may buy more time than staying for one desperate kill. If two defenders are ready to hold with utility available, a single footstep isn't a reason for both to give up the position.
Falling back still needs a plan. Repeatedly retreating without a next angle or a regroup point gives away space too easily. Once the Spike is planted, the clock also shapes whether you can defend or attempt a defuse. Instead of treating survival as an absolute rule, ask what staying alive lets your team do next.
Use aim practice and VOD review for different jobs
Use the Range to practice stopping before firing and making small adjustments. Use Deathmatch to rehearse clearing real map angles with your crosshair ready. A Deathmatch score doesn't measure your ranked defense decisions: ranked adds utility combinations, teammate positions, and planting or defusing the Spike.
A specific takeaway is more useful than reviewing everything. Rewind to the decision to fight, not just the instant you died. Write one change you can make next game: “My crosshair was low,” “I exposed myself to two angles,” or “I repeeked before help arrived.” That's actionable; “bad decision” isn't.
The shooting error graph can help too. Riot describes it as a display of recent shot error values for diagnosing fights afterward. It doesn't judge whether you aimed at the head or needed to take the fight. Pair it with a recording of what actually happened.
No single drill covers everything needed to climb, but you can choose the right priority. If you miss prepared shots, work on shooting fundamentals. If every contact needs a huge emergency flick, review pre-aim and exposure first. Aim for more fights where you can use the aim you already have.
