

On Abyss defense as Yoru, prioritize preparing an escape before contact, pushing with information, and matching the team’s retake timing. A teleport cannot rescue a solo push into a rush or a missed rotation timing by itself.
When leaving B to support elsewhere, decide when your position can be abandoned as well as where to find a kill. This guide connects B defense, push conditions, fake reads, and immediate post-plant retakes.
Abyss Yoru Decision Framework
| Situation | Information to Check | Direction |
|---|---|---|
| Holding inside B | Escape route and Gatecrash readiness | Prepare the exit before choosing contact position |
| Attack sounds at A | Teammates, enemy utility, and confirmed entry | Choose a quick rotation or continued B coverage |
| Opponents spread across areas | Rush risk, information elsewhere, and exposed angles | Take a limited push only when evidence supports it |
| Spike just planted | Teammate entry positions and attacker setup time | Exploit a gap with a flash and synchronized pressure |
| One defensive position already succeeded | Where enemies may pre-aim or use utility next | Change position or contact timing |
These are conditional options. Current information matters more than assuming the previous round will repeat.
Prepare the Escape Before Holding Inside B
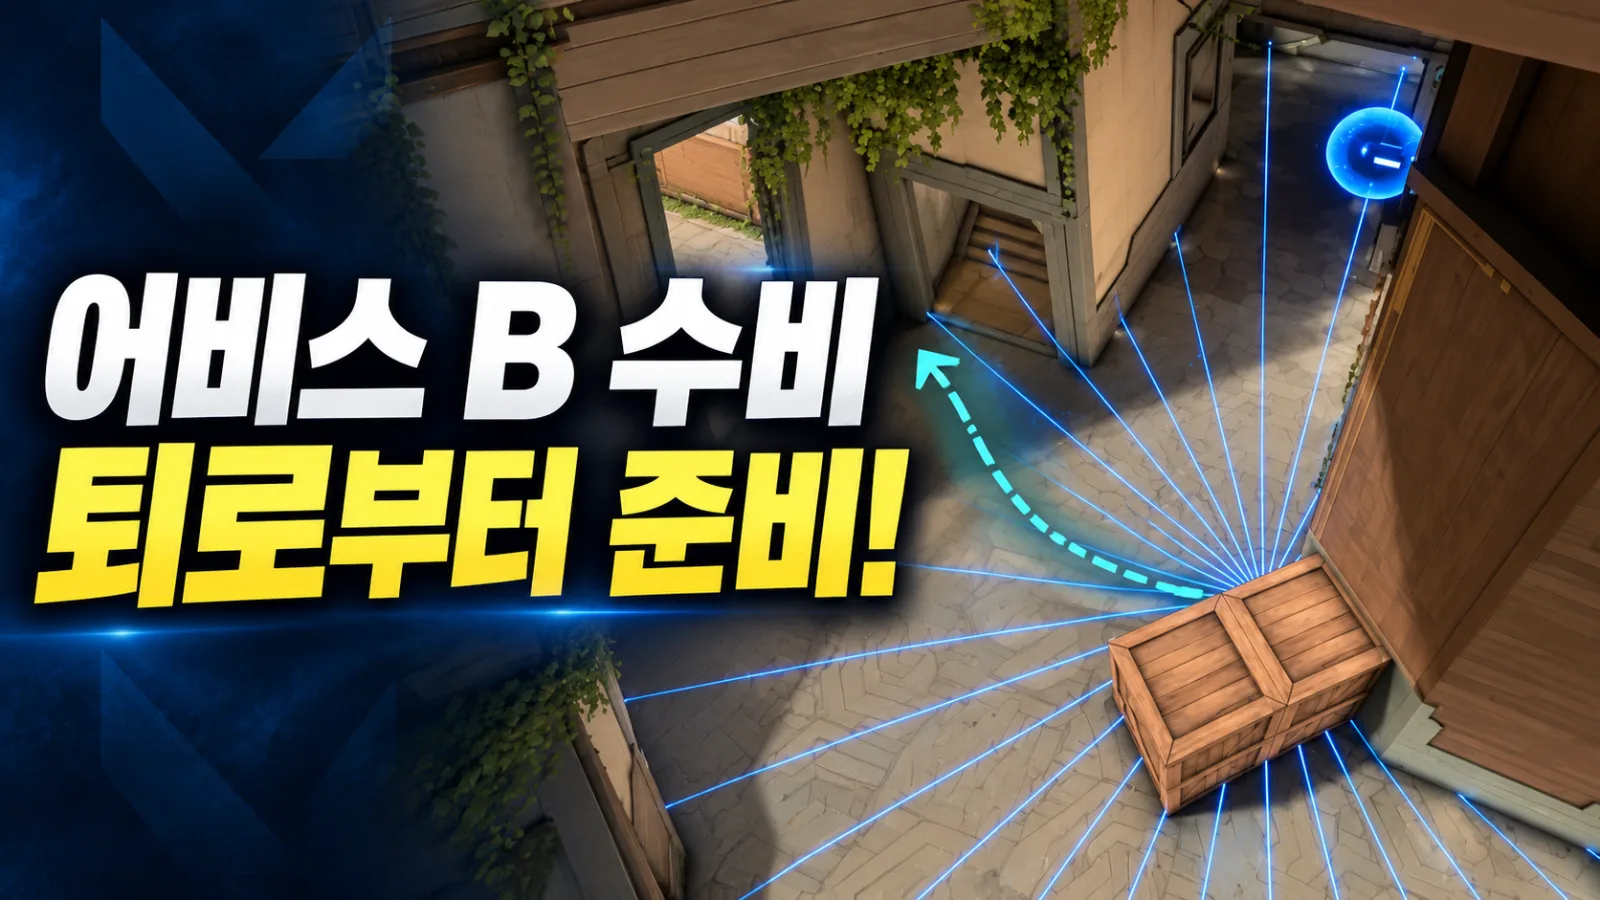
A deep B position can contest the entry but become difficult to leave on foot under pressure. Yoru can plan contact around a prepared Gatecrash exit.
Use the order prepare escape → take position → make contact → decide whether to leave. Building the exit only after spotting enemies may be too late. Teleporting is not guaranteed safety at any moment; check readiness before enemy utility arrives.
After one kill, ask why you should keep fighting. If attention and utility converge on your position, surviving to regroup can be more valuable.
Start by learning one position’s fight-or-leave timing rather than memorizing many unfamiliar holds.
Plan Teleports Around Team Coverage and Arrival Time
Gatecrash can support an opposite-site rotation as well as an escape. Consider the chance of contact and the space the team leaves uncovered.
Even if A looks likely, three teammates already there may not need a fourth immediately. Holding B while preparing a fast A response preserves another option.
If teammates are still fighting on A, arrive in time to help. If they have retreated, regroup for a shared re-entry instead of feeding into site one at a time.
Before rotating, ask:
-
Are teammates still holding or already out?
-
Who checks the area you leave?
-
Can you fight on arrival, or do you need to regroup?
Predicting the target site is only part of defense. You must arrive when the team can use your presence.
Three Checks Before a Defensive Push
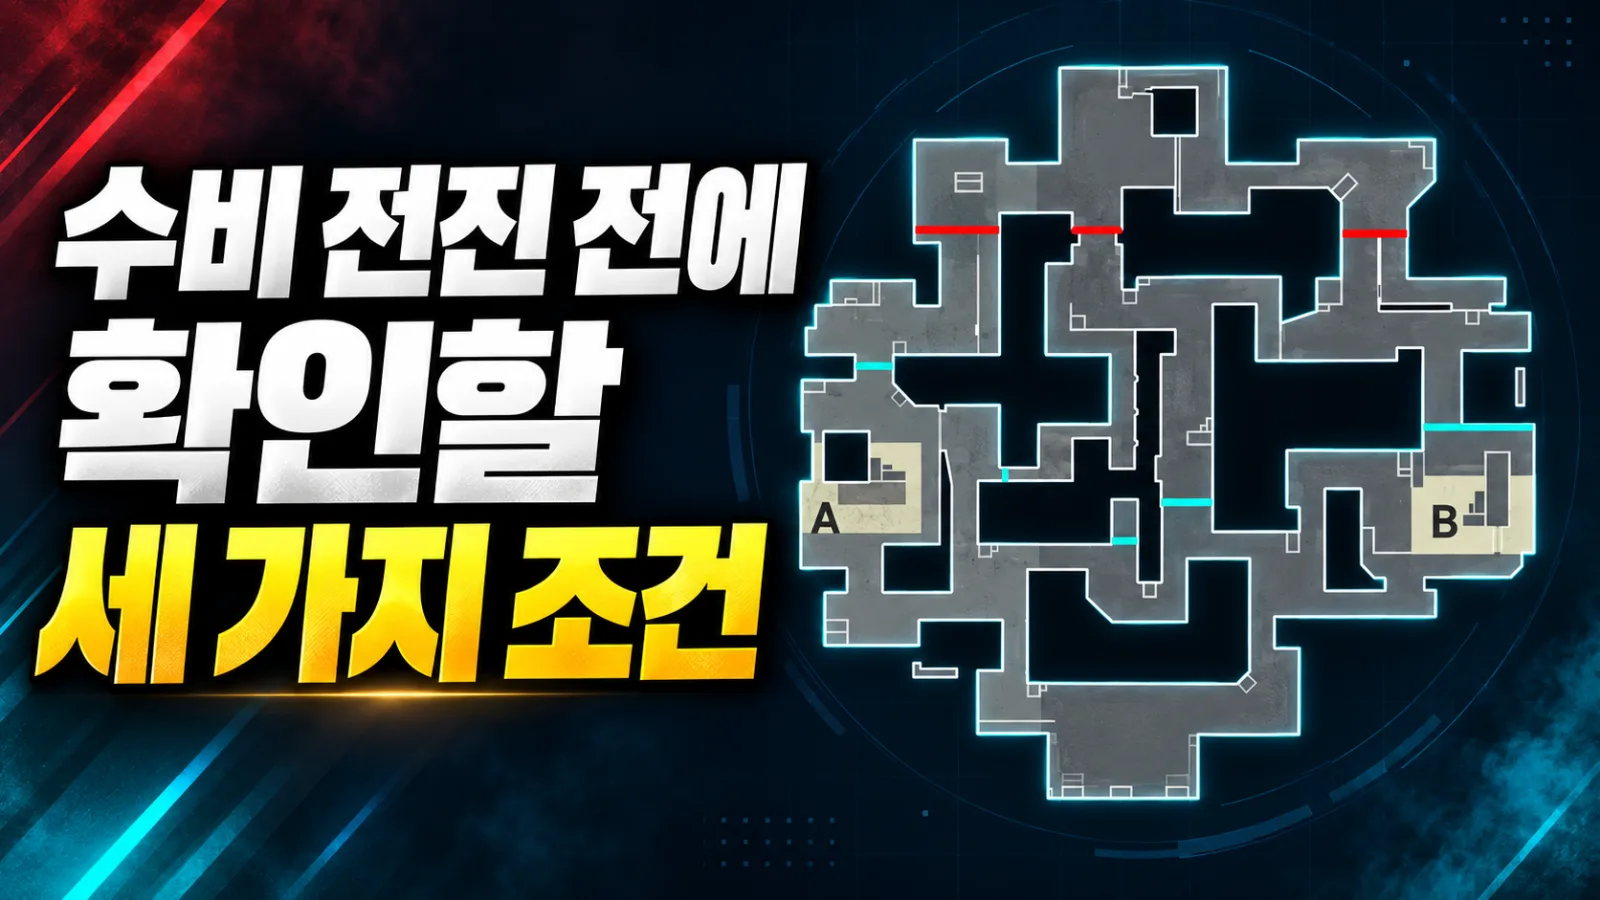
An enemy eco does not automatically make pushing safe. A grouped rush can focus you before your weapon advantage matters.
Before pushing as Yoru, check three conditions:
First, is a rush coming toward you? Multiple footsteps or entry utility can favor holding the prepared position instead of advancing.
Second, what information exists elsewhere? Mid audio, opposite-site utility, or teammate sightings support a read. Seeing one enemy elsewhere does not prove nobody is in front of you.
Third, how many angles open when you move? Exposing Main and a connector at once can create a bad fight. Adjust timing and route to check one threat at a time.
A successful push need not continue deeper. A kill or space take forces opponents to recheck the area; leaving to support elsewhere can convert that pressure into team value.
Read Fakes with Audio and the Minimap Together
Repeatedly stopping one site can make you expect the next hit elsewhere. The opponent can still repeat. Round history supports a prediction; current information should drive movement.
Alongside footsteps, check entry utility, confirmed players crossing into site, and sightings elsewhere. Overrotating to sound can abandon the other site; insisting it is a fake can miss the needed support.
You may use information to claim space the enemy leaves open. That can watch their rotation route and reduce teammates’ flank concerns without requiring a deep kill hunt.
But distinguish directly checked space from unconfirmed space. Brief silence does not clear an entire site. Tell the team what you actually cover.
Retake Timing: Catch the Setup Gap Together
A retake recovers a site the attackers control. Immediately after planting, they may not yet occupy mutually supporting positions.
If teammates are ready, a flash-assisted fast retake can exploit that gap. The goal is a shared fight before attackers finish setting up rather than speed for its own sake.
Pressure the Same Enemy from Different Directions
If a teammate takes the defender-spawn approach, often called CT, another can pressure from an upper position, often called Heaven. These descriptive callouts should identify the actual route clearly to your team.
Different directions still fail if timing isolates each player. Apply pressure while the other teammate makes contact.
Reduce Unknown Angles with Utility and Movement
When both sides need clearing, a flash can limit enemy responses before you check them in order. Flashing does not prove the area empty, so keep clearing as you move.
After a kill, immediately check the possible trade, teammates’ sightlines, and remaining uncleared space. Reduce simultaneous threats so aim can focus on a manageable fight.
A fresh plant is not enough reason to force this approach if teammates are distant or information is poor. At a numbers disadvantage, account for time and weapons too.
Do Not Repeat a Successful Hold Unchanged
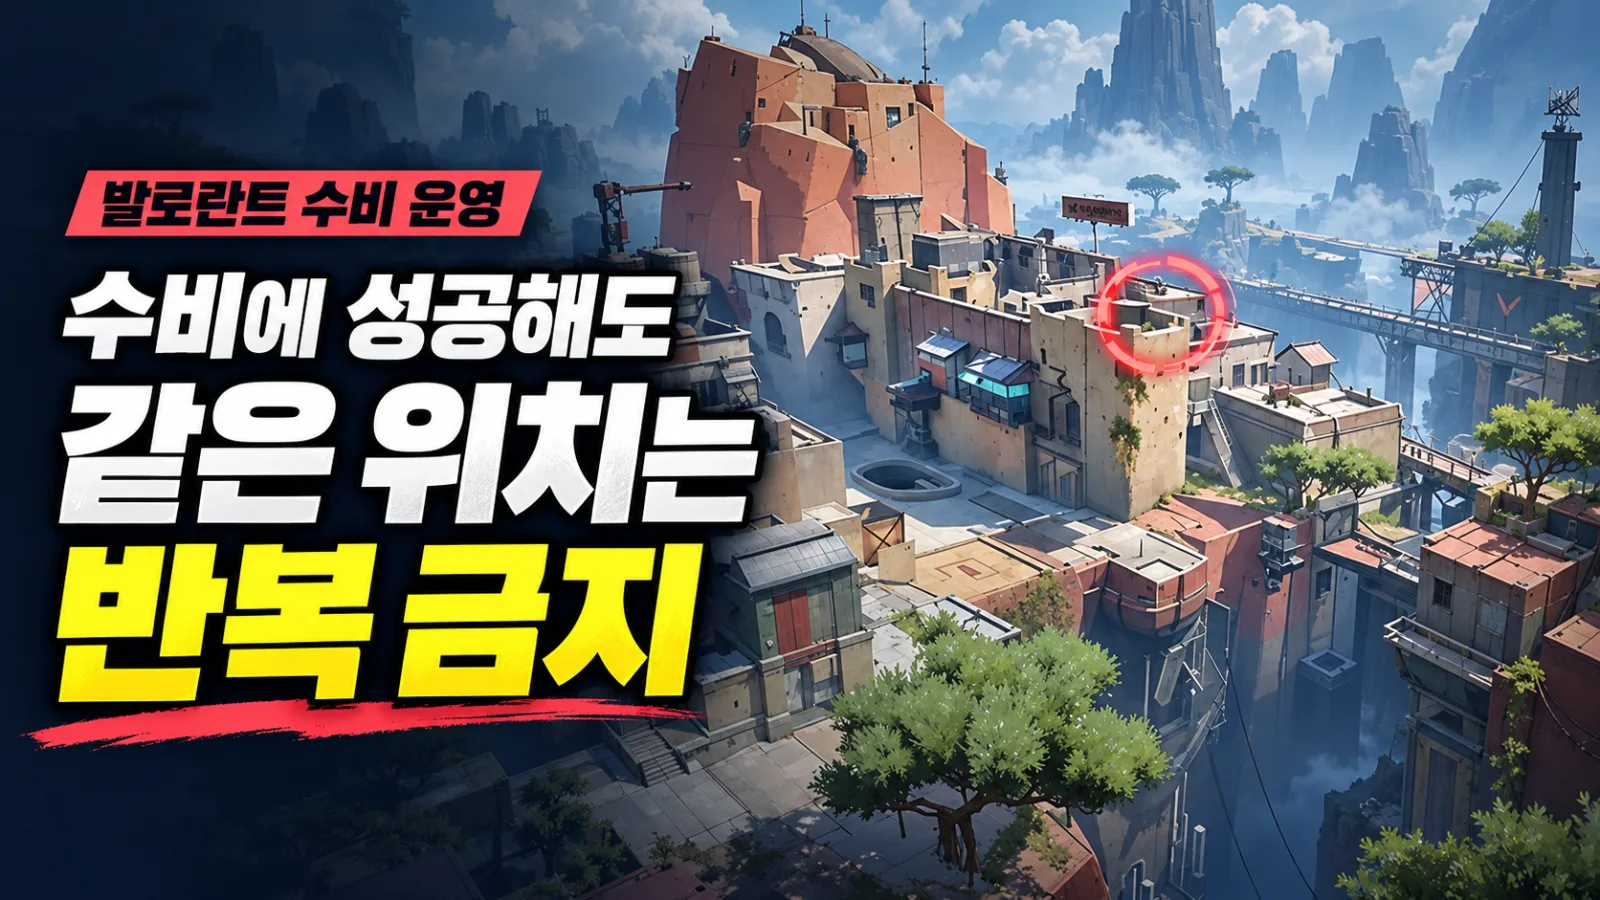
After one successful hold, opponents may pre-aim it or spend utility there. The same position on the same timing becomes predictable.
On B, vary deep holding, cover-based contact, or delayed angle changes while still checking escape and teammate support.
The point is to consider what the opponent will prepare after seeing your last play and choose a response, not to be different randomly.
Apply the same principle on attack. If a rush repeatedly fails, check whether timing, utility, or route has become readable.
FAQ
Must Yoru Always Defend B on Abyss?
No. The deep-B fight-and-exit is an option. Team coverage and enemy patterns can justify starting A or preparing opposite-site support.
Can I Push Freely Against an Eco?
Weapon advantage alone is insufficient. Check rush risk, information elsewhere, exposed angles, and the escape. With little evidence, a favorable defensive hold may be better.
Should I Retake as Soon as the Spike Is Planted?
The immediate window is an opportunity, not a rule. It gains value when teammates can enter together and attackers have not finished setting up.
Will This Guarantee Immortal?
No specific approach guarantees a rank. Escape preparation, evidence-based pushes, and synchronized fights give you concrete habits to practice and review.
Three Checks for the Next Ranked Game
Rather than copying every action, check:
-
Before taking a hold: is the post-contact exit prepared?
-
Before pushing: what evidence supports the enemy-position read?
-
Before retaking: can teammates fight on the same timing?
Review these alongside kills. An early death may point to escape preparation, a late arrival to the rotation read, and a solo entry to coordination. Each gives the next game a specific adjustment.
Regional and version notes
This is an Abyss tactical framework, not a fixed Yoru lineup or current map-pool claim. Teleport readiness does not guarantee a safe escape. CT and Heaven are descriptive community callouts for defender-side and upper approaches; confirm the exact route with your team. Some illustrations are retained from the Korean edition and may include Korean labels. Use the English article text for instructions.
Localization sources checked October 22, 2026 (Korea time):