

The tricky thing about dealing with Saiga in PUBG is that even if you hold on to the first shot, the next shot continues. The shotgun can cause great damage at close range and has room for follow-up shots, so if you encounter it in front of a door or corner of a building, you have less time to react. However, that doesn't mean you can win all close combat just by picking up the S12K. The important thing to consider when evaluating this gun is whether it can create a distance to properly deliver firepower
If you're considering whether to use Saiga, it's better to look at your movement path and secondary weapon first rather than 'which shotgun is the strongest?' A version where you fight indoors and a version where you have to keep crossing an open field have vastly different conditions, even if you are using the same gun. Based on the S12K of PC/Console PUBG: BATTLEGROUNDS, the strengths and limitations are quite clearly divided.
Why the S12K is dangerous at close range
“Saiga” is the community nickname for the S12K. It is a magazine-fed, semi-automatic shotgun using 12-gauge shells: each shot requires a separate input. Unlike an automatic assault rifle, holding the trigger does not keep firing, but you can shoot again without waiting through a pump-action cycle.
The advantage appears when the opening shot does not land perfectly. Moving enemies or partly exposed targets may not catch every pellet. If the first shot does not end the fight, the S12K lets you correct your aim and fire again. Its value is not just one accurate hit, but maintaining pressure before the opponent can reposition.
Even from the opponent's point of view, it becomes dangerous to judge that ‘I fired one shot, so I can come out now.’ If you think there will be a big gap between shots and enter through the nearby door, you may be exposed to the next shot. Especially in situations where the opponent's location is discovered late, it takes time to point the gun and shoot, making it more difficult to respond.
However, just because follow-up shooting is easy doesn't mean you can aim roughly. If the muzzle strays off target while clicking quickly, it only consumes ammo. I think the criterion for taking advantage of Saiga is closer to the speed at which it refocuses its aim on the opponent than the number of shots.
Pellet hits matter more than nominal damage
Once the shotgun is fired, the bullets spread out and hit the target. Even if it looks like you hit one shot on the screen, the damage actually varies depending on the number and area of bullets hit. Because distance and armor also affect it, if you use a close-up takedown scene as the standard for all situations, your judgment will be wrong.
For example, you can think of a situation where only the other person's shoulders and arms are visible next to the door frame. Even if your aiming point is near your opponent, some of the bullets may hit door frames or walls. Conversely, an opponent with a wide body exposed at close range has more room to hit with bullets. The problem of ‘I clearly hit it, but why doesn’t it go down?’ cannot be explained solely by the displayed weapon damage.
This characteristic is also reflected in the official balance adjustment. Update 34.1 increased the S12K's bullet spread by 5% and lowered its damage from 24 to 23. At the time, the development team adjusted the S12K, which had a high win rate, while also tinkering with the roles of other shotguns. This history is the background to Saiga's strength in close combat, not the basis that it is superior to all current weapons.
So rather than memorizing that it is one shot to a certain distance, it is useful to stand at the same distance at the training range and compare when the aiming point is in the center and when it deviates to the side. Afterwards, if you gradually increase the distance, you will be able to figure out at what point your accuracy becomes unstable. The distance that I can hit repeatedly is more helpful in making actual choices than the maximum distance that others have succeeded in.
Separate magazine and muzzle attachment roles
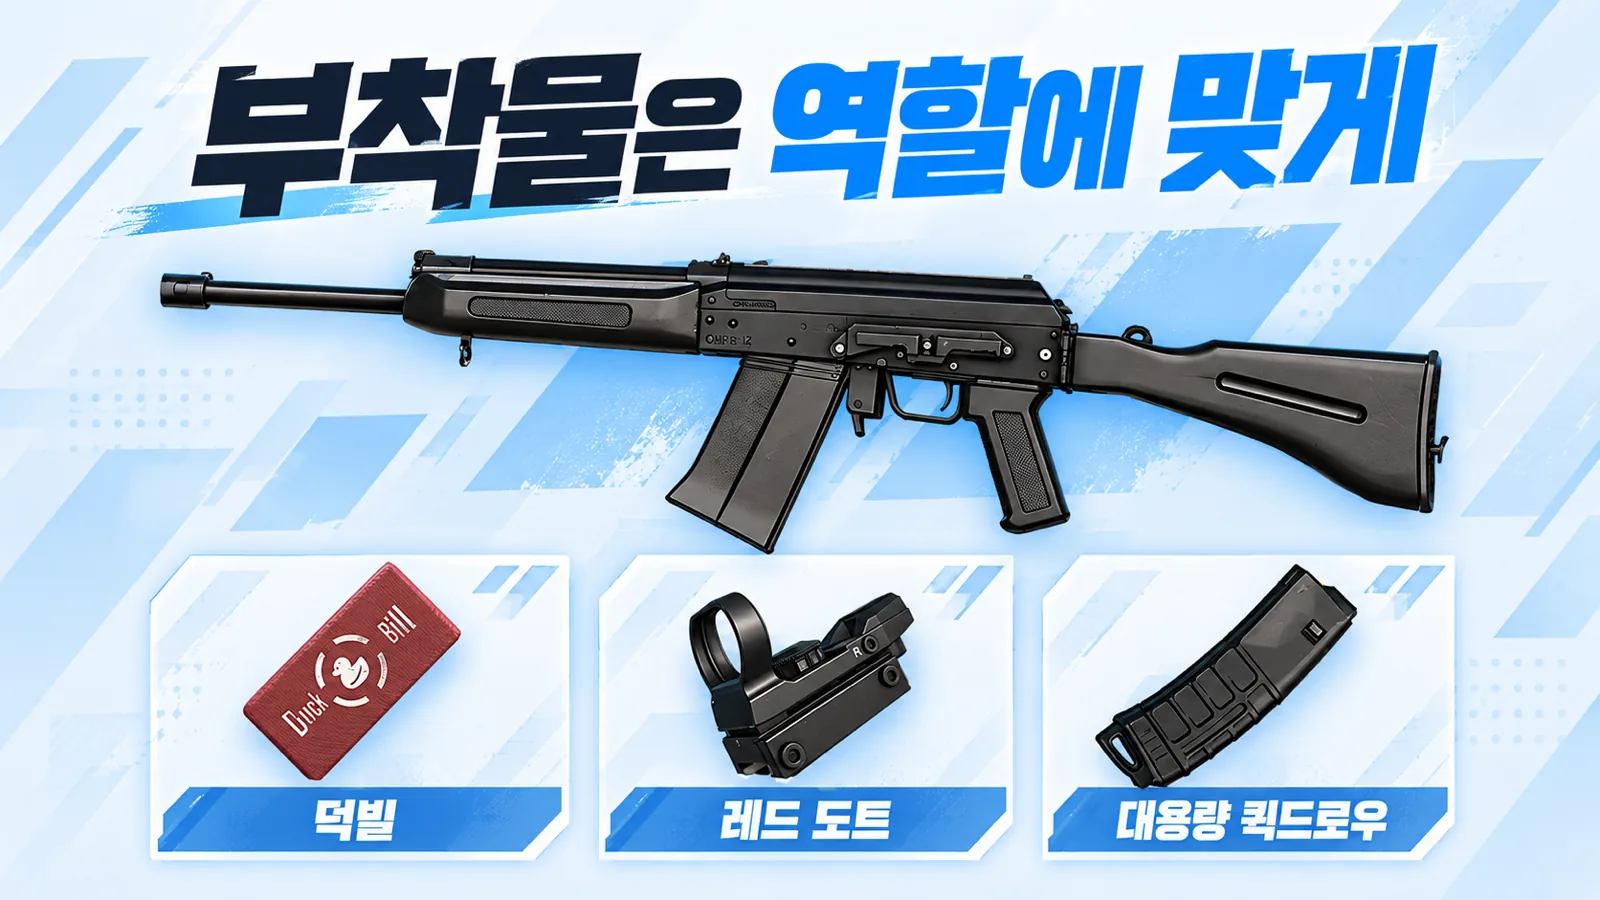
S12K can utilize muzzle, sight, and magazine attachments. It is not a way to supplement performance with a handle or buttstock. If you know the slots you need and farm them, you can save yourself from wasting time collecting unusable parts.
The magazine is a part worth looking at first. Quickdraw is for reload speed, large capacity is for magazine capacity, and high capacity quickdraw complements both functions. If the fight ends with one enemy, it is easy to secure space to reload, but in a situation where other enemies come in succession, the remaining ammunition in the magazine becomes important. However, just because the name is longer doesn't mean you have to choose the right answer for every situation. The priority is to look at the remaining ammunition and the next cover location.
The selection criteria for the muzzle vary depending on what you are trying to improve.
| Attachments | Role confirmed in official description | Things to look for when selecting |
|---|---|---|
| Duckbill | Reduced bullet spread and improved bullet collection | If you want to collect more bullets and hit them |
| Compensator | Reduced recoil | When it is difficult to maintain the aiming point during follow-up shooting |
| Brake | Reduced recoil and vision blur when shooting | If not only recoil but also screen shaking is a burden |
| Silencer | Reduction of gunshots and muzzle flames and improvement of aimed shooting accuracy | When considering sound exposure and hip fire together |
Because they all fit into the muzzle slot, combinations such as using Duckbill and silencer at the same time are not possible. Also, do not think that you can attach the choke used on other shotguns to the Saiga. Choke is not in the S12K's official attachment list.
It is worth choosing a red dot or hologram sight as it is easy to quickly identify nearby enemies. Being able to equip a multiplier sight is one thing, being able to deal effective damage from a long distance is another. The enlarged screen does not eliminate the spread of the bullets. Rather than obsessing over completing the attachment, I think it's better to secure the necessary magazines and familiar sights and then move on.
Plan where to shoot and where to retreat
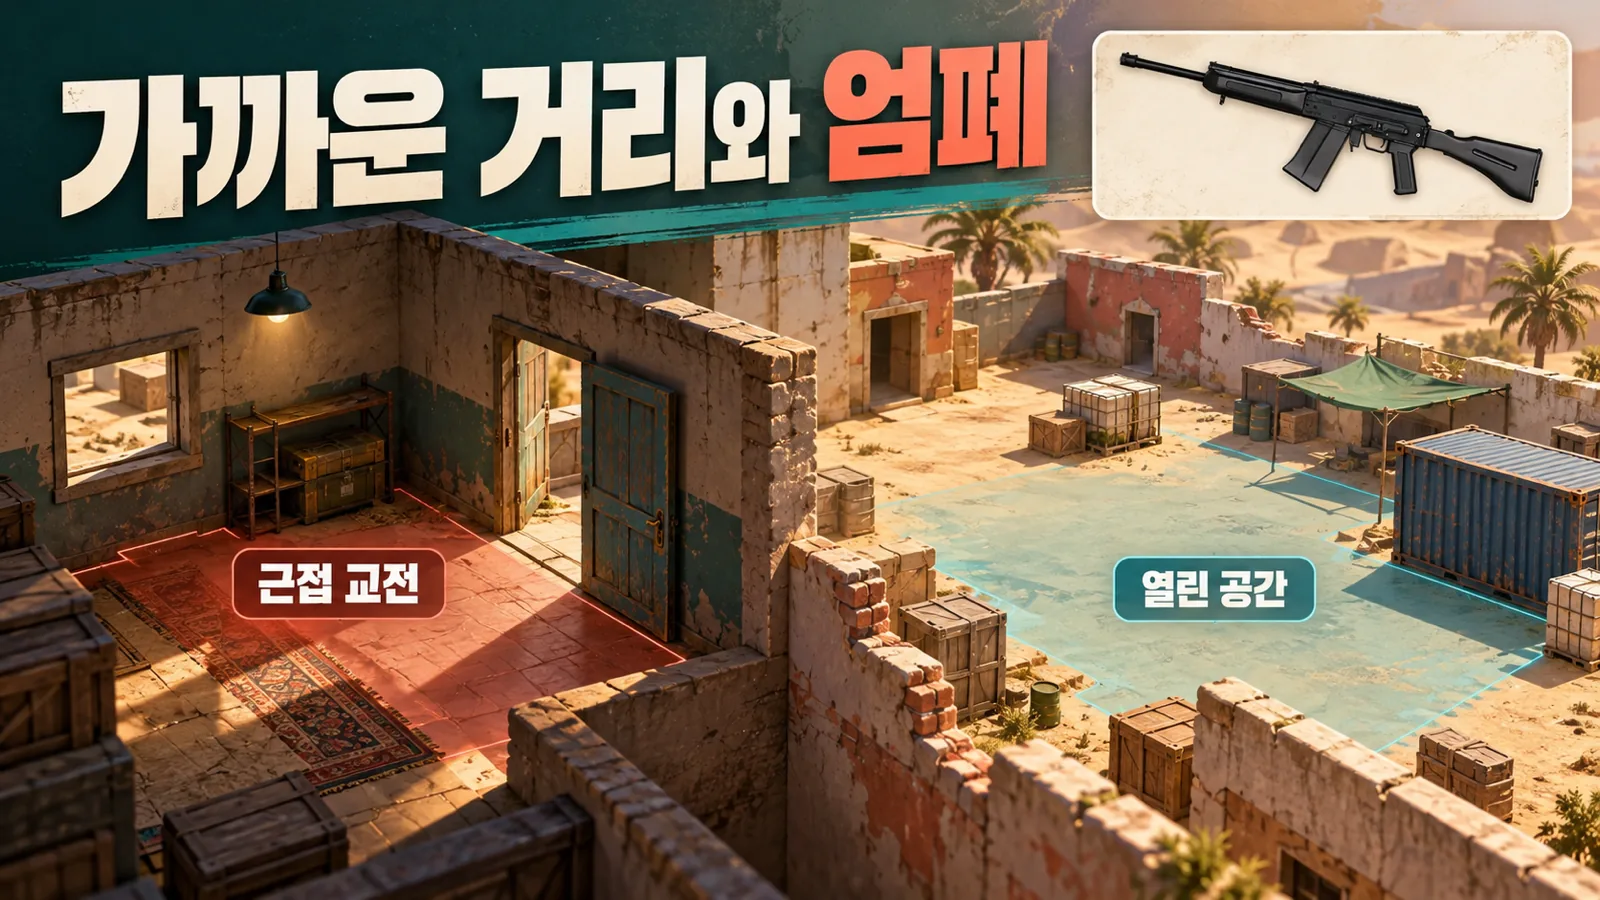
A good environment to use Saiga is a space where you can meet your opponent closely and have a place to hide after shooting. Doors, stairs, and building corners tend to have short engagement distances, which fits well with the characteristics of the S12K. But just because it's inside a building doesn't mean it's advantageous. If you are exposed to multiple windows and entrances at the same time, you can be attacked from different directions while dealing with one side.
When taking a position, it is better to not only look at where the enemy will come in, but also think about where you will retreat after the first engagement. Even if follow-up shots are possible, the magazine will eventually run out and you will need time to reload. If you stand in the middle of the doorway and shoot until the end, you will be weak to subsequent attacks after suppressing the first opponent.
This issue becomes more important in the squad. If you focus on confirming and killing one person immediately after knocking them out, it's easy to lose ammunition and vision to respond to the remaining enemies. If the location of the rest of the opposing team is unknown, it makes sense to maintain cover and split roles with teammates. Saiga's advantage of being able to fire multiple shots in succession does not mean that he has to take on all enemies alone.
The smoke screen used when approaching must be viewed from the same perspective. Smoke can obscure your vision and aid movement, but it is not a cover against bullets. You can anticipate the opponent's direction of movement and shoot, or watch the point where it leaves the smoke screen. What is more important than the fact that a smokescreen is used is whether there is actual cover at the end, such as a wall or terrain.
Follow-up shots set it apart from other shotguns
S686 features an instant response by firing two shots in rapid succession, while S1897 goes through a pump action between shots. Thanks to the S12K's magazine-type semi-automatic structure, it is easy to keep shooting multiple times. Understanding these differences when choosing a shotgun will make your choice easier than simply ranking which gun is stronger.
A situation where you can appear briefly, shoot once or twice, and then hide again, and a situation where nearby enemies move continuously, require different abilities. In the former, the accuracy of the first aim and the timing of taking cover are important, and in the latter, the ability to make corrections with the next shot is important. Saiga has a clear reason to choose in the latter situation.
However, I don’t want to link this to ‘Saiga for beginners’. Even if you can shoot continuously, you have to keep the opponent in the center of the screen, and you have to judge movement and cover while repeatedly entering the shot. It is an advantage to have another chance when you miss the first step, but it also takes practice to utilize that opportunity.
If you are a beginner, it is a good idea to practice maintaining aim at a short distance and to practice deciding whether to reload or change weapons after engaging once. Areas for improvement are more visible if you look at how quickly you can respond to the next enemy at the end of an engagement, rather than how quickly you empty your magazine.
Your second weapon should cover longer ranges
The biggest cost when carrying the S12K to the end is using one of the main weapon slots for melee combat. You need to think about how to fill the distance that would have been easier to cover if you had an assault rifle and a designated marksman rifle together. Winning a close encounter and surviving until the last magnetic field are two different problems.
If you are not familiar with using a shotgun, it is relatively easier to understand combining the S12K with an assault rifle. When you are very close, use Saiga, and when you get a little further away or encounter an enemy while moving, use the assault rifle. Instead, its role in precisely suppressing distant enemies is reduced.
You can secure long-distance response by combining it with a designated marksman rifle or sniper rifle, but it is too far to use Saiga, and handling other weapons can be a burden in urgent situations. This combination is less about the performance of the weapon itself and more about how well it handles mid-range engagements. It is also worth considering whether a team member can take care of that section.
If the magnetic field narrows to open terrain or there is a lack of safe access routes, it is necessary to decide to replace the weapon. Just because you've already collected attachments doesn't mean you have to keep them until the end. Rather than perfecting a gun, adapting it to the upcoming fight is more directly related to survival.
Facing an S12K: avoid rushing through the same doorway
If your opponent has the S12K, you should think twice about choosing to fight head-on quickly at a nearby location. Even if you know your opponent's strengths, if you rush to the door and engage in combat, you will reduce the ability to utilize the distance of your assault rifle or submachine gun. If possible, it is advantageous to maintain cover, secure the gap, and create a situation where the opponent has to reveal himself.
It is especially important not to assume that a weapon is reloading just by hearing the sound of the first shot. If you don't know how much ammunition is left, you should move assuming that additional shots may follow. It is worth considering in turn whether you can change the entrance, whether you can pressure your teammate from a different direction, and whether you can change the opponent's position by throwing Chuck. Grenades and flash grenades can also be avoided or covered by the opponent, so their use itself does not guarantee successful entry.
Above all, check whether you must catch the opponent now. If you have enough time and an alternative route to get to a safe area, you can also choose to avoid adverse indoor engagements. Conversely, if you have to move soon due to a magnetic field, you must first share that the time available to confront the opponent is short.
The case for recommending Saiga is ultimately clear. This is when you can create close engagements, secure a place to hide after shooting, and fill in the missing distance with other weapons. If you can check these conditions, the S12K is more than just a throwaway gun. Going one step further than finding a good weapon, I hope that being able to choose the situations in which that weapon will be strong becomes the criterion for selection.
