

Korean support fundamentals guide · About these guides
Maintain brand and attack buffs, time identity for real damage windows, and protect the party with shields, damage reduction, and healing.
Your Core Responsibilities
| Job | Practical Goal |
|---|---|
| Brand | Keep the appropriate damage-amplifying debuff on the boss. |
| Attack buffs | Alternate your two applicable attack-buff skills. |
| Identity | Use the damage buff during meaningful attack windows, including suitable Stagger or Counter openings. |
| Protection | Time shields, damage reduction, and healing around incoming danger. |
| Awakening | Use the appropriate Awakening for its meter and party-protection effects. |
A basic loop is brand → attack buff A → meter generation and protection → attack buff B → refresh brand. Adapt it to cooldowns and boss patterns.
Bard, Paladin, and Artist Examples
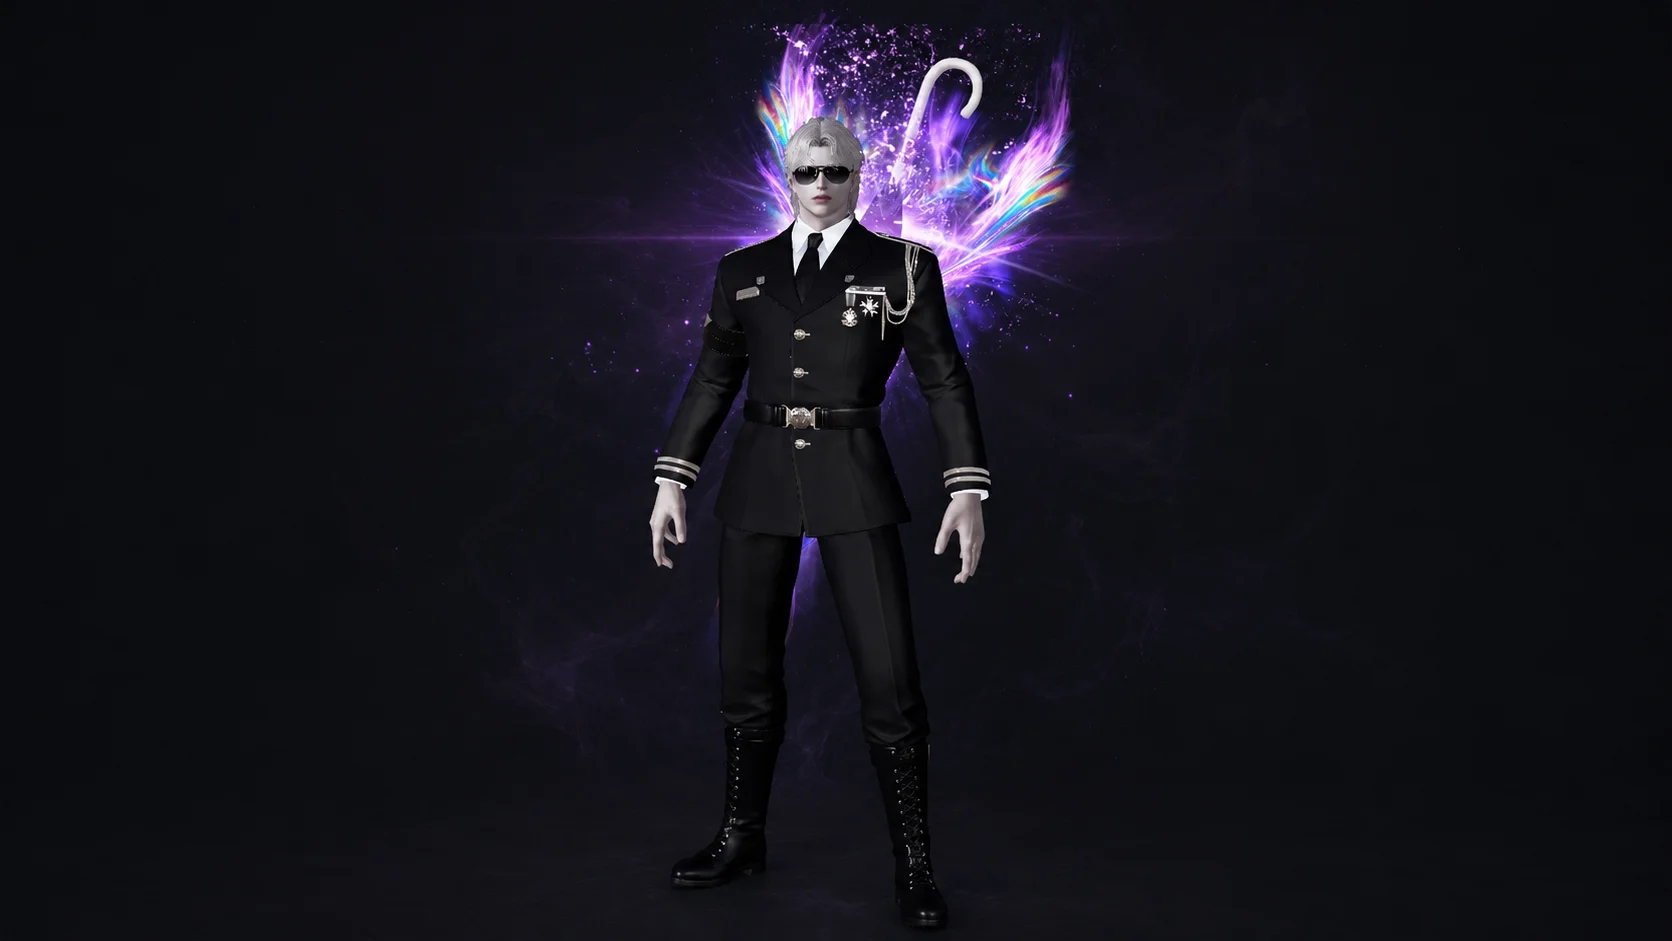
| Class | Common Brand Options | Attack-Buff Skills | Identity Options |
|---|---|---|---|
| Bard | Sound Shock, Sonatine, Harp of Rhythm. | Heavenly Tune, Sonic Vibration. | Serenade of Courage, Serenade of Salvation. |
| Paladin | Light Shock, Sword of Justice. | Wrath of God, Heavenly Blessings. | Holy Aura, with the appropriate support passive effects. |
| Artist | Paint: Drawing Orchids. | Paint: Sunsketch, Paint: Sun Well. | Moonfall, Sunrise. |
Brand often requires a Tripod or related effect. Check the setup. These three classes are examples, not every available support.
Sonic Vibration and Paint: Sun Well apply their relevant attack buffs through ground areas. Place them where teammates can benefit.
Maintaining Brand and Attack Buffs
The two corresponding attack buffs from one support do not add together when overlapped. Alternate them to extend coverage instead of routinely casting both at once.
- Apply brand to the boss.
- Use the first attack-buff skill.
- Generate meter and use protection as needed.
- Use the second attack buff as the first approaches its end.
- Refresh brand and prepare the next cycle.
Some overlap is safer than a buff gap while learning. Refresh brand before expiry when possible, adjusting for movement.
Timing Identity and Awakening
Useful identity damage-buff windows include:
- A successful Stagger or Counter that creates an attack opening.
- The end of a major mechanic.
- When your DPS players have important skills ready.
- A coordinated burst call from the raid leader.
Delay the buff if the boss is about to become untargetable or move out of range. A Counter alone is not always a long enough damage window.
Use your selected Awakening for its actual meter and protection effects. An early cast may help, while an approaching danger window can justify saving it.
Bard and Artist share identity resources between damage support and healing. Favor damage when safe, but provide healing when ordinary protection is insufficient.
Support Engravings to Compare
| Engraving | Function | How to Evaluate It |
|---|---|---|
| Awakening | Improves Awakening cooldown and usage count under its current effect. | Common priority for support setups. |
| Expert | Improves applicable shields and healing. | Common priority for party protection. |
| Magick Stream | Provides MP and cooldown benefits under the current effect conditions. | Compare its contribution to buff uptime in your build. |
| Heavy Armor | Increases defense. | Consider when your own survival is limiting performance. |
| Drops of Ether | Creates support Ethers under its activation rules. | An additional party-utility option. |
The source’s starting order is Awakening → Expert → Magick Stream → Heavy Armor or Drops of Ether. Treat it as a starting framework rather than a mandatory setup.
Bard and Artist players may consider Heavy Armor when survival is difficult. Paladin may prefer other utility. Compare encounter needs, including Stagger, when choosing the complete build.
Common Mistakes and Better Habits
| Mistake | Better Habit |
|---|---|
| Casting both attack buffs together. | Alternate them while watching buff duration. |
| Placing a ground buff away from teammates. | Place it where the party’s damage skills can benefit. |
| Missing the brand skill. | Read boss movement and land the next application safely. |
| Saving identity indefinitely. | Use a useful damage window before sitting at the resource cap. |
| Spending every identity resource on healing. | Check whether ordinary shields or protection can cover the situation first, without delaying necessary healing. |
| Watching only the skill bar. | Keep reading the boss, teammate positions, and actual buff coverage. |