

Solo Mode preparation with corrected source mechanics · About these guides
Solo Mode can help you learn Kayangel and Akkan without organizing a group. This is a preparation guide, not a complete gate walkthrough: the Korean source mixes several boss names, mechanics, and support effects that should not be followed literally.
A Place to Practice
Build a functional damage setup and choose suitable Solo assistance. Event gems can help if you are eligible, but no reward set guarantees a clear. Solo patterns also differ from party versions, so group-specific coordination still needs separate practice.
Kayangel: Identify the Gate Before Choosing Items
The original source names “Seiraka” as the first boss. That is incorrect: Western notes identify Tienis in Gate 1, Prunya in Gate 2, and Lauriel in Gate 3. Use the boss name on your actual entry screen.
-
Elemental Preparation: Do not assume Kayangel is generally weak to fire or that a Flame Grenade solves its main checks. Match damage elements, cards, and battle items to the actual boss and mechanic rather than the source’s unsupported fire recommendation.
-
Orb Mechanics: Kayangel gates have different orb and elemental mechanics. The source’s generic “opposite light/dark orb” instruction is not a reliable walkthrough. Identify the specific gate’s pattern before absorbing, destroying, or moving an orb.
-
Stagger and Damage Windows: Save appropriate skills or a Whirlwind Grenade for a real Stagger check. An Atropine Potion is an optional burst item with a health cost, not a required beginner purchase or proof that every staggered boss takes increased damage.
Akkan: Disease Gauge and Survival
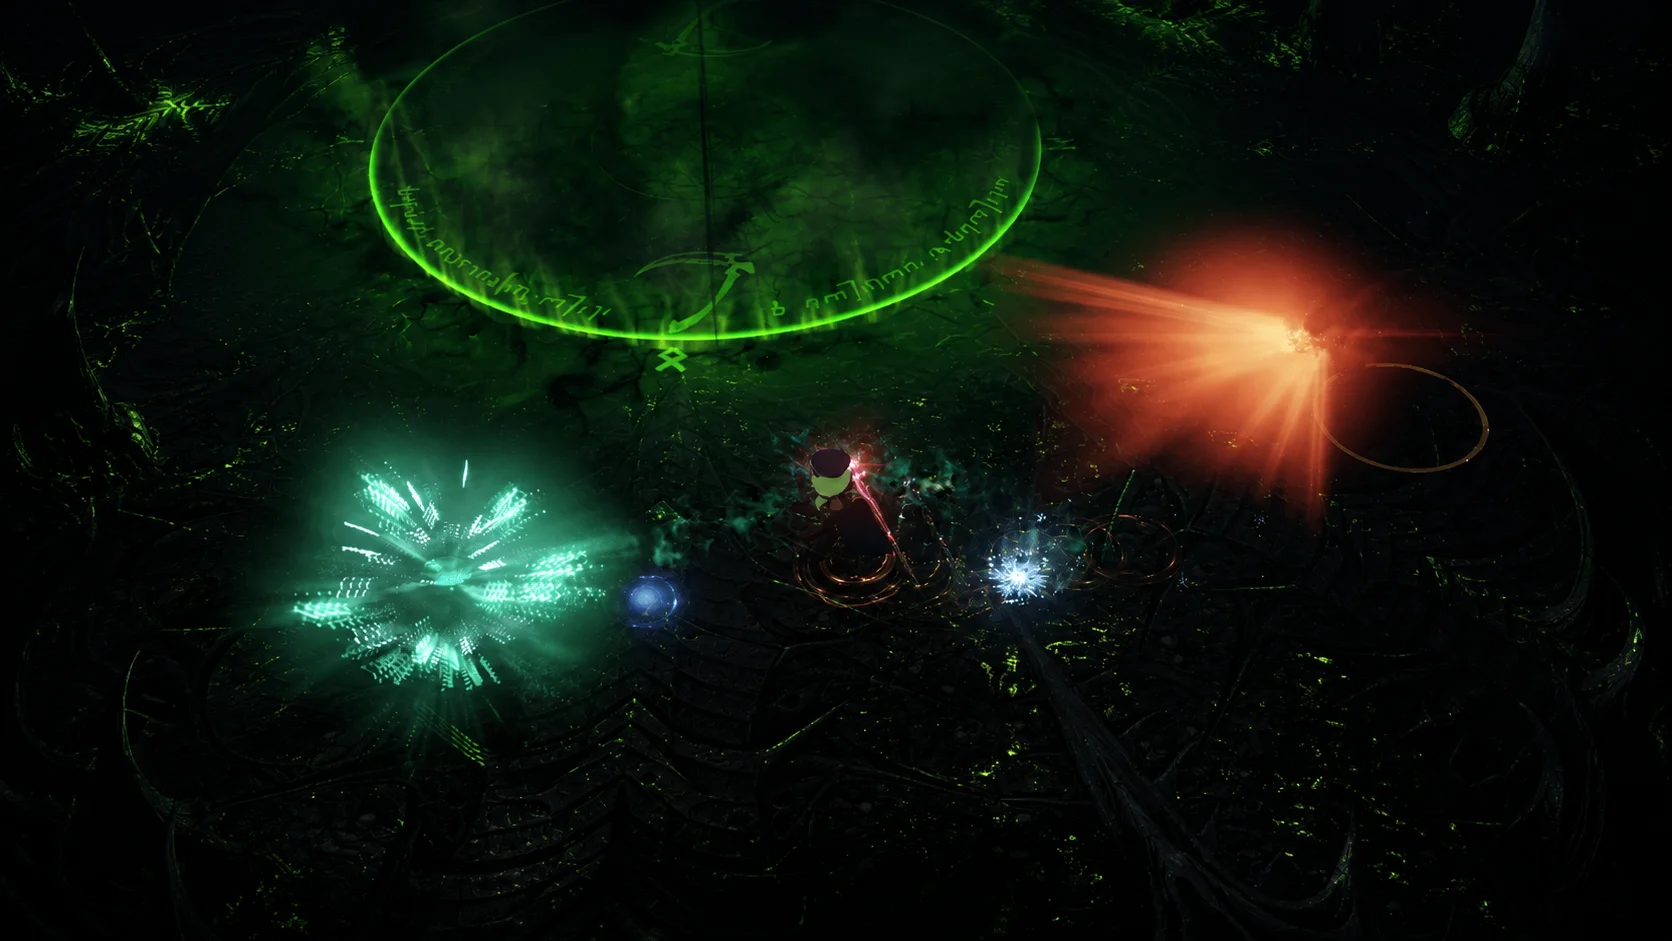
Akkan Solo Mode adjusts party mechanics for one player. Learn the actual solo sequence rather than assuming every group-role action remains unchanged.
-
Disease Gauge: Avoid attacks and ground effects that raise the gauge. Read the gate-specific gauge consequences and removal methods; an ordinary cleanse does not automatically remove every raid meter or mechanic effect.
-
Sidereal Practice: Use only the Sidereals available in the current gate’s UI. Aim damaging skills at a predictable boss position and learn their specific timing rather than treating every Legion Raid’s Sidereal list as interchangeable.
Choosing Solo Assistance
-
Scales of Fate and Other Support Effects: Solo Mode offers selectable assistance whose effects can vary by content or class. For positional builds, read the actual bonus for attacks from other directions. It does not mean every skill automatically becomes both a Front and Back Attack or receives every positional engraving bonus. This is distinct from Procyon’s Protection.
-
Special Sidereal Interactions
-
The Source’s “Hidden Wei” Advice: Special interactions need an exact raid, gate, and timing. A generic boss slam is insufficient evidence to trigger one. Use the relevant gate guide rather than spending Sidereal based on that description.
-
The Source’s “Hidden Kadan” Advice: Do not expect Kadan to become available merely because Akkan enrages or the background changes. The source does not identify a valid interaction. Follow the gate’s actual Sidereal options.
-
-
Falling and Recovery: Some patterns and modes offer mitigation or recovery, but Solo Mode does not guarantee that every fall or lethal mechanic is survivable. Learn the protection actually present in the gate rather than relying on a universal rescue system.
Practice pattern recognition, skill timing, and appropriate Sidereal use. Those habits transfer to group play even when the party version requires different assignments.
Does Every Fall Let Me Continue?
-
No. Check the actual gate and available recovery effect. Some mistakes still kill you or fail the attempt; Solo Mode is not a blanket exemption from lethal mechanics.
How Can a Back Attack Class Handle Solo Aggro?
-
Choose suitable assistance and learn attack windows. The selected Solo buff may help with damage when attacking from another direction, but read its exact wording. Do not assume all positional conditions disappear for every skill and engraving.
Do I Need Endgame Gems or Light of Salvation 30?
-
There is no universal requirement here. A coherent build and suitable rewards can support learning without a fully optimized endgame setup. Actual requirements vary by class and content; mechanics and practice still matter, and this guide does not guarantee that any unprepared character can clear.