

Archived Korean event guide · About these guides
Stage 5 Firehorn in the Korean event referred to here as “Remnants of the End” centers on a delayed timed block at 60 HP bars, Burn puddles placed at the arena edge, and five special attack patterns. Achievement attempts require knowing which hits must be avoided, rather than simply defeating the boss. The Korean event ended before maintenance on October 21, 2026.
This archive summarizes the main responses from the source’s Normal/Hard guide to Firehorn’s “Raging Inferno” stage. The event and stage names here describe the Korean content, rather than confirm a North American release or localized event title.
Firehorn achievement checklist
Separate the three goals while learning. The requirements below are paraphrased for clarity, rather than presented as official English achievement names.
| Goal | Response to remember |
|---|---|
| Stop the 60-bar mechanic once without being hit | Avoid attacks, meet the timed damage check, and handle the delayed block |
| Defeat Firehorn without receiving Burn | Place persistent puddles at the edge and avoid them until the fight ends |
| Defeat Firehorn without being hit by the five special attacks | Distinguish grabs, post-landing puddles, repeated jumps, and the attack after a spin |
In particular, Push Immunity is not the same as avoiding a hit or completing an achievement. It can prevent displacement during some initial attacks; it does not grant invulnerability or permission to take the follow-up puddles.
60-bar mechanic: delay the timed block
At 60 HP bars, Firehorn starts a pillar mechanic. Avoid the attacks while dealing enough damage within the time limit. Some hits apply debuffs, so an achievement attempt requires balancing attack opportunities with safe movement.
The easily mistimed part is the delayed Just Guard input. Just Guard is the Korean mechanic name; North American readers may know timed blocking as Perfect Block. This description concerns the Korean event’s timing.
-
Firehorn strikes the floor repeatedly with the pillar.
-
The timed-block cue appears.
-
Do not press immediately on the cue; match the attack that follows.
Learn the gap between the floor-striking animation and the actual hit rather than memorizing an invented interval in seconds. Leave time to watch Firehorn before the block instead of forcing one more attack.
Burn puddles: place all four at the edge
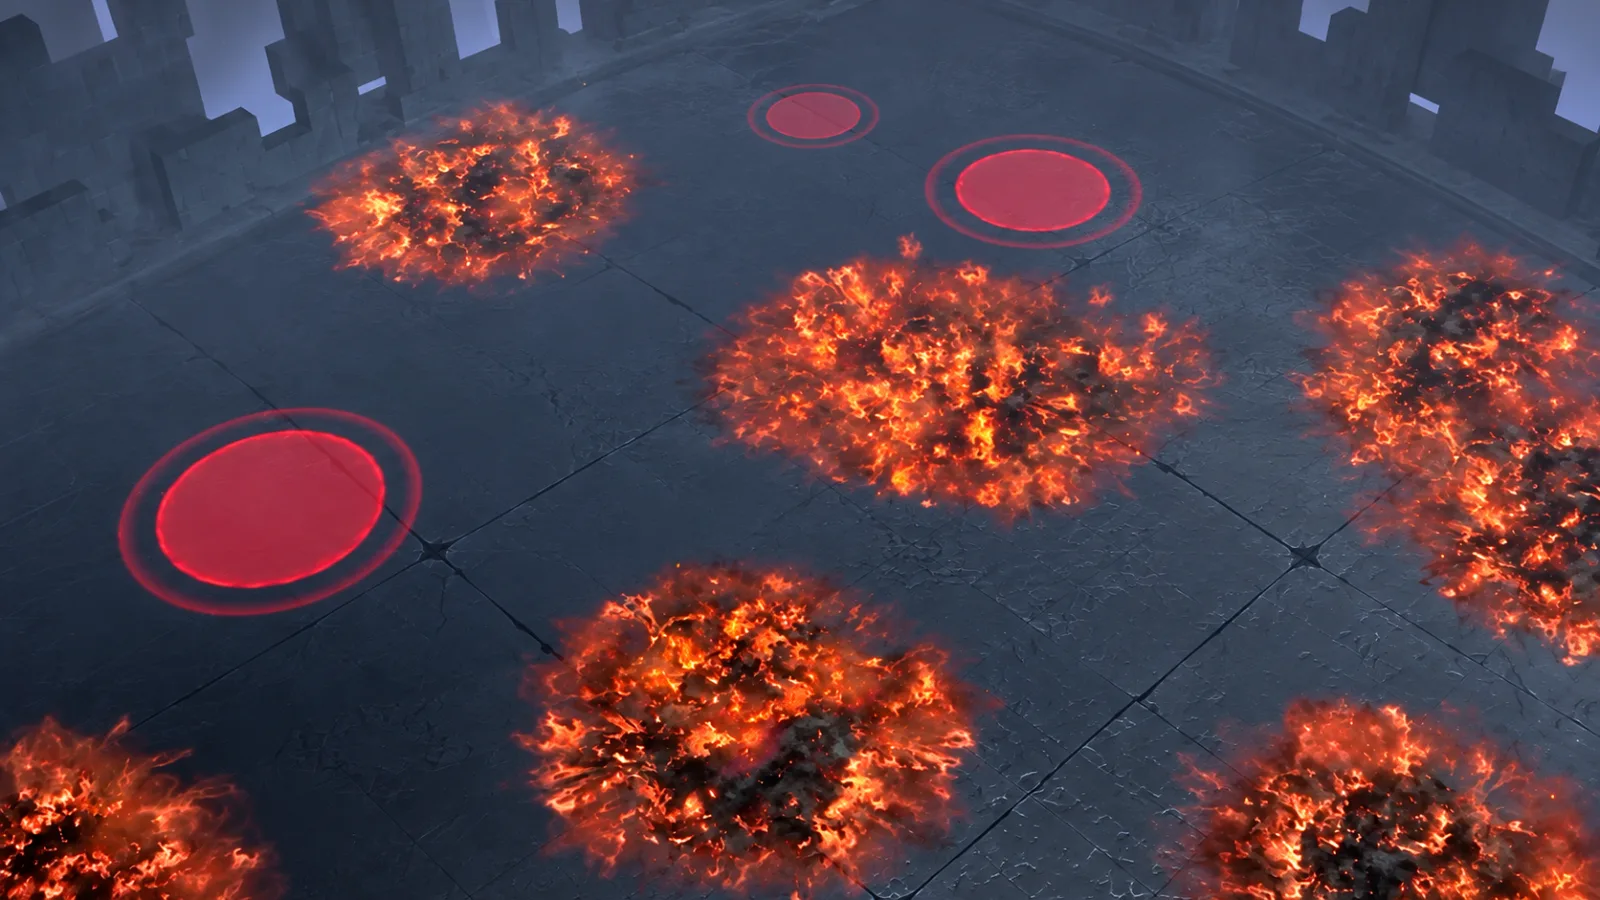
This achievement-related pattern appears after time has elapsed. A sufficiently fast kill may end the fight before it occurs.
The tell is a roar followed by a strike into the floor. Move outward together, respond to the slam, and place the following puddles around the edge.
Four puddles appear in total. They remain until Firehorn dies, so their initial placement affects the movement space for the rest of the encounter.
Keep two points in mind.
-
Do not return after only the first puddle; finish placing all four.
-
Touching the persistent Burn area compromises the no-Burn goal, so avoid earlier puddles on the way back too.
Keeping puddles near the edge preserves central room for later attacks. A safe return route matters more than rushing back to the boss.
The five special attacks: tells and safe positions
Running farther away is not always the answer. Some grabs require distance, while another follow-up is avoided by staying close to Firehorn.
1. Short dash into a grab: watch for the upgraded spinning grab after 60 bars
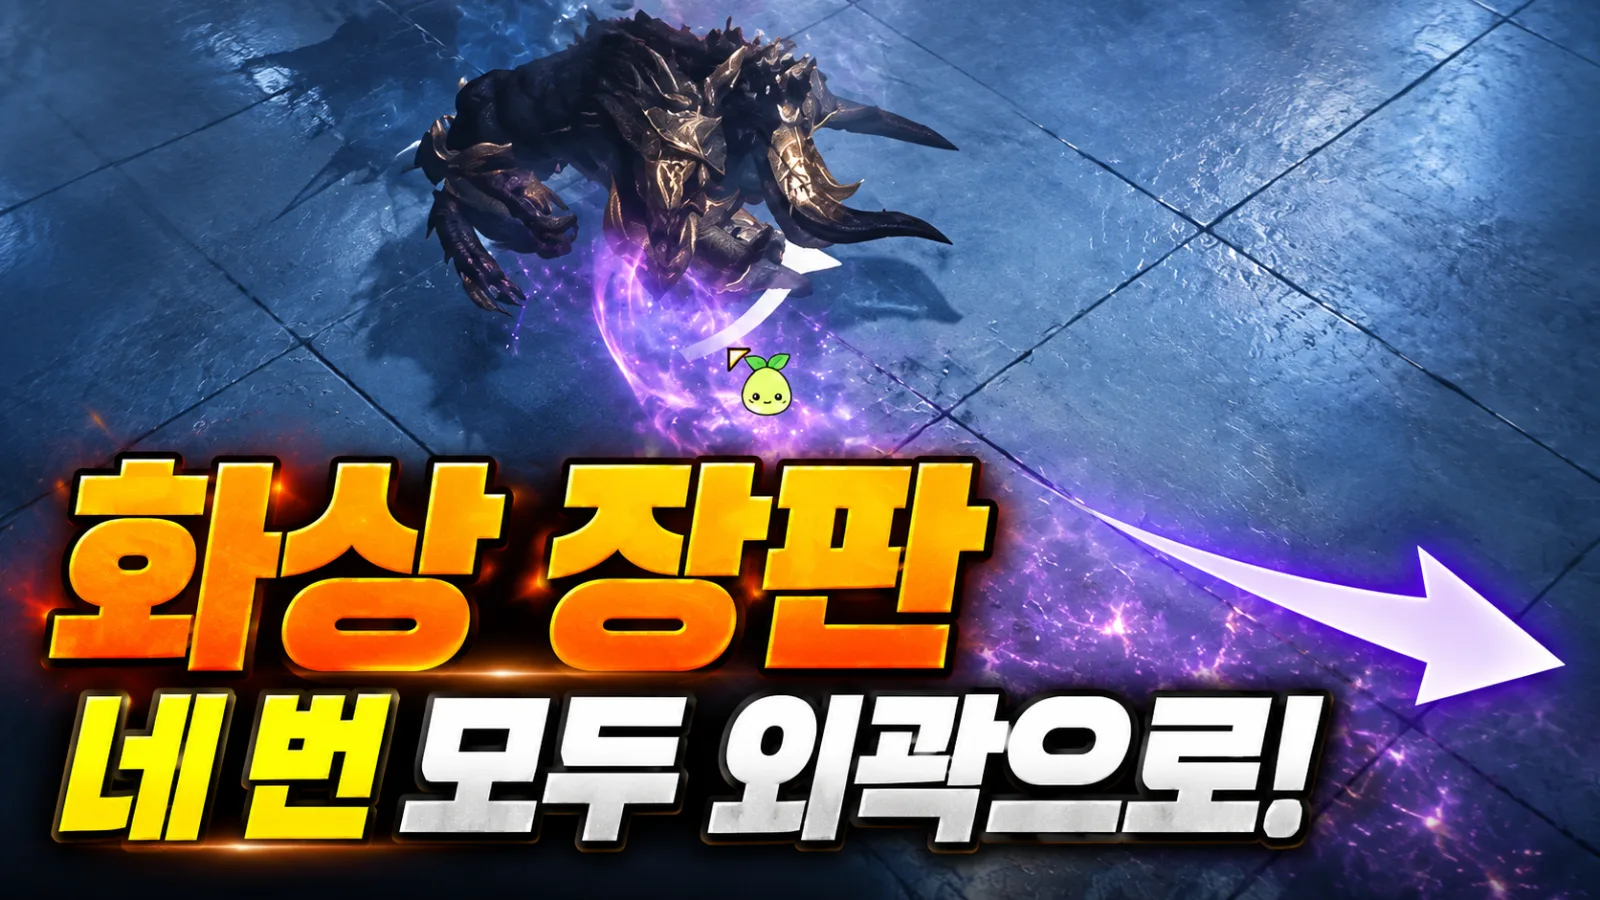
After a short forward dash and flash, Firehorn raises its horns and grabs in front. Move away from its facing direction, then watch for the fire attack coming from the side.
This pattern gains an enhanced version after the 60-bar mechanic. Instead of grabbing only forward, Firehorn rotates to catch the surrounding area. Merely leaving the original frontal line is no longer sufficient; create enough distance to leave the grab’s range.
2. Raised hand into two grabs: keep your distance after the first
Firehorn raises one hand and flashes, then turns its head while grabbing forward. There are two grabs.
Moving to the side of its initial facing can still leave you exposed when it turns. Do not immediately reengage after the first dodge; keep your distance through the second grab. Track the full sequence before returning.
3. Aerial leap and landing: avoid the outward-moving puddles
Firehorn stamps, leaps into the air, drops several smaller attacks, then lands with a heavy slam.
The important part comes after landing. Push Immunity can help prevent displacement from the slam, but does not make it harmless. Getting hit by the outward-spreading puddles afterward fails the relevant avoidance goal.
Rather than automatically running far away when Firehorn rises, manage your position near the boss and watch how the post-landing puddles travel. Handling the initial impact and avoiding the follow-up are separate tasks.
4. Foreleg slam into two jumps: watch the frontal line too
Firehorn slams a foreleg toward the targeted player, then changes direction through two jumps. Each jump includes an area attack near the boss and a straight attack along its facing direction.
The targeted player needs to manage Firehorn’s facing with the timing. Other players should step out of the nearby attack area on each jump and also avoid the frontal line.
The sequence continues with fire puddles. Confirm those before resuming attacks.
In the enhanced version, four floor puddles come first, followed by the flash and this attack sequence. Finishing puddle placement does not mean the entire pattern has ended. Stay ready for the attacks that follow.
5. Glowing horns into a spin: hug the boss for the follow-up
When Firehorn’s horns glow and it crouches, a full spin follows. The source describes handling the initial spin with Push Immunity or briefly stepping out before moving back in. Push Immunity still does not mean damage immunity.
Shortly afterward, Firehorn flashes again and attacks a wide area. The safe position for that follow-up is directly beside the boss. Be ready to close the distance.
If you stepped away for the first spin, prepare to return immediately. Remember the sequence as “handle the spin, then hug Firehorn,” rather than continuing outward.
Five mistakes to check between attempts
Compare a failed attempt with these common problems.
| Common mistake | What to check next time |
|---|---|
| Pressing as soon as the block cue appears | Watch the delay between the pillar strikes and the actual blockable attack |
| Returning after placing the first puddle | Confirm all four placements are finished |
| Dodging only the front after 60 bars | Create distance for the enhanced spinning grab |
| Avoiding the landing but taking the follow-up puddles | Track the outward-moving puddles before repositioning |
| Continuing to retreat after the spin | Move directly beside Firehorn before the follow-up |
Attempting all three goals together puts a premium on time to read the next pattern. Learn the tells and safe positions first, then add attacks where your avoidance is consistent.
Firehorn FAQ
Do the Burn puddles disappear over time?
The persistent puddles described in this guide remain until the boss dies. Place them at the edge to preserve movement space for later patterns.
Can enough damage skip the Burn-puddle pattern?
A fast kill can finish before this timed pattern appears. Once it starts, however, handle all four puddle placements.
Does using Push Immunity preserve the achievements?
Do not assume so. It may prevent displacement during a landing or initial spin without preventing damage or satisfying a no-hit condition. The follow-up puddles and attacks still need to be avoided separately.
Does this cover all Normal and Hard differences?
No. It summarizes the achievements and major responses discussed in the original Normal/Hard guide. It does not compare every difficulty-specific value or cover every ordinary attack, and it is not a current North American encounter guide.