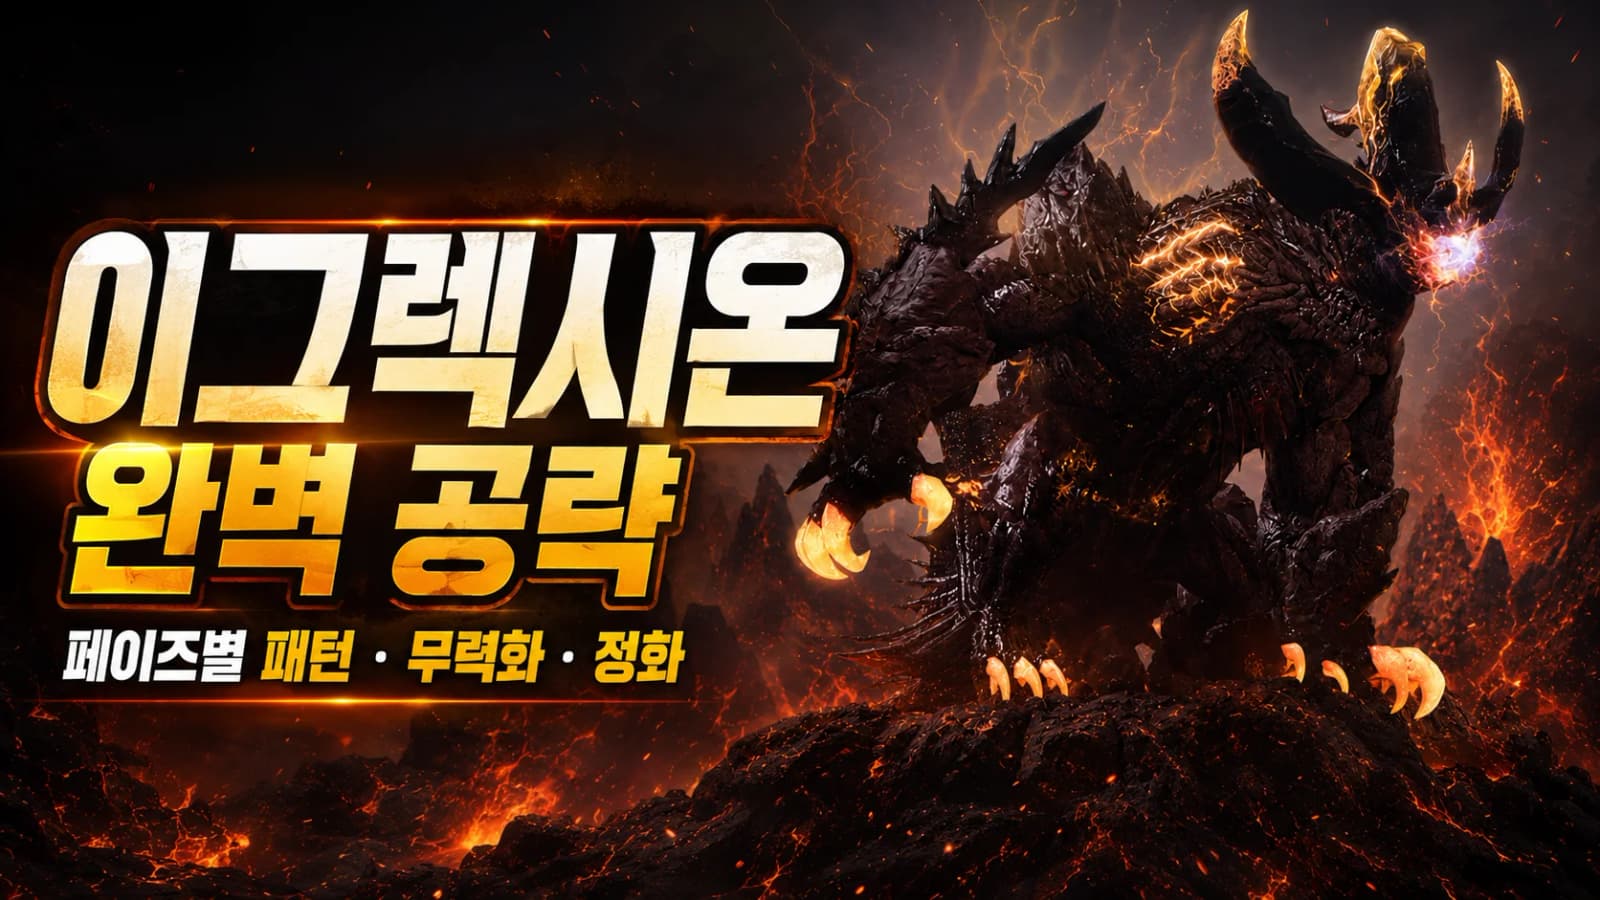

Classic Korean encounter reference with Western variant notes · About these guides
Igrexion teaches useful habits: recognizing attack tells, saving Stagger skills, managing debuffs, and repositioning. This guide follows the Korean source’s classic pattern descriptions rather than claiming every detail is unchanged in the current Western variant.
The source divides the fight into darkness, gravity, and lava phases. Guardian’s Shade received additional Counter and Perfect Block patterns and other adjustments in the Western September update, so follow the actual version’s telegraphs rather than relying on this older sequence alone.
In the source’s gravity and lava phases, interrupting the field-generation charge with Stagger helps control stacking debuffs. An active field can make movement or survival progressively harder.
Key Mechanics at a Glance
Remember these priorities:
- The classic encounter progresses through darkness, gravity, and lava phases.
- The source’s later field-generation charges can be interrupted with Stagger.
- Gravity slows movement; lava adds incoming-damage vulnerability.
- Some lava attacks also apply a separate burn effect.
- For removable debuffs, consider
PanaceaorSacred Charm, observing their actual target and cleansing rules. - For additional Stagger, bring a
Whirlwind Grenadewhere the party needs it. - The flank is often safer than standing directly in front; the rear has its own attacks.
- Stop attacking when the boss enters its retaliation stance.
Battle Items to Consider
Plan cleansing around removable debuffs. A cleanse does not prevent immediate reapplication if you remain inside the source of the effect.
HP Potions
Bring an appropriate battle HP potion for the encounter and your experience level. Learn the attack tells instead of budgeting around repeated avoidable hits.
Panacea
Cleanses applicable harmful effects from yourself. Check the actual debuff and item restrictions before expecting it to remove every mechanic effect.
Sacred Charm
Cleanses an applicable harmful effect from nearby party members under the item’s rules. It is not a substitute for a self-targeted Panacea.
Whirlwind Grenade
Adds Stagger during a relevant charge if your normal skills are insufficient or unavailable.
Classic Phase Overview
| Category | Darkness | Gravity | Lava |
|---|---|---|---|
| When It Begins | Initial engagement. | After the first transition completes. | Around 20% remaining HP in the source’s classic version. |
| Main Debuff | Restricted vision from darkness. | Reduced movement speed. | Incoming-damage vulnerability and separate burns. |
| Key Pattern | The phase transition. | Field generation. | Fields and lava zones. |
| Main Response | Read tells from a flank position. | Stagger and appropriate cleansing. | Manage stacks and ground hazards. |
| Main Risk | Limited visibility. | Being too slow to escape the next attack. | Taking amplified hits while burns accumulate. |
Phase 1: Darkness

The classic encounter begins in the darkness phase. Certain hits can restrict your vision, making the next tell harder to read.
The source places the first transition attempt around 15–20 seconds after engagement. Treat this as a reference, not a fixed timer for every current variant. Stagger can delay the classic transition.
Repeated interruption raises the Stagger demand in the source’s version, while the boss takes reduced damage during the transition. Your group may prefer to allow the phase change instead of forcing repeated delays.
Darkness-Phase Priorities
- Move off the frontal attack line after engaging.
- If the group chooses to interrupt the charge, use the appropriate Stagger tools.
- Do not spend everything on an interruption your group cannot complete.
- If your vision is restricted, play safely until it clears or an applicable cleanse removes it.
Phase 2: Gravity

Gravity-related debuffs reduce movement speed. High stacks make jumps, breath attacks, and ground slams harder to avoid.
The classic boss eventually charges a field-generation pattern. Successful Stagger during that charge prevents the field described by the source.
If it completes, the area around the boss can keep adding movement-slowing stacks.
Managing the Gravity Field
- Recognize the charge and contribute Stagger.
- Use a Whirlwind Grenade if planned skills are insufficient.
- If the field appears, leave it and allow the applicable stacks to clear.
- Use Panacea or a class cleanse only for effects it can remove.
- Reposition the fight safely where the boss and arena allow it.
Briefly leaving the field can restore the ability to dodge and attack. Remaining inside for one more cast may cost far more uptime afterward.
Phase 3: Lava

The source places the classic lava transition at approximately 20% remaining HP. Follow the current encounter’s transition cues if its timing differs.
The lava field applies incoming-damage vulnerability rather than the gravity field’s movement slow. Separate burns from certain attacks can make the combination dangerous.
Lava-Phase Priorities
- Contribute Stagger to the relevant field-generation charge.
- Leave the field before vulnerability stacks become dangerous.
- Distinguish burn from vulnerability and check what your cleanse removes.
- Watch for follow-up explosions before re-entering a cleared-looking area.
- Use safe attack windows instead of trading hits at high stacks.
Common Attack Tells
Advancing Claw Attacks
Igrexion moves forward while swiping once or twice. Its frontal reach can be wider than expected and may push you away.
Reposition toward a flank or hind leg rather than retreating along the claw’s path.
Repeated Frontal Swipes
Repeated swipes can track the target’s direction. Large movements around the boss can disrupt teammates’ Front and Back Attack positions.
Keep the facing stable when safe, but dodge rather than taking dangerous hits just to hold the boss still.
Charge
A lowered body and forward-facing tell can precede a fast charge. Move sideways rather than along its line, where repeated hits may occur.
Breath
The boss draws in before attacking a broad frontal area. The startup can pull players toward it in the source’s version.
Move to the flank or rear on the tell. Once safely positioned, the committed breath animation can offer an attack window.
Forward Jump
The boss jumps forward and strikes its landing area. The gravity version can add nearby follow-up damage.
Read the landing and follow-up zones; staying close can be safer than running through the outer hit in some versions. Save mobility if slow stacks make walking out unreliable.
Backward Jump
A backward jump hits the rear area and can catch players already positioned for Back Attacks.
It may lead into a charge, breath, or forward jump. Read the follow-up before chasing.
A backward jump does not, by itself, guarantee a Counter opportunity.
Tail Sweep
A lifted or twitching tail can precede a wide sweep. Move toward the safer flank opposite the sweep while reading its actual range.
Three Tail Slams
The source describes two strikes followed by a larger third hit. Keep watching until the sequence finishes.
If an earlier hit connects, use available recovery or movement appropriately to escape the last hit. Push Immunity can prevent applicable displacement but does not remove the damage.
Retaliation Stance
The boss crouches and gathers energy. Attacking during that stance can trigger a powerful area retaliation.
Stop your attacks and controllable summon attacks where possible, leave the danger area, and resume only after the stance ends. This retaliation is distinct from a player Counter window.
Lava Attack Sequences
Striped Lava Zones
The Korean community nickname is “samgyeopsal,” or pork-belly strips, referring to the long divided floor zones rather than an official mechanic name.
After a roar and slam, the boss detonates long lava strips in sequence. In the source’s version, the marked positions become fixed; move into the visible gaps.
A gap may appear near a hind leg or tail, but those landmarks are not guaranteed safe spots. If unsure, leave the entire marked area when possible.
Follow-Up Explosions After Stagger
A Stagger can be followed by sequential explosions with different safe areas. Do not assume the first safe location remains safe.
The source describes avoiding the first hit in a blue-marked safe area, then moving inward after that explosion. Confirm the current telegraphs and order rather than relying on color alone.
Lava and Burns
Some attacks leave lava or apply stacking burns. Repeated hits can sharply increase sustained damage taken.
If removable burns and vulnerability become dangerous, use the appropriate self or party cleanse and leave the source of reapplication.
Positioning and Boss Facing
The frontal area contains several dangerous claw and breath attacks. A flank position often gives a clearer route to safety while preserving attack access.
The rear remains exposed to tail attacks and backward jumps.
If targeted, avoid unnecessarily circling the boss. A steadier facing helps positional teammates, provided you can still avoid the attack.
Never take a lethal hit merely to hold the front. Shields and Push Immunity do not guarantee safety against every pattern or mechanic.
Can I Keep Attacking Inside the Field?
Low stacks may leave some room to attack, but the gravity slow and lava vulnerability become more dangerous as they build. Leave in time for the applicable stacks to clear.
Lava vulnerability can turn a small mistake into a lethal hit, especially with burns active.
Can I Use Stagger Skills Normally?
Yes, but reserve the tools your party needs when a field-generation check is approaching. Bring a Whirlwind Grenade if the planned contribution is insufficient.
Is Every Backstep Followed by a Counter?
No. Read the next animation and the actual Counter cue. Guardian’s Shade also adds specific Counter and Perfect Block patterns, so respond to the version you are playing.
How Do I Remove Debuffs?
Panacea targets your own applicable effects; Sacred Charm helps nearby teammates under its rules. Class cleanses may also work. Leaving the field can let its stacks expire, but check the debuff rather than assuming every effect is cleansable.
Where Should I Stand?
A flank is often safer than the front. The rear can support Back Attacks, but requires watching the tail and backward jump. No position replaces reading the next tell.