

Korean raid mechanics reference · About these guides
The Shadow Raid Belgardin, Arbiter of Death, is an eight-player encounter across two gates.
Normal requires item level 1750. Players familiar with Serca may recognize parts of the format, but the source highlights Holding Just Guard, coordinated Stagger checks, counters, and guided attacks as important preparation points.
This guide localizes the Korean Normal strategy. North America added Belgardin on October 21, 2026; use the current client’s cues and your group’s assignments where timings or patterns differ. The HP-bar references below come from the Korean source, rather than an independently recorded North American clear.
Entry requirements and basic information
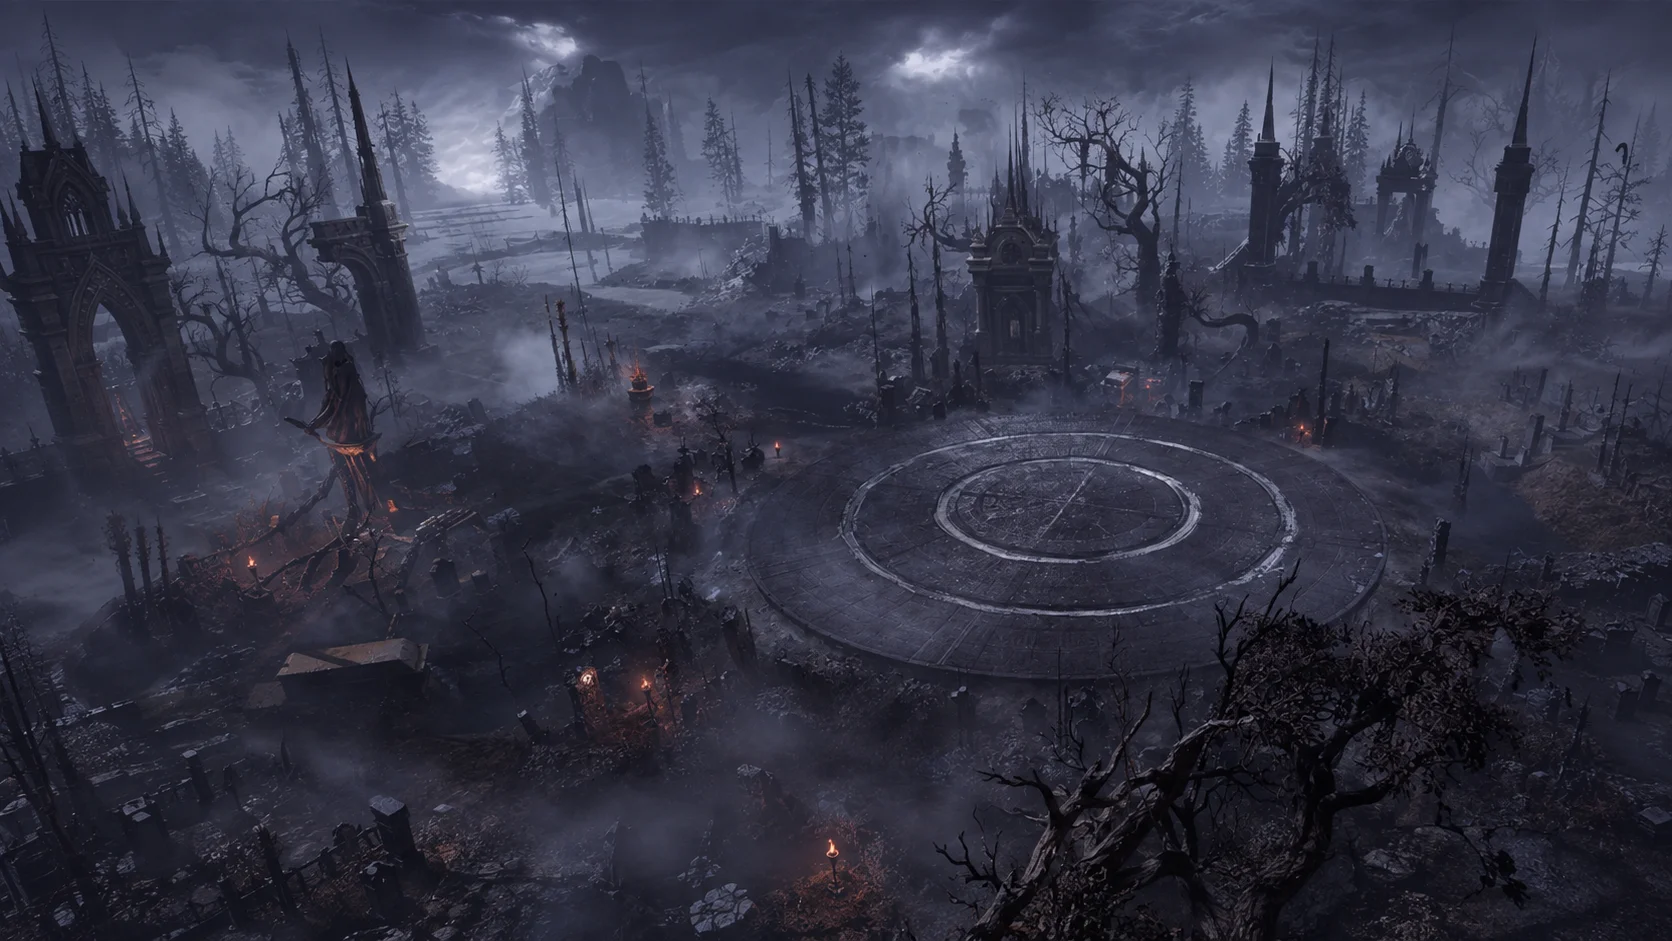
Belgardin was Korea’s second Shadow Raid, with Normal, Hard, and Nightmare difficulties.
- Normal: item level 1750
- Hard: item level 1770
- Nightmare: item level 1780
- Raid size: eight players
- Gates: two
- Rewards include Vambraces, their Limit Break materials, Ark Grid Cores, and gold
Entries are shared across difficulties. Leaving during progression can consume an entry even without a reward, so confirm the plan before starting. Other quest prerequisites and the current entry UI still apply.
Preparing for Normal
Stagger and guard execution matter alongside damage. Prepare tools that let the group perform its assignments consistently.
Battle-item options
The source suggests these options; coordinate actual slots and item-category restrictions with the group.
- HP Potion or Elemental HP Potion
- Whirlwind Grenade
- Dark Grenade
- Time Stop Potion or Atropine Potion, according to the encounter plan
Whirlwind Grenades can supplement a Stagger shortage. Dark Grenades or Atropine can support a planned damage window. Do not assume Time Stop bypasses every required mechanic.
Gate 2 also has the dedicated Shadow Skill battle item Phaetus An Kragma’s Shadow. Its recipe and eligibility are separate requirements. For learning, understand the counters, guards, and Stagger sequence before relying on a specialized item.
Card setup
Check the actual boss weakness and the current entry screen’s recommendations instead of choosing a set from the raid name alone.
If using automatic presets, verify the applied setup before combat. Keep the required counter and Stagger tools available rather than allowing the rotation to consume everything just before a mechanic.
Gate 1: key mechanics
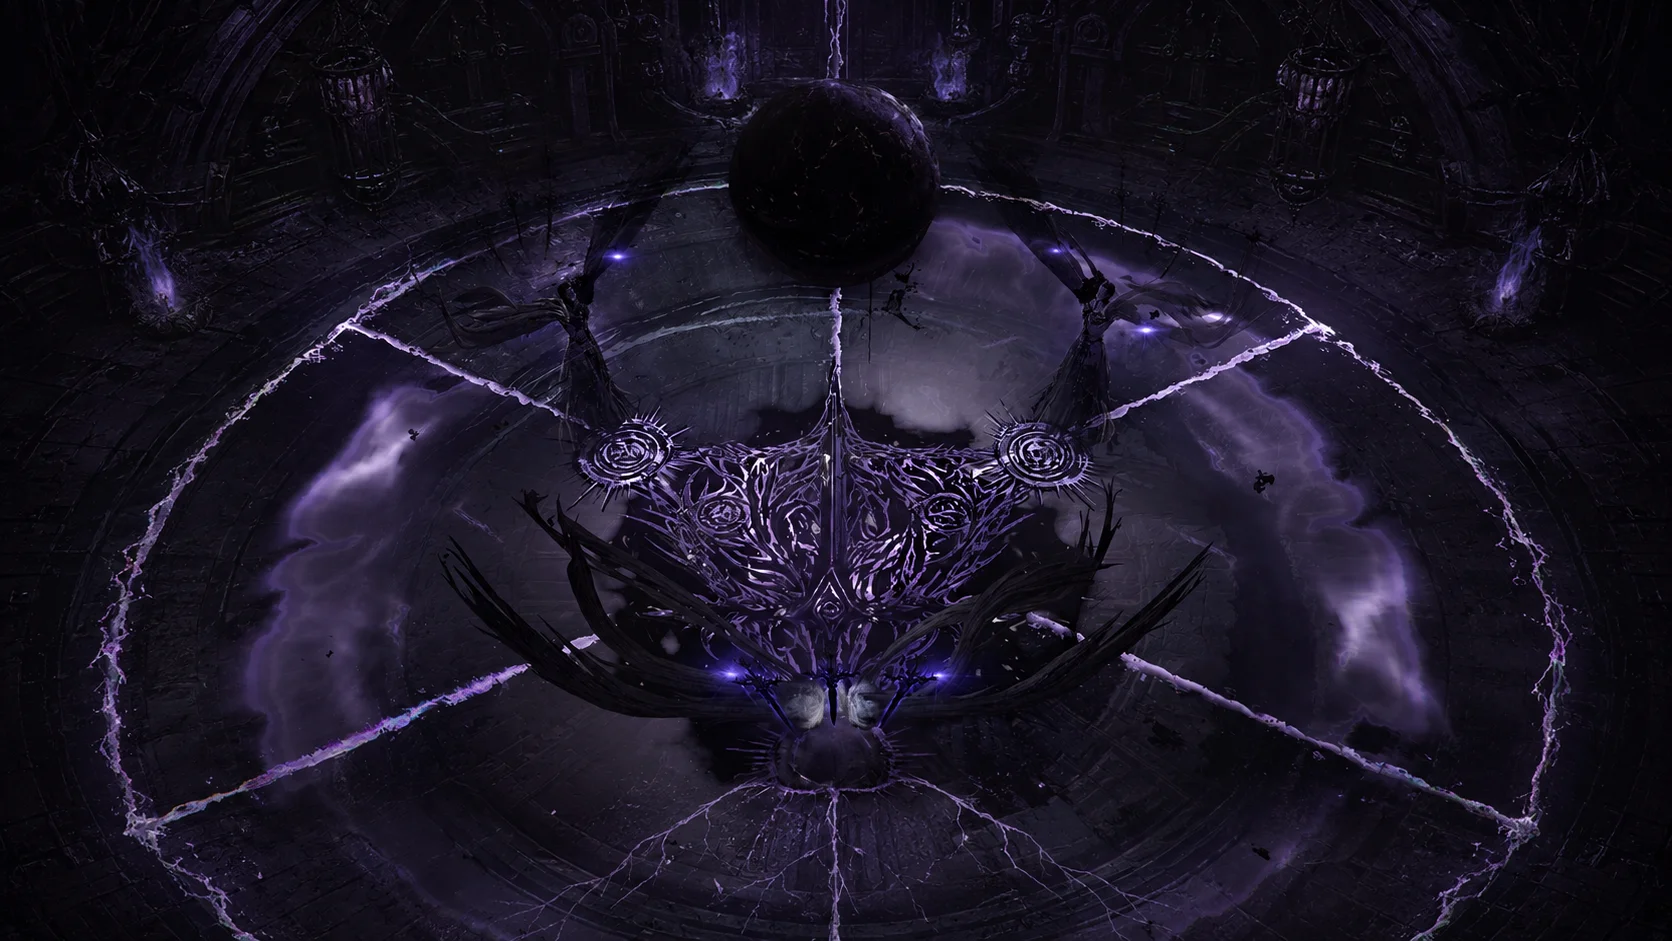
The source describes the Gate 1 opponent as the revived saint Belgardin; that is a descriptive rendering of its Korean encounter name.
It prioritizes Holding Just Guard, the 75-bar coordinated Stagger, and Brawl entry. That is a learning checklist, not a complete list of every attack or a clear guarantee.
Gate 1: around 240 bars
The source places the opening major ritual sequence around 240 bars.
When the boss moves to the center, leave room to read the telegraph. Committing to a long skill can obscure or delay the required guard.
Some sequences use Holding Just Guard: maintain the assigned guard input through the required attack sequence. On the source’s default keyboard layout this is G. Do not release merely because the first successful indication appears; follow the actual holding cue until the sequence finishes.
Gate 1: around 195 bars
The source describes broad attacks and movement between safe areas in this phase.
Watch the floor and waves as well as the boss. A white-looking area is not automatically safe from a follow-up guard wave or beam.
Coordinate the route rather than scattering without a plan. Move according to the actual safe area, not simply toward the other players.
Gate 1: around 120 bars
Earlier guard and area-attack ideas return in enhanced sequences according to the source.
Survival takes precedence over forcing a back or front attack. A center move or darkened screen is a reason to check the mechanic tell before another commitment.
After a failed guard, identify the follow-up before spending the get-up or movement skill. An immediate attack or reflexive recovery can leave you exposed again.
Gate 1: three-target Stagger around 75 bars
The source treats this as a major coordination check.
Belgardin and copies appear near 1, 6, and 11 o’clock, each with a Stagger gauge.
Finishing one target much earlier than the others can fail the coordinated timing. The source’s approach is to leave a small amount on each gauge, then complete them together on a call.
Assign three groups to the positions.
- 1 o’clock assignment
- 6 o’clock assignment
- 11 o’clock assignment
Hold the last portion as agreed, then use the remaining Stagger skill or grenade on the raid leader’s signal. Account for delayed hits and ongoing damage effects when coordinating.
Distribute Stagger capability before the pull. Crossing the arena to help after finishing can cost time and does not replace an initially balanced assignment.
Gate 1: Brawl
The source describes Brawl entry after depleting the relevant Stagger gauge.
The format resembles Serca’s Brawl, but the boss’s movement and guard positions still need to be read. Chasing an early hit can make you miss the next cue.
Establish the safe position, then match the guard to the incoming attack rather than pressing only because Brawl has started.
Gate 2: key mechanics
Gate 2 features Phaetus An Kragma, referred to descriptively in the source as the forger of death.
The source emphasizes counters, guard sequences, and the correct order for linked enemies.
Gate 2: cultists around 350 bars
Four cultists appear at approximately 3, 6, 9, and 12 o’clock in the source’s sequence.
Guided effects generated through counters and guards help damage the cultists; ordinary attacks finish the remainder.
One example assignment is as follows.
- Party 1: left side
- Party 2: right side
- Support: assigned counters and support coverage where practical
- Damage dealers: cultist damage and assigned guard/counter duties
The source suggests handling 3 and 9 o’clock before 12 and 6. This is a group strategy, not a rule that supports alone must counter or that other assignments cannot work.
Guiding the counter-generated area
A successful counter generates a following area effect in the described pattern.
The targeted player should guide it onto the assigned cultist rather than immediately retreating away from every enemy. The effect supplies a large part of the intended damage.
Keep a practical route to the cultist instead of drawing the effect far from its target.
The two-guard orb sequence
This is not finished after one block.
Guard the first large orb, then the smaller follow-up after its delay. The resulting guided orb is used against a cultist in the source’s strategy. Check the actual target indicator and remaining health rather than treating every gauge on screen as the same resource.
Remember the whole sequence.
- Guard the large orb
- Guard the smaller follow-up
- Direct the generated orb into the cultist
- Finish remaining health with attacks
The source describes a tight window, so all assigned players need to participate. Do not leave every guard or counter to the support by default.
Gate 2: linked-enemy time check around 315 bars
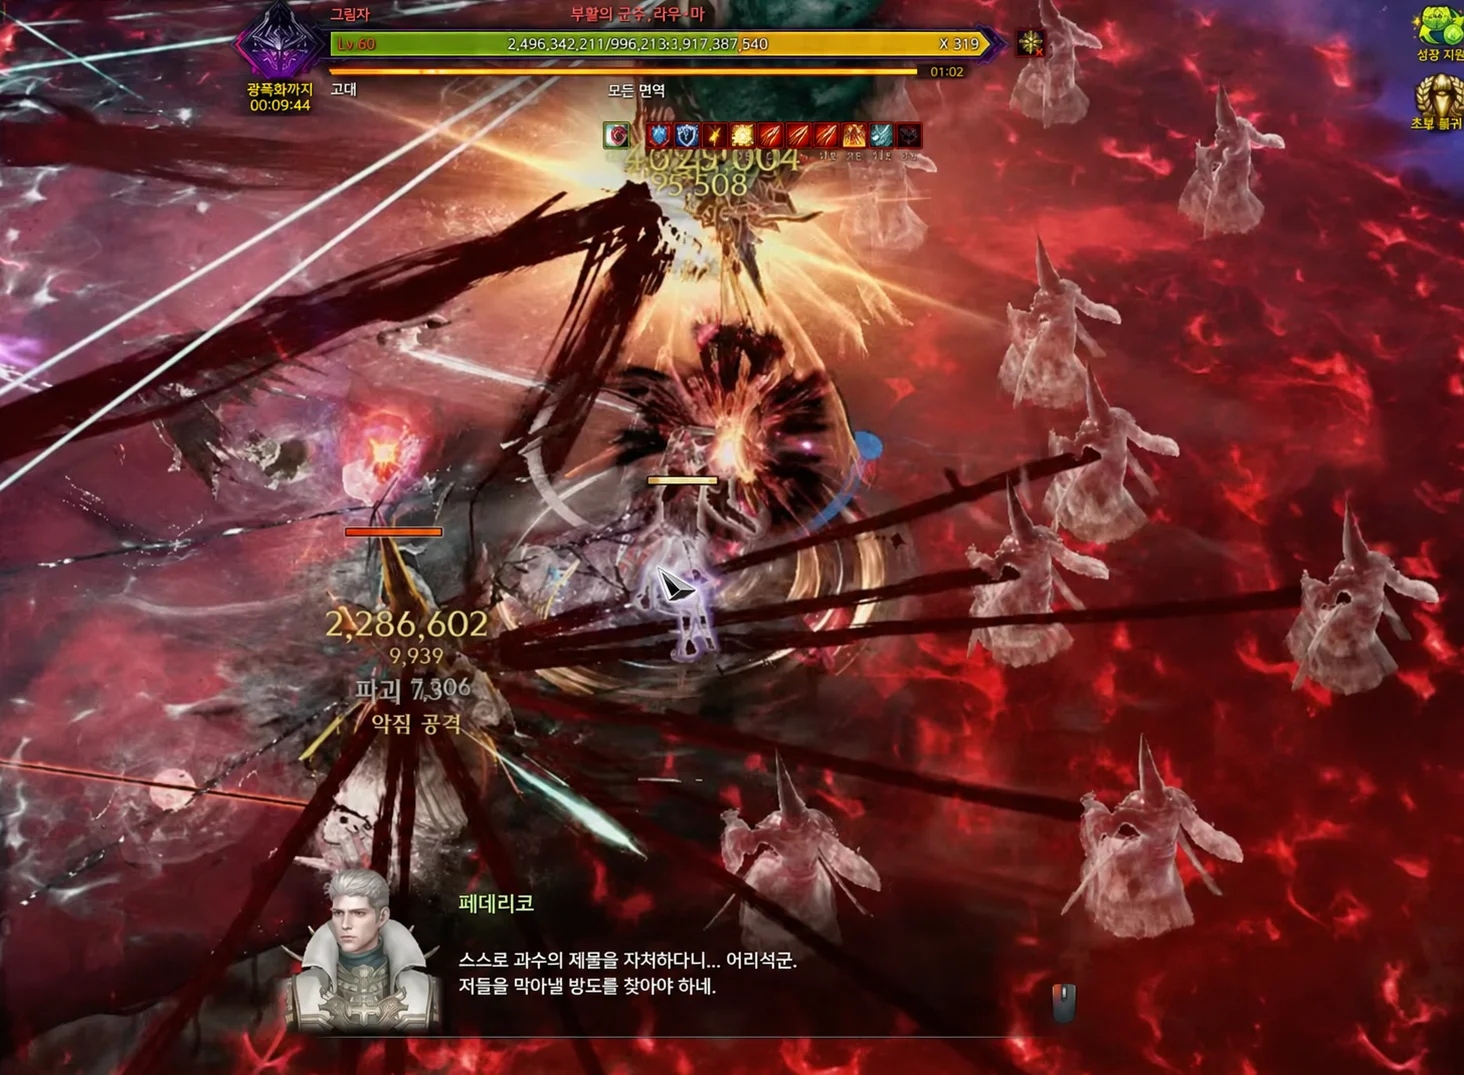
The source describes linked targets that must be handled in order.
Its checklist is:
- Stagger the Belgardin target identified in the mechanic
- Defeat the small outer enemies
- Defeat the four intermediate enemies in the center
- Attack the newly vulnerable linked boss target
Outer enemies unlock damage to the central enemies, which in turn enable the final target. Follow the links and actual target labels; the guide’s “Belgardin” shorthand should not obscure Gate 2’s Phaetus encounter.
If damage is ineffective, identify the prerequisite enemy instead of continuing to spend skills on a protected target.
Gate 2: Brawl
The source again links entry to the relevant Stagger gauge reaching zero.
Tentacle attacks may follow immediately. Read their direction and prepare the guard rather than extending the previous damage sequence.
Move to the indicated side positions and time the input to the attack. A first failure can expose you to follow-ups, so treat entry as part of the mechanic rather than free uptime.
Normal-mode checklist
Gate 1
- Hold the guard input through the required sequence
- Watch floor areas and waves in the 195-bar section
- Coordinate the 1, 6, and 11 o’clock Stagger targets around 75 bars
- Leave a small remainder and finish together according to the agreed strategy
- Prepare the guard before damage when entering Brawl
Gate 2
- Assign left and right cultist duties before the pull
- Guide counter-generated areas onto the intended cultist
- Complete both the large- and small-orb guards
- Follow the outer-to-inner enemy order in the 315-bar sequence
- Watch tentacle direction on Brawl entry
Rewards and Vambraces

A first Gate 2 clear awards the new Epic equipment, Vambraces, regardless of difficulty under the published introduction rules.
They add attack and defense and progress through honing and Limit Breaks. Normal supplies Spectral Shade, which is used for the +10 and +15 Limit Breaks under the applicable requirements.
Cores, gold, and materials provide other reasons to consider the raid. Decide according to your progression and weekly eligibility rather than treating every eligible character as obliged to run it.
A practical starting point
The source’s learning approach is to simplify a visually busy encounter into assigned positions and recognizable guard sequences. The pace of learning will differ between groups.
For Gate 1, prioritize the coordinated three-target Stagger around 75 bars. For Gate 2, prioritize the cultist sequence around 350 and linked-target order around 315 bars. Then build familiarity with the remaining attacks.
Agree on positions, counter duties, and Stagger tools before the pull. Use current regional cues and your group’s plan to adapt this Korean reference; it does not replace learning the live encounter.