

Korean encounter guide with Western patch context · About these guides
Alberhastic in Guardian’s Shade Stage 3 alternates between spear, claw, and wing forms. The Korean source describes different counters and guards for each. This is the high-level Shade version, not a guide to every older Alberhastic encounter.
Start by identifying the form, watching for a grabbed ally, and learning the sequence guard → guard → counter. The original Korean guide supplies the pattern details below. North America’s October 21 notes also adjusted the delay before Alberhastic’s post-block counterattack, so follow the live animation instead of assuming older timing is unchanged.
Stage 3 basics
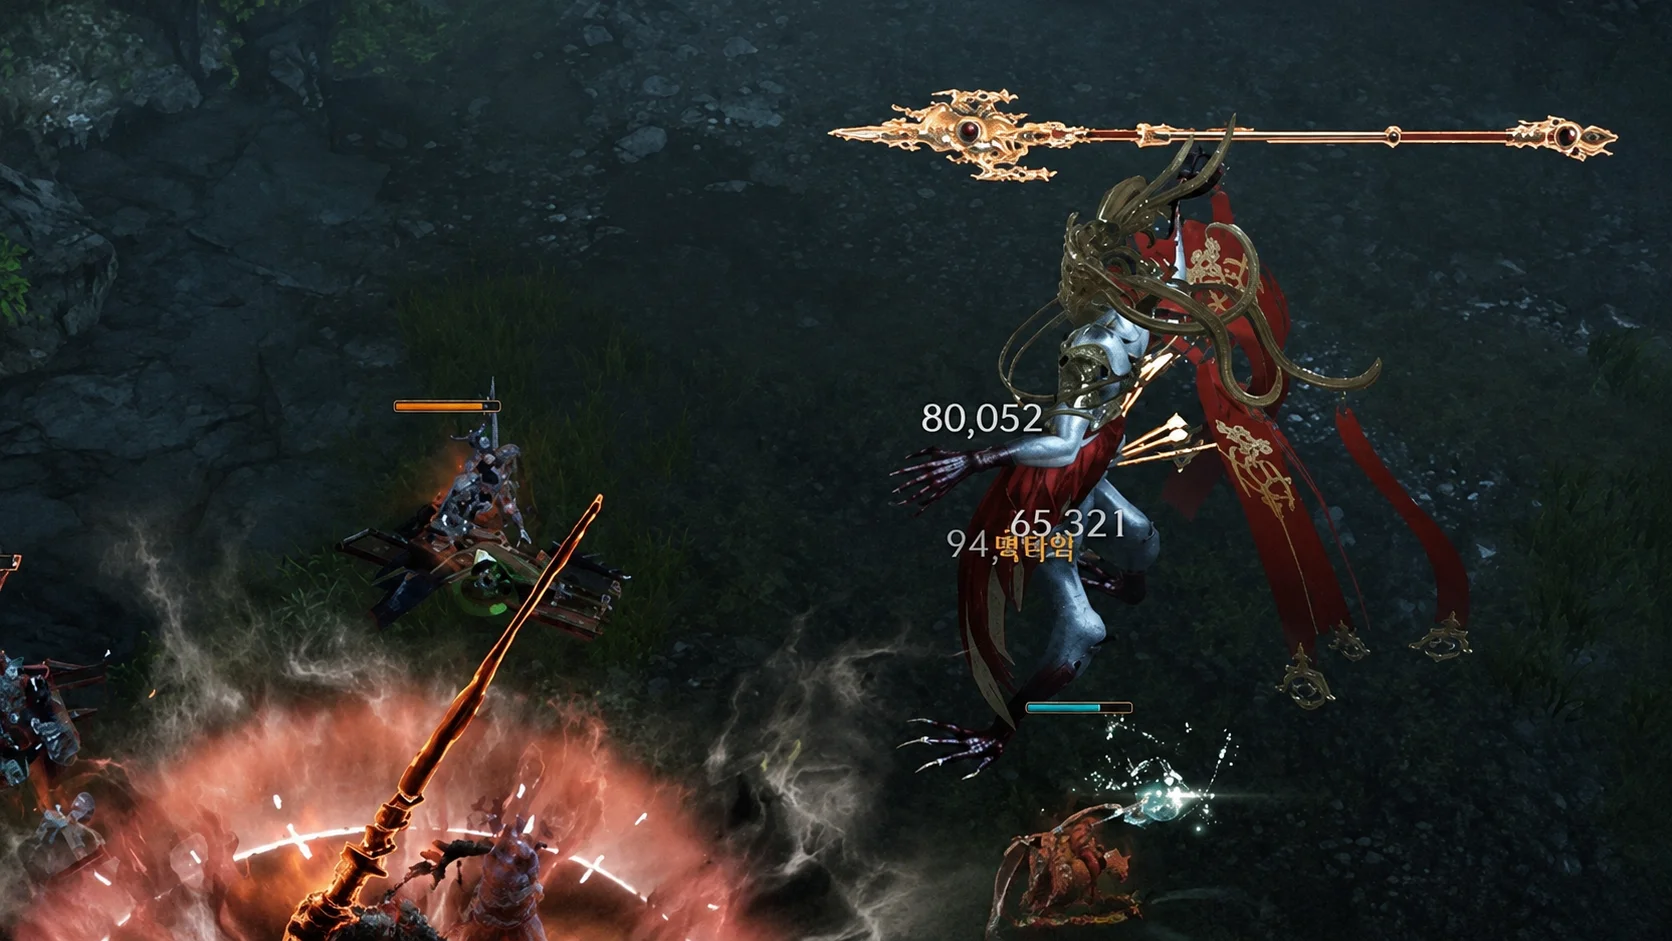
Stage 3 requires item level 1770 in the published Korean and North American introductions. The Guardian rotates weekly; check the current selection rather than assuming Alberhastic is active this week.
The source’s three main priorities are:
- Identify the current weapon form
- Distinguish the counter and timed-guard tells
- Stagger promptly to rescue a grabbed teammate
Do not let peripheral areas and orbs distract from the form, grab, and incoming response cue.
Before entering
The encounter includes Stagger rescues. Keep suitable skills available and consider Whirlwind Grenades if the party needs more Stagger.
Review the following.
- Appropriate HP battle item
- Whirlwind Grenade if needed for the group’s plan
- An equipped counter skill
- Available high-Stagger skills
- Integrated preset and the current boss’s card/element recommendations
Avoid spending every Stagger option immediately before a possible rescue. Damage and Stagger are different properties of a skill.
Form order in the Korean source
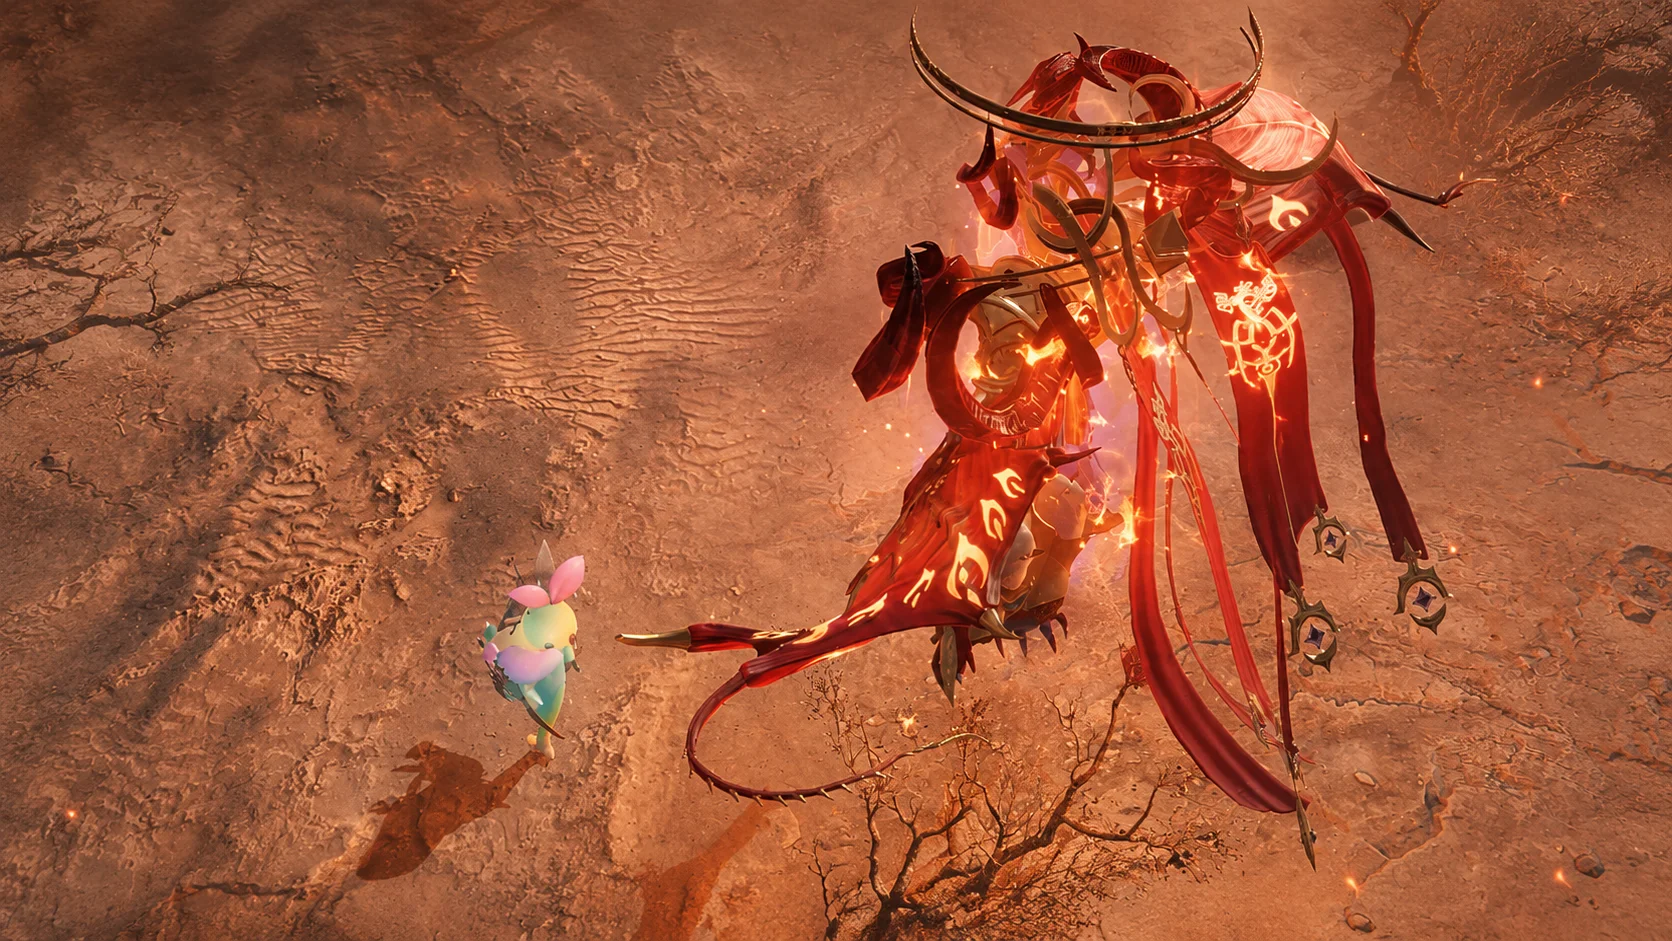
The guide starts with spear, then describes a transition near 70 HP bars into either claw or wing. Near 30 bars, the remaining form appears. Treat those bars as source reference points and confirm the live encounter’s transitions.
The two described orders are:
- Spear → claw → wing
- Spear → wing → claw
The source therefore covers all three forms in one encounter, with the latter order varying.
As a transition approaches, avoid a long blind commitment. High damage can make transformations and follow-up patterns arrive close together.
Spear form
The circular boundary
Alberhastic creates a circular boundary around itself. The source’s response is to keep fighting inside it.
Leaving can apply an expulsion-related restriction in this version. Manage smaller movements within the circle instead of automatically using a long outward escape.
Keep three points in mind.
- Stay inside the established boundary
- Watch the direction and distance of long movement skills
- Secure a safe position before committing to damage
The spear grab and rescue Stagger
The frontal spear grab is often described by Korean players as the “skewer” pattern. The grabbed player needs help from the remaining party, who Stagger Alberhastic to release them.
Interrupt the ordinary rotation and use suitable Stagger skills. Add a Whirlwind Grenade if needed for the rescue rather than valuing the skills only by their damage.
Avoid unnecessary time directly in front of the boss. A front attacker should still respond to the grab tell rather than commit simply for positional damage.
Claw form
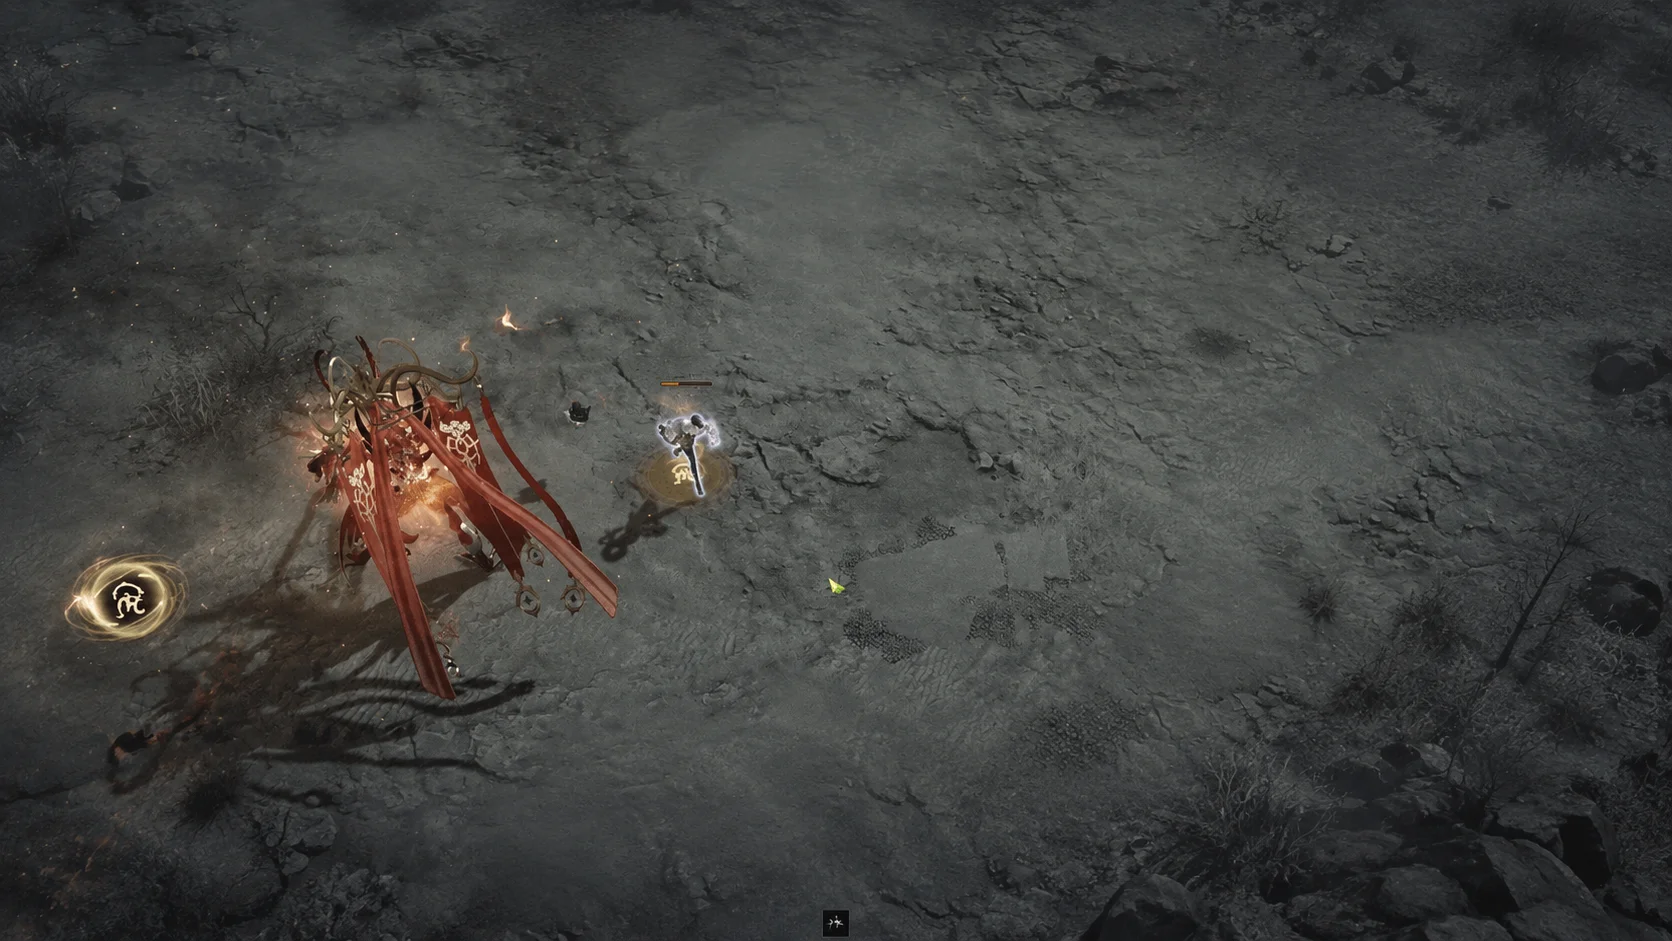
Distinguish the posture and response cue instead of treating every glow as the same mechanic.
The counter tell
The Korean source describes a yellow counter tell. Prepare the counter skill, but match the actual counterable window; color settings and regional visuals should not be your only cue.
Press with the corresponding attack motion rather than so early that the skill finishes before the window.
The timed-guard tell
The source identifies a white flash and a downward-facing posture as the guard cue.
Use the dedicated timed-guard input for the incoming hit, not a class counter skill. The Korean “Just Guard” corresponds to the timed-block mechanic called Perfect Block in relevant English-client notes.
The source’s visual shorthand is:
- Yellow counter tell: counter skill
- White guard tell: timed guard
Combine that shorthand with the attack animation and the actual client’s cue. The first flash is not automatically the input moment.
Wing form: the three-part sequence
The key response is guard → guard → counter. The Korean guide abbreviates this as“two guards, then counter.”Remember it as one complete sequence.
When Alberhastic turns toward its target and adopts the laser-like attack posture, prepare for the linked responses.
The sequence is:
- Guard the first attack
- Guard the second attack
- Counter during the final counterable cue
Do not restart the damage rotation after the first guard. Wait for the second and the counter. North America’s October 21 timing adjustment makes watching the current follow-up particularly important; this guide does not establish a fixed input interval in seconds.
Wing-form grab
The wing form can also grab a player. Rescue them through Stagger as in the spear-form example.
Use skills for their Stagger contribution, with a grenade if the group needs it. There is no universal requirement to spend every battle item on every grab.
Orbs and secondary attacks
The source describes white and yellow orbs among the encounter’s distractions. Continue tracking the form and major response cues while avoiding unnecessary contact.
A useful attention order is:
- Current form
- Any teammate needing rescue
- Counter or guard tell
- Orbs and ordinary floor attacks
- Damage in a safe opening
This is not a claim that every orb in every Alberhastic version is irrelevant. It is the priority framework from the Shade guide; follow any explicit live mechanic instruction first.
Pattern checklist
| Form | Tell | Response |
|---|---|---|
| Spear | Circular boundary appears | Stay inside while avoiding attacks |
| Spear | Frontal spear grab | Stagger to rescue the teammate |
| Claw | Counter tell described as yellow in the source | Use a counter skill in the actual window |
| Claw | White flash with a downward posture | Use the timed guard |
| Wing | Target-facing preparation for the linked attack | Two guards followed by a counter |
| Wing | Player grab | Stagger to rescue the teammate |
| All forms | Orbs and ordinary floor attacks | Avoid them while retaining attention on major cues |
Common mistakes
Confusing counter skills and the dedicated guard
These inputs perform different actions and do not replace one another.
Continuing damage while a teammate is grabbed
The rescue calls for Stagger. A high-damage rotation is not necessarily the fastest way to supply it.
Attacking after only the first guard
The wing sequence continues through a second guard and the counter. Finish the required responses first.
Moving outside the spear boundary
Check movement direction and range so an escape does not cross the restriction boundary unintentionally.
A practical approach to Alberhastic
The source simplifies the fight through form recognition and a small set of responses. That is a learning aid, not a promise that the encounter is easy for every group.
Inside the spear boundary, rescue grabs with Stagger. In claw form, distinguish the counter and guard cues. In wing form, remember guard → guard → counter, while following the live timing and any current regional changes.