

If rounds keep slipping away after your opening kill, examine what happened immediately afterward. Holding for a second opponent, covering a route your teammate left, or escaping before the trade arrives can turn the same kill into very different advantages.
That's a useful way to study higher-level matchmaking. Look beyond difficult shots to how new information changes the angle a player holds or the timing of their utility. Mirage's linked routes—A Ramp and Palace, Mid and Connector—make those decisions particularly clear.
There is no guaranteed formula for more MVPs or a higher kill count. There are useful principles for turning a won duel into the next action. Here, the priority is reducing the remaining danger and giving teammates time to move.
After a kill, consider what the enemy knows about you
One opponent is gone, but gunfire and communication may have revealed your position. Repeeking the same angle lets the next enemy arrive prepared. Winning the first duel doesn't automatically favor the second one from that spot.
Repositioning doesn't always mean running far away. Break contact behind a box, change elevation or viewing angle within the same area, or move where a teammate can help. Make the next opponent fight different conditions from the position they just saw.
After a kill on A, unknown follow-up numbers and distant support are reasons to wait behind cover rather than chase another duel. If a teammate covers the other angle and enemy movement is confirmed, a brief coordinated push may be possible. Information and support positions matter more than the excitement of the kill.
Check ammunition and the route before moving. Crossing an uncleared lane with your gun unavailable can create more danger. Whether to reload immediately or reach cover with the remaining rounds depends on the situation. The goal is to improve the next fight.
When anchoring Mirage A alone, reduce the angles
A defenders must consider Ramp and Palace, plus Connector if teammates lose Mid. Ramp is the ground-level approach; Palace leads onto the upper entrance. Alternating your view among several routes doesn't mean you can stop every entry.
If your fellow A defender dies or rotates away, redefine your role. Trying to cover two players' angles alone leaves the opposite side exposed whenever you turn. Use cover to remove one exposure and prioritize the most immediate entry.
You might smoke Ramp and focus on Palace. But smoke isn't an impassable wall: opponents can push through or take another route. Tell teammates what you hold and what you've left open. 'Solo A, holding Palace' is enough to guide support.
Whether to stay on site or fall back for a coordinated retake depends on support distance and time. Dying alone on site isn't the only form of defense. Delaying the entry and surviving with information can preserve a better fight for the team.
Connect utility to sound cues and the next action
Spending everything at round start leaves fewer options against a late hit. Saving it until you're caught with a grenade out is equally wasteful. Decide what cue justifies the throw and what you'll do afterward.
Hearing movement on Ramp could justify an incendiary to delay the exit while you reposition or request support. It doesn't establish that the entire opposing team is there. Match your response to what the sound actually tells you.
The same applies to flashes. A self-flash needs time to draw your gun and peek; a support flash needs a teammate ready to fight before the effect fades or opponents turn away. Blinding someone and exploiting that blind are separate steps.
Peeking immediately on a sound also depends on whether your position is known, the opponent can be holding you, and another enemy can see you. Sound is evidence for a decision, not a guarantee of a safe duel.
When practicing utility, record its purpose alongside the landing point. Knowing which sightline a smoke blocks and where you can move behind it gives a memorized lineup a practical role.
A missing Window smoke changes your Mid plan
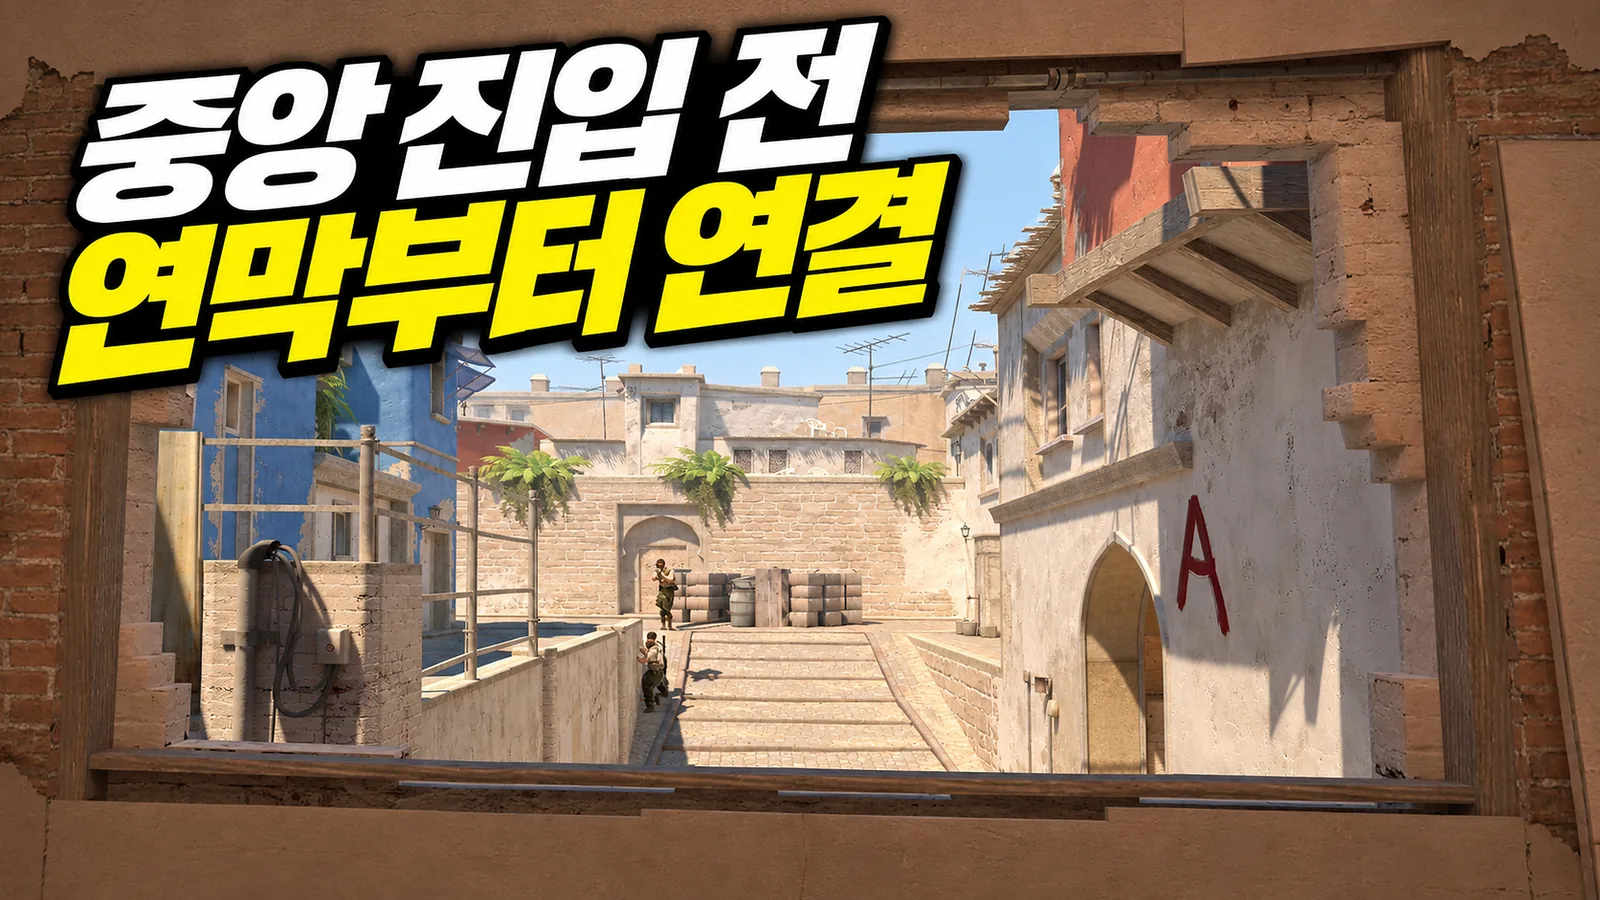
On T side, Mirage Mid connects pressure toward both sites, but Window, Connector, and Short contest it from different directions. Window overlooks Mid; Short connects toward B.
If the plan requires a Window smoke, assign the throw and confirm that it actually blocks the view. Preparing the smoke isn't the same as being ready to cross. With several teammates moving together, it's easy to assume someone else has thrown it.
If the smoke is missing, reconsider the same route. Wait behind cover, take a brief fight with a support flash, or pressure elsewhere. Even a successful Window smoke doesn't clear Connector and Short, so those responsibilities still need assigning.
Committing several attackers to Mid can also lose information elsewhere. An unattended B Apartments route may let defenders push behind you. No contact in Mid doesn't clear an abandoned area; even a recently checked route can change over time.
Coordinate activity across different parts of the map
If teammates fight Mid while the A Ramp player keeps waiting unchanged, defenders may focus comfortably on Mid. Taking an angle or applying utility pressure from Ramp can force them to divide their attention.
That isn't a command to swing on every gunshot. Entering without information or support can isolate your death. Do something useful while the team fights: hold an escape, cover a rotation, or move into a position from which you can join quickly.
A teammate's current location matters more than the kill notification. A Mid kill doesn't mean both Window and Connector are controlled; one retreating defender doesn't mean the site is empty. Distinguish confirmed space from space still contested before extending.
Make that distinction in calls. 'Haven't cleared front Ramp' or 'Got one and fell back' is more useful than 'A seems empty.' Presenting a guess as a fact can give the whole team the same false premise.
Choose the next position around the bomb and the clock
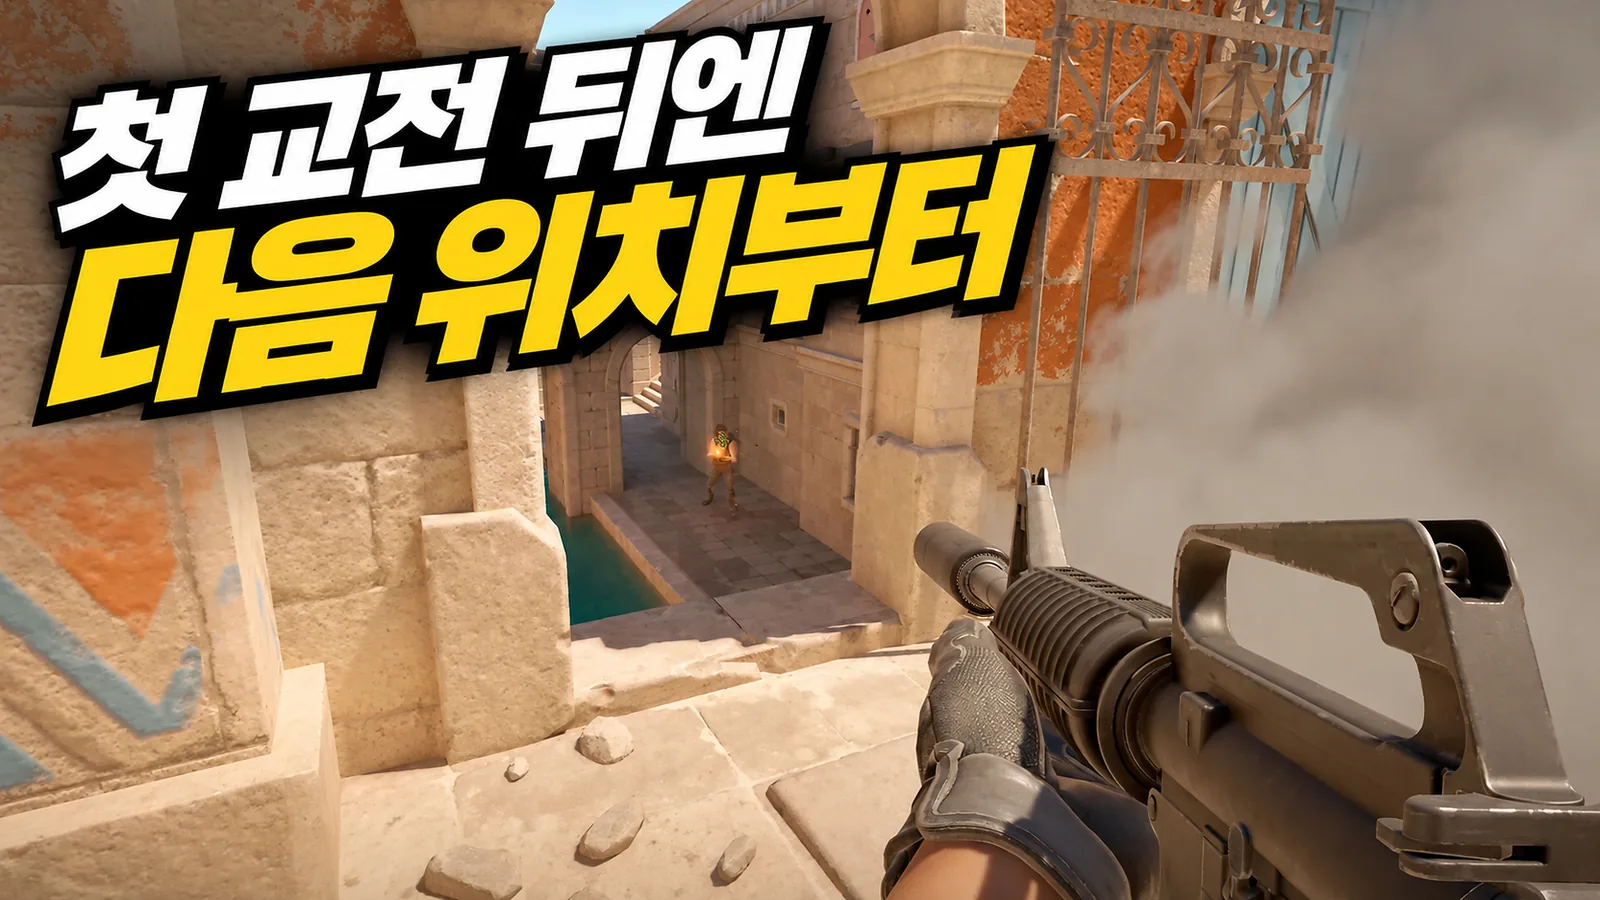
A player advantage doesn't erase the difference between T and CT objectives. Attackers need room and time to plant; defenders must prevent it or create a defuse opportunity. Survival has different value depending on that task.
After a T-side kill, waiting scattered for too long can leave no planting time. After the plant, everyone hunting separately can remove the crossfire protecting the bomb. CTs can also throw away a numbers advantage by repeatedly taking isolated fights.
When unsure where to go, ask three questions: where is the bomb, which routes do teammates cover, and what will your next position block or open? Thinking only about survival can avoid necessary fights; thinking only about another kill can waste a defensible advantage.
In review, keep watching beyond the kill. Did the player remove an exposed angle, cover an empty route, or buy an entry timing for teammates? Understanding where they spent the opportunity created by a good shot gives you a play you can repeat.
