

Solo survival needs both accurate shooting and good choices about where and when to fight. Beginners often spend too long looting or arrive late to the circle, creating bad duels. For a first Chicken Dinner, practice a connected plan from landing to the final zone.
The First Survival Principle
The objective is to be the last survivor. Choose necessary fights, but do not avoid every fight so completely that you miss the chance to take a good position. Distinguish time to hide from time to move.
Start by securing the next useful cover inside the safe area. Before shooting, check cover against return fire and an exit after the fight. Without those, consider repositioning first.
Cover such as a tree, rock, or building wall can stop bullets. Grass and shadows conceal rather than protect. Choose a position that still helps after the opponent knows you are there.
Choose a Drop for Loot and the Route Afterward
For Survival Practice, Reduce Early Landing Contests
A small group of buildings can be easier to read than the center of a packed hot drop. Look beyond the lack of players: can you find guns and armor, then leave on a useful route?
Watch nearby parachutes. Adjust if someone lands on the same or next building, and minimize exposure before finding a weapon. Remember their landing direction when leaving the first building.
Remote Drops Still Need an Exit Plan
An edge landing is not safe for the whole game. A distant circle may require long travel through roads or bridges opponents can watch.
Check nearby roads, a route toward possible vehicles, and the next compound. Repeating a few areas teaches dangerous crossings as well as loot order.
Loot Until You Can Leave, Not Until Every Slot Is Perfect
Without a stopping rule, upgrades can consume your rotation time. Secure a usable weapon and ammo, helmet, vest, and recovery, then check the map.
| Priority | Check | Decision |
|---|---|---|
| First | Usable weapon and ammo | Can you respond to contact? |
| Next | Helmet and vest | Check both equipped status and durability |
| Before moving | Healing and smoke | Can you recover or cross an exposed stretch? |
| With spare time | Optics and attachments | Collect without losing the movement window |
Practice a Familiar Weapon Pair
Separate close-fight and medium-range jobs, for example an AR you control plus a DMR. Repeated use teaches recoil and shot timing better than forcing an unfamiliar difficult gun.
No weapon is best everywhere. Patches and distances change value; first choose equipment you can actually use effectively.
After a Kill, Take What Is Missing and Move On
Gunfire can attract a third party. Check surroundings before opening the death crate, then prioritize missing ammo or healing.
Avoid long stationary inventory sorting and attachment comparisons. After the necessary supplies, scan again and choose the next action.
Circle Rotations: Choose the Cover You Will Reach
The white circle marks the safe area, while the blue boundary shows the closing Blue Zone. Being outside the playable zone costs HP; vehicles help cover long distances.
Choose a specific rock or building inside the circle rather than only ‘get in.’ Without a destination, you can reach safety and still stop in open ground.
Center or Edge Depends on Terrain
Central positions can reduce later travel but expose more directions. Edge play can narrow attention after checking behind, but a hard shift increases the next rotation.
Compare available cover and future routes rather than forcing either style. Edge position does not clear your back; late players may still arrive.
Before Driving, Plan Where to Park
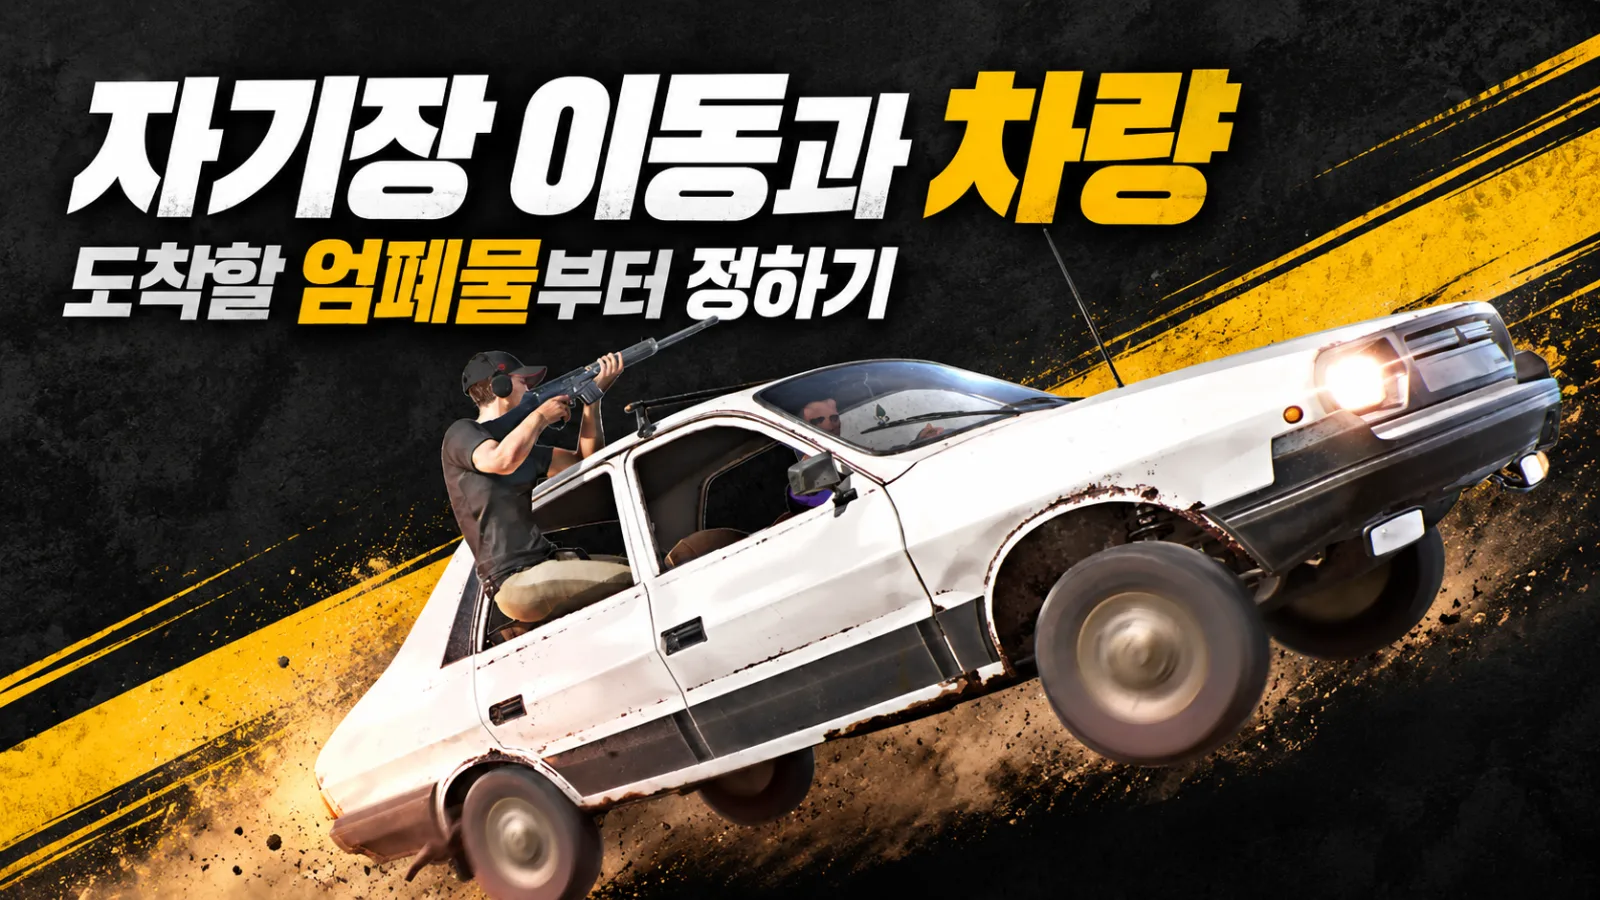
On a large map, identify destination and parking before departure. Speed does not help if dismounting leaves you exposed. Use terrain or buildings with immediate cover after exiting.
Engine noise reveals movement. Late, decide whether to keep driving or park near cover and continue on foot. A vehicle does not make every route safe.
Before Shooting, Check the Fight Conditions
Unnecessary solo fire reveals your position. Check:
- Can you hit reliably at this range and angle?
- Can you hide from return fire?
- Will the circle still allow a prolonged fight?
A distant enemy moving away from your route may be worth tracking without shooting. If someone blocks the path, check a detour first, then fight when needed.
Use Gunfire as Information
Locate the fight and compare it with your route instead of immediately running toward the sound.
You can detour or move while others focus elsewhere. Silence afterward does not prove the area empty; survivors may be moving or waiting quietly.
Avoid Immediate Repeeks from the Same Spot
After firing from a window or rock, the opponent may hold that angle. If hit, recover behind cover and check a safe alternative angle.
Do not force a reposition across open ground. The purpose is a less predictable position that still protects you.
Smokes and the Final Circle

Plan the Smoke Route Before Moving
Smoke blocks vision, not bullets. Choose where you will end up instead of assuming the cloud itself is safety.
Place it around enemy sightlines and the exposed crossing. Let the smoke bloom before leaving, then move toward the next cover. The end of the smoke needs a usable continuation.
As Players Disappear, Track Positions Rather Than Only Kills
Separate seen enemies from unchecked directions. Do not fixate on one target while another can approach.
A fight between others may offer a better position for the next circle. Claiming cover can be more valuable than revealing yourself for a possible kill.
Go Prone Only with Context
Proning may conceal you when movement exposes a nearly coverless position. Grass does not stop bullets and may not hide you from every distance or angle.
Check the next route before lying down; a circle shift still requires movement. Hiding alone does not guarantee a favorable final fight.
Common Solo Beginner Mistakes
| Mistake | Next-Game Adjustment |
|---|---|
| Continue looting after essentials | Check the map and timer, then set a departure point |
| Shoot every visible enemy | Check cover and the post-fight route first |
| Run straight toward the circle | Choose destination cover and reduce exposure |
| Spend too long in a death crate | Take missing supplies and scan again |
| Wait in one place until the end | Verify the next-circle route remains usable |
Solo FAQ
Can I Win a Solo with Weak Aim?
It is possible, but no plan guarantees it. Better positions and fight selection reduce bad duels; practice enough shooting to handle necessary close contact too.
Should Beginners Avoid Every Fight?
Separate survival-focused matches from shooting practice. Choose necessary fights in a survival run and use Training Mode for familiar-weapon recoil and aim. Training also supports landing and driving practice.
Is Reaching the Center First Always Best?
No. A central position without cover or with multiple open sightlines can be dangerous. Check terrain, enemy locations, and the next route as well as circle position.
Regional and version notes
This guide covers PUBG: BATTLEGROUNDS on PC and console, not PUBG MOBILE. Tactical examples are practice frameworks rather than guaranteed wins. Item and queue availability vary by mode, map, region, and update. Smoke conceals movement but does not stop bullets. Distances use the game’s metric units. Some illustrations are retained from the Korean edition and may include Korean labels. Use the English article text for instructions.
Localization sources checked October 22, 2026 (Korea time):