

KMS build · About these guides
Ren is an Anima warrior with sword effects and a relatively approachable attack loop. Plum Blossom Sword: Storm, shortened to Storm below, can be held while moving and double-jumping. First Plum Blossom Sword: Petal Flash provides quick forward and backward repositioning.
Accessible inputs do not automatically mean top damage. Inner Ability, nodes, burst setup, and HEXA investment still need a plan. This guide follows the Korean build reference, using English skill names and noting the later KMS Sublimation change where it affects the rotation.
Is Ren a good starting class?
Storm is easy to keep running, while Third Plum Blossom Sword: Riotous Heart and Erda Fountain can cover separate farming areas.
Bossing tools include a class bind, Erda Nova, invulnerability, and directional repositioning. Learn those tools alongside the damage loop.
If you prefer complex linking, the loop may feel simple. Choose for the controls, farming style, and sword theme rather than a damage ranking alone.
Ren's main practical strengths
- Movement and double jump while using Storm
- Forward/backward Petal Flash teleports
- A class bind alongside access to Erda Nova
- Fourth Plum Blossom Sword: Unbowed Blade, with a 70-second cooldown and three-second invulnerability in the reference
- Riotous Heart plus Erda Fountain coverage for farming
- An approachable main burst flow
Inner Ability options
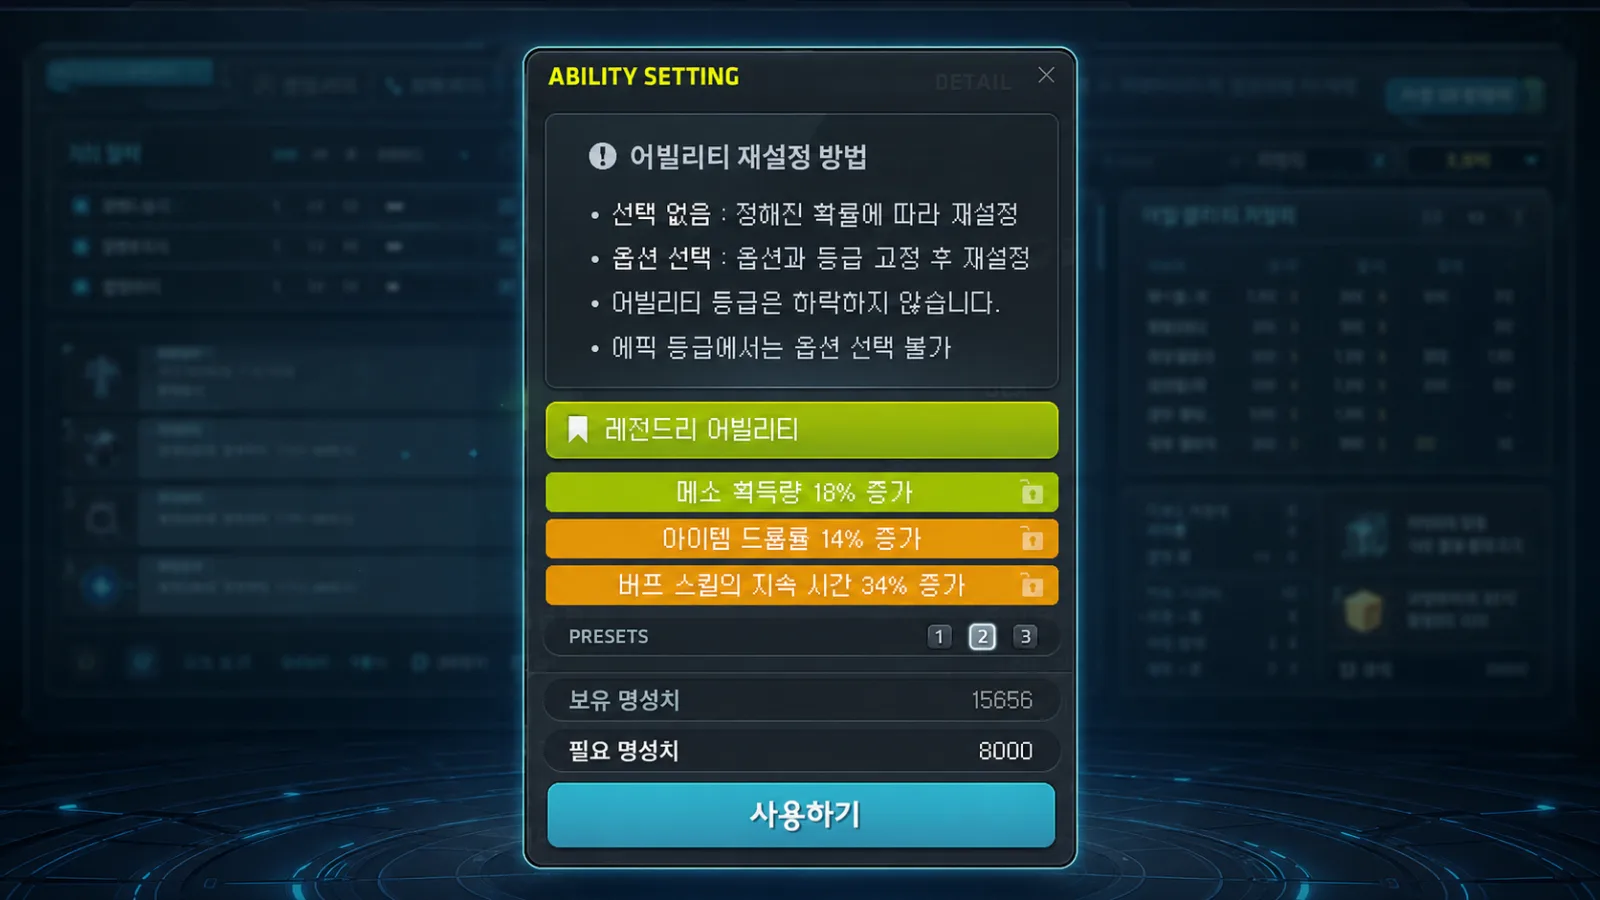
Choose separate bossing and farming goals. For a finished bossing setup, the source suggests securing useful Unique-tier second/third lines before finishing the Legendary first line. That is a planning option, not a guarantee of the cheapest reroll route; keep a usable result and a resource limit.
Bossing candidates
- Boss Damage
- Damage to enemies affected by abnormal status
- Attack Power
Farming candidates
- Meso Obtained
- Item Drop Rate
- Damage to normal monsters
A main doing both can prioritize its bossing needs, while a frequent farmer may value meso/drop lines more. Compare with the content you actually play.
Hyper Skills
Learn all three available active Hyper Skills. For the five passive selections, the source prioritizes:
- Spirit Strike - Reinforce
- Storm - Reinforce
- Storm - Boss Rush
- Wish Unending - Reinforce
- Wish Unending - Guardbreak
Storm is the repeated farming and sustained-boss attack. Wish Unending enables the Final Imugi Spirit Sword sequence used heavily in burst. Those roles explain the source's early priorities.
Boost-node planning
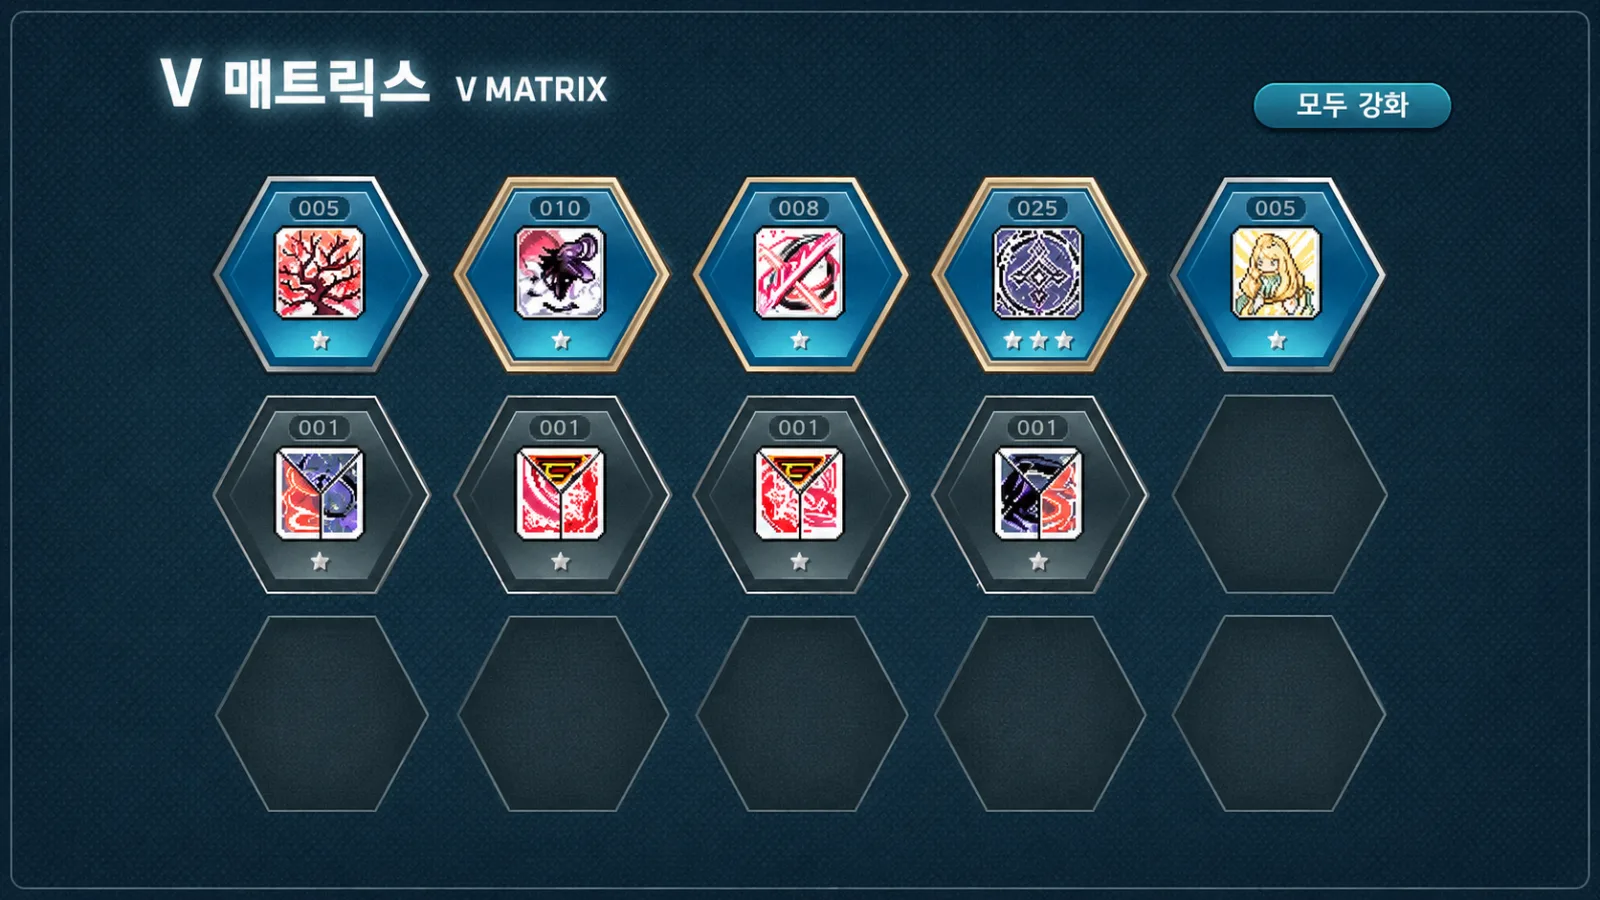
A possible full target is six relevant skill groups boosted twice across four trinodes. Match the actual node entries in your version before combining or enhancing them.
- Plum Blossom Sword: Storm
- Second Plum Blossom Sword: Raining Blossoms
- Third Plum Blossom Sword: Riotous Heart/Hearts United
- Imugi Spirit Sword: Spirit Strike
- The Final Imugi Spirit Sword technique group
- Second Imugi Spirit Sword: Serpent's Fang and Fourth Plum Blossom Sword: Unbowed Blade group
With few Nodestones, develop the groups you actually use most—Storm, Raining Blossoms, the Heart attacks, and Spirit Strike—before finishing every boost.
Fifth-job class-node reference order
- Final Imugi Spirit Sword: Blade of the Unbound Heart
- Final Plum Blossom Sword: Thousand Blossom Flurry
- Soul Immeasurable
- Final Plum Blossom Sword: Dancing Annihilation
Soul Immeasurable and Dancing Annihilation can be developed together if their next-level value is close in your setup. The list is a beginner reference, not a universal cost-efficiency result.
Decent Holy Symbol is useful for farming. Unlock needed shared skills at low level, then compare Weapon Aura and Grandis Goddess's Blessing alongside the main class nodes. Avoid spending heavily on optional Decent nodes before the core attacks are usable.
The source also suggests a rune-EXP Special Node for training and Fatal Strike for bossing. Check the exact temporary Special Node and its activation conditions.
How the key skills work
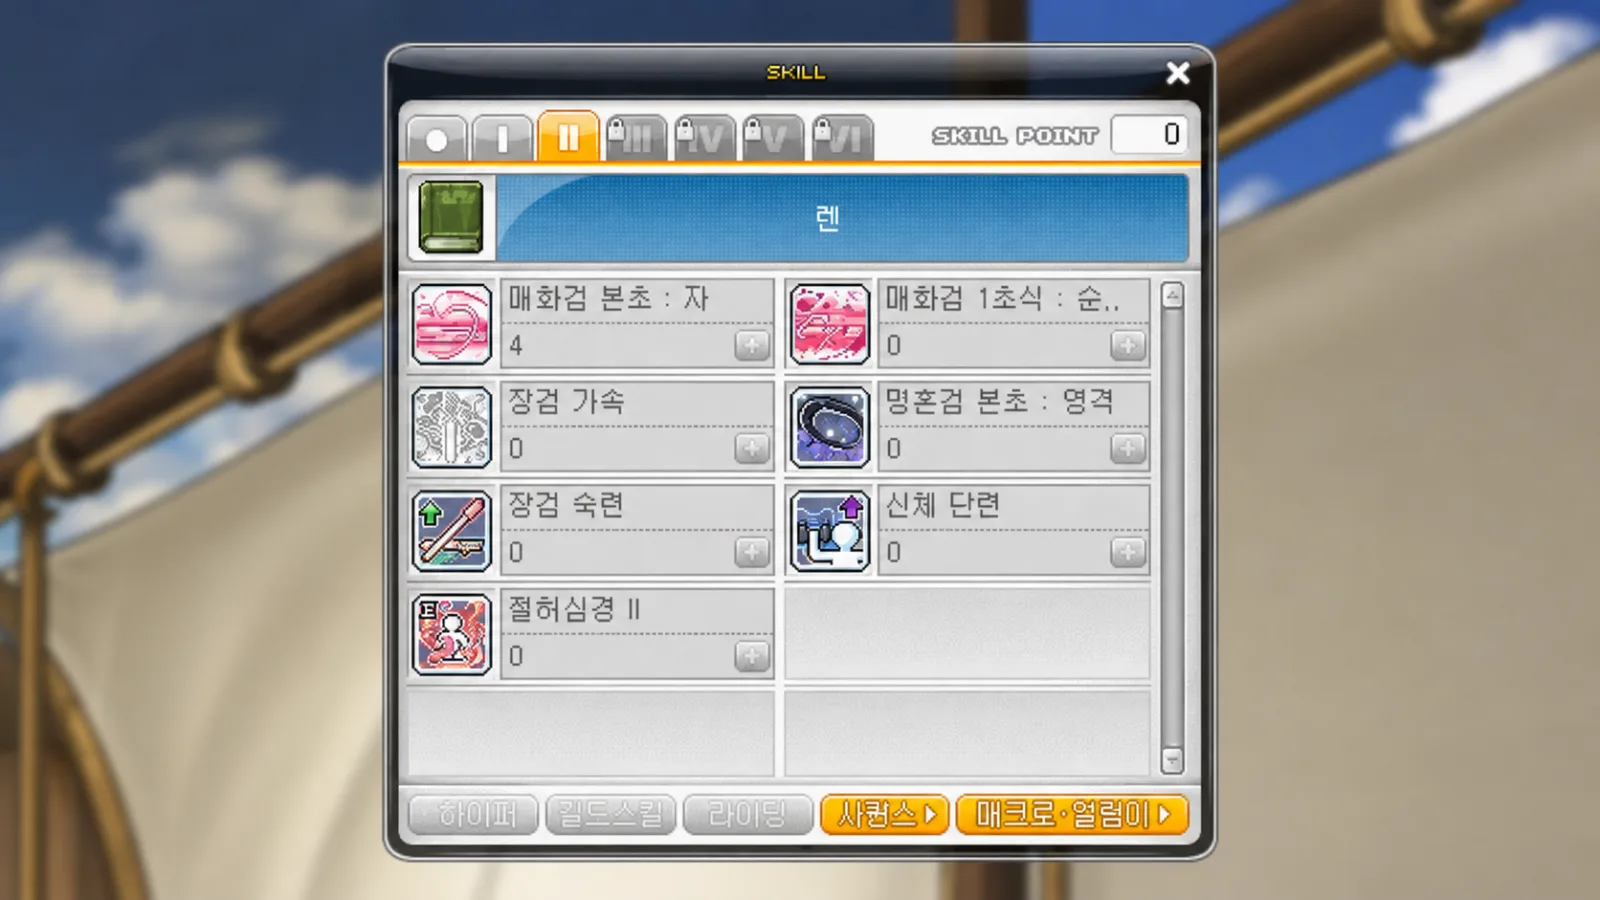
Petal Flash
This teleport alternates its unsheathe and sheathe movements. If the alternating direction is confusing, register the two actions on separate hotkeys where the client supports it.
It can also be used in the air. Practice its destination alongside double jump before relying on it to cross a mechanic.
Lilting Petal and Unbowed Blade
Lilting Petal adds an aerial movement option and can hold you in the air briefly when its input is maintained.
Unbowed Blade gives the reference's three-second invulnerability on a 70-second cooldown. It permits movement afterward, making it useful for surviving a dangerous attack and repositioning.
Riotous Heart and Hearts United
Riotous Heart is the farming summon; Hearts United is the boss-focused version. Unity selects the mode. Check it before training so you do not expect the traveling farming summon while the bossing version is selected.
Storm
Storm repeatedly attacks while you hold the key, with movement and double jump available.
Use it to finish uncovered farming areas and maintain damage between larger bossing skills.
Wish Unending
Wish Unending activates the Final Imugi Spirit Sword techniques in sequence. Hold or repeat its input according to the skill interaction and your preferred controls.
The source's older Sublimation description reset cooldown and sequence progress. The October 22, 2026 KMS follow-up changes it to allow four Wish Unending uses while that skill is on cooldown during the buff. Plan around that current Korean condition rather than treating the old reset description as unchanged.
Dancing Annihilation
This is a roughly five-second channeled burst in the source's reference. Wish Unending can be used alongside it; learn the paired inputs in practice first.
If Wish Unending is not responding reliably, maintain Dancing Annihilation and repeat only Wish Unending's input. After those attacks finish, return to Storm rather than interrupting an unfinished channel.
Plum Branch Snare and Erda Nova
Fifth Plum Blossom Sword: Plum Branch Snare is the class bind; Erda Nova is the shared bind option.
The source uses Erda Nova during Dancing Annihilation and chains the appropriate bind window with the Origin attack. Track bind resistance and the boss state instead of assuming every bind can be stacked without restriction.
Lotus Flower
Lotus Flower provides a revival-related setup. Its HEXA enhancement adds an attack component alongside that function.
The enhanced attack component does not mean you must repeatedly place the revival setup solely to make it attack. Manage the placement around the revival benefit and its actual tooltip.
A beginner burst flow
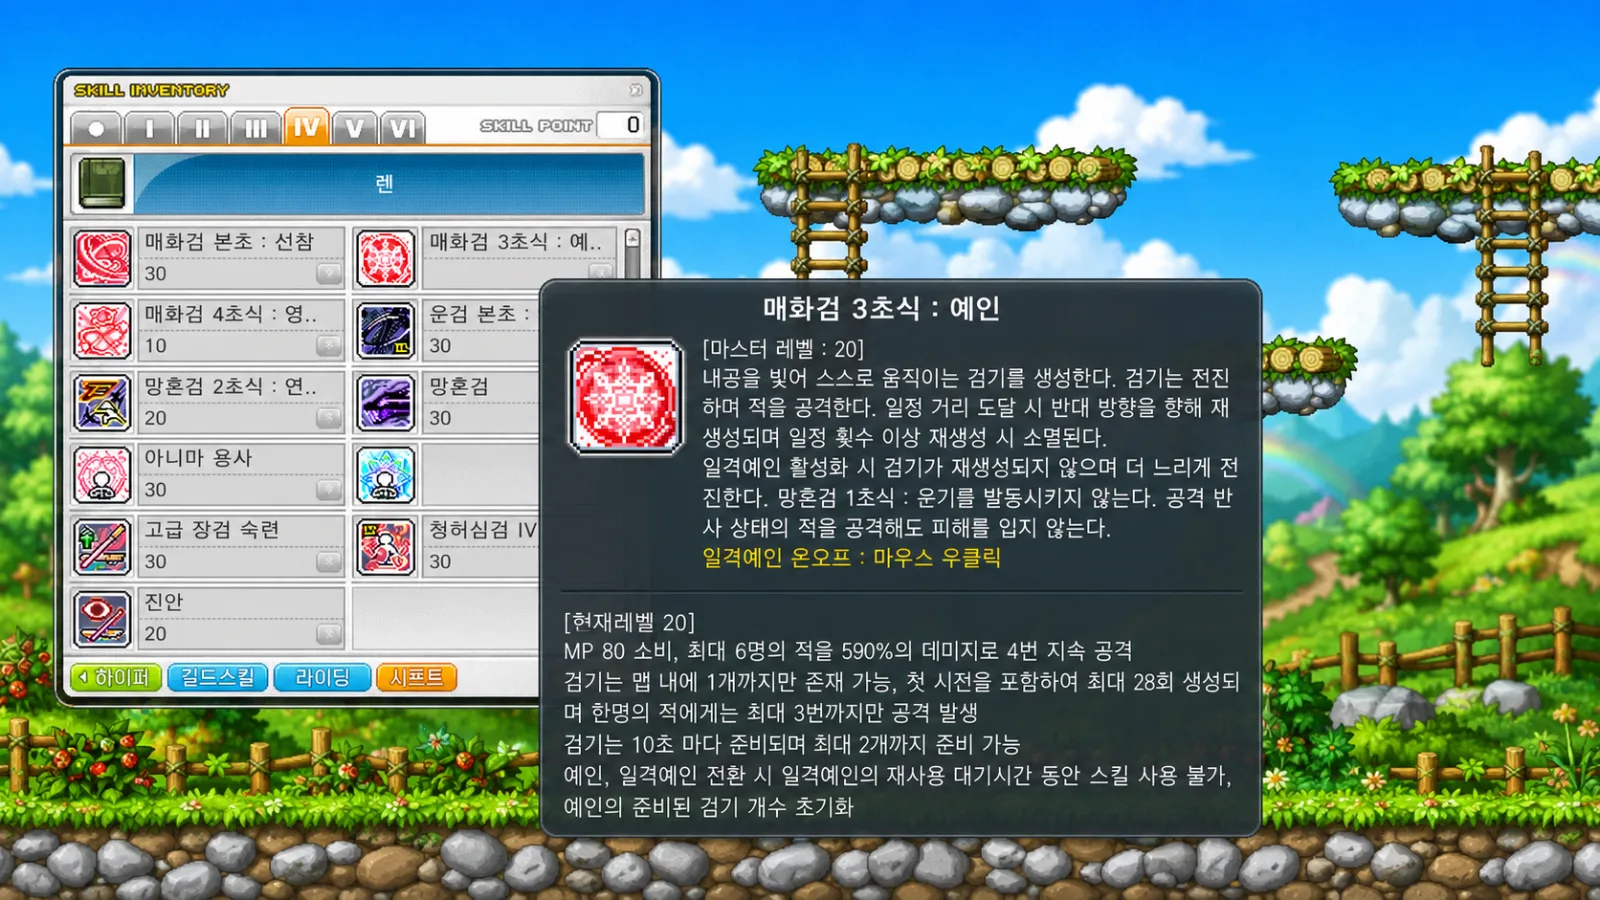
Register compatible burst buffs in a Skill Sequence if available. Soul Contract, the Angelic Buster Link Skill, can join the setup when the character has access to that Link.
Rings and available shared skills change the details. The source's basic sequence is:
- Use Erda Nova or Plum Branch Snare when a bind is appropriate.
- Activate the planned burst buffs, including the applicable Sublimation setup.
- Use Hearts United.
- Pair Dancing Annihilation with Wish Unending.
- Let Dancing Annihilation finish before the Origin attack.
- Return to Storm after the Origin animation.
- Use the Heart attack and Wish Unending again when their current conditions permit.
For a two-minute burst without Origin, follow the corresponding flow without that attack. Smaller windows can use Hearts United and the available Imugi sequence. Under the newer Korean Sublimation rule, track the buff and extra-use condition rather than the old cooldown-reset assumption.
Not every timer will align perfectly. Prioritize the key attacks that can land instead of waiting indefinitely for the entire bar to become ready together.
An early HEXA progression reference
The source proposes this early path. It is a starting example to compare against your own next-level costs, not a fixed optimum after every balance update.
HEXA Wish Unending 1 → HEXA Storm 1 → HEXA Spirit Strike 1 → Sol Hecate 1 → Wish Unending 2 → Spirit Strike 2 → HEXA Stat I → Wish Unending 3 → Spirit Strike 3 → Wish Unending 4 → Spirit Strike 4 → HEXA Raining Blossoms 1–4 → Wish Unending 5 → Spirit Strike 5 → Wish Unending 6 → Blade of the Unbound Heart Boost 1 → Spirit Strike 6 → Raining Blossoms 6 → HEXA Stat II → Wish Unending 7
Equipment, Boss Damage, Ignore Enemy Defense, and current skill contribution change the next best step. Recalculate once the initial unlocks are in place, especially after a structural skill change.
Hyper Stats, Links, and Legion
First cover any missing Critical Rate needed for 100% in the intended setup. Then compare Critical Damage, Damage, Boss Damage, and Ignore Enemy Defense rather than raising one blindly.
Use normal-monster damage and EXP for the farming preset, and Boss Damage/IED priorities for the intended bossing setup.
Separate Link presets too. Choose EXP and normal-monster effects for training; compare useful damage, Boss Damage, IED, and critical bonuses for bosses.
Use Legion to fill Critical Damage, IED, and Boss Damage needs, then any missing Critical Rate or useful main stat.
Farming and starter equipment
Before level 260, a basic route places Erda Fountain and Riotous Heart in separate areas, then clears the remaining range with Storm. First confirm the level and advancement needed to use the shared skill.
If the Heart attack disappears instead of traveling as expected, check whether Unity is selecting Hearts United.
Use eligible event equipment and rewards as a bridge. Add useful boss accessories, appropriate armor such as AbsoLab, usable Potential, and enough Star Force in stages rather than buying an endgame setup immediately.
Replace the slot that helps within the current budget and event support, not simply the item named in someone else's build.
Common early mistakes
- Forgetting Petal Flash's alternating movement
- Leaving Hearts United selected during farming
- Interrupting Dancing Annihilation early for Origin
- Ignoring the current Sublimation extra-use condition or following an outdated reset rotation
- Overinvesting in optional Decent nodes before the main attacks
- Spending everything on HEXA Stats without comparing current skill upgrades