

KMS Challenger build · About these guides
Bowmaster can keep its damage loop centered on Hurricane without managing a demanding attack combo. Automatic follow-ups and several survival tools make the basics approachable for a new bossing player.
This guide follows the Korean Challenger build reference: why the class is a candidate, the settings to check, and how to develop nodes and combat habits. Event rewards and entry rules follow the relevant season's notice.
What kind of class is Bowmaster?
Bowmaster is an Explorer archer using a bow. Its bossing loop combines sustained rapid fire with enhancement windows around a two-minute cycle in the source's setup.
The basic flow is:
- Use the planned buffs and burst skills.
- Place Arrow Blaster.
- Maintain Hurricane.
- Use movement and defensive tools for mechanics.
Compared with a class requiring continuous precise linking, that can leave more attention for boss tells and positioning.
Why consider it for Challenger progression?
An approachable damage loop
The sustained loop centers on Arrow Blaster coverage and Hurricane uptime.
The source uses a compatible Skill Sequence for burst buffs, then returns to Hurricane. Learn which buffs are active before treating the sequence button as a complete rotation.
Many follow-up attacks are automatic
Magic Arrows, Speed Mirage, and Arrow Blaster support the main attack. These are the English names for the source's cartridge, Flash Mirage, and Arrow Platter entries.
You press relatively few repeated attack buttons while several effects contribute alongside Hurricane.
Varied survival and movement tools
Bowmaster does not build its defense around an on-demand full invulnerability button. Silhouette Mirage, Covering Fire, Blink Shot, and the recovery-arrow mode offer different ways to handle danger.
It can preserve uptime through positioning, damage reduction, and recovery, but those tools do not make a lethal mechanic safe automatically.
A manageable event-world routine
The source's Challenger environment starts without the destination world's established Link and Legion setup. Accessible execution is useful when learning bosses on a developing character.
Bowmaster is one candidate for that role. Its comfort does not guarantee a particular event tier or clear without the necessary character progress.
Pet auto-buff settings

If you have the applicable pet buff slots, review them early.
The source's useful candidates are:
- Sharp Eyes
- Decent Combat Orders
- Decent Holy Symbol
Use Bowmaster's own fourth-job Sharp Eyes rather than Decent Sharp Eyes when setting that buff.
Holy Symbol is useful for training EXP and drops. Keep the combat buffs maintained for bosses as their current duration and activation rules require.
Toggles and persistent effects
After reconnecting or reviving, check the effects the setup uses:
- Quiver Cartridge's Magic Arrow mode
- Guided Arrow
- Speed Mirage
- Silhouette Mirage
Magic Arrows are the source's default damage choice. The recovery-arrow option can help when healing is needed. Read the current cartridge/Enchanted Quiver interactions instead of assuming one mode has no tradeoff in every version.
The sustained-damage loop
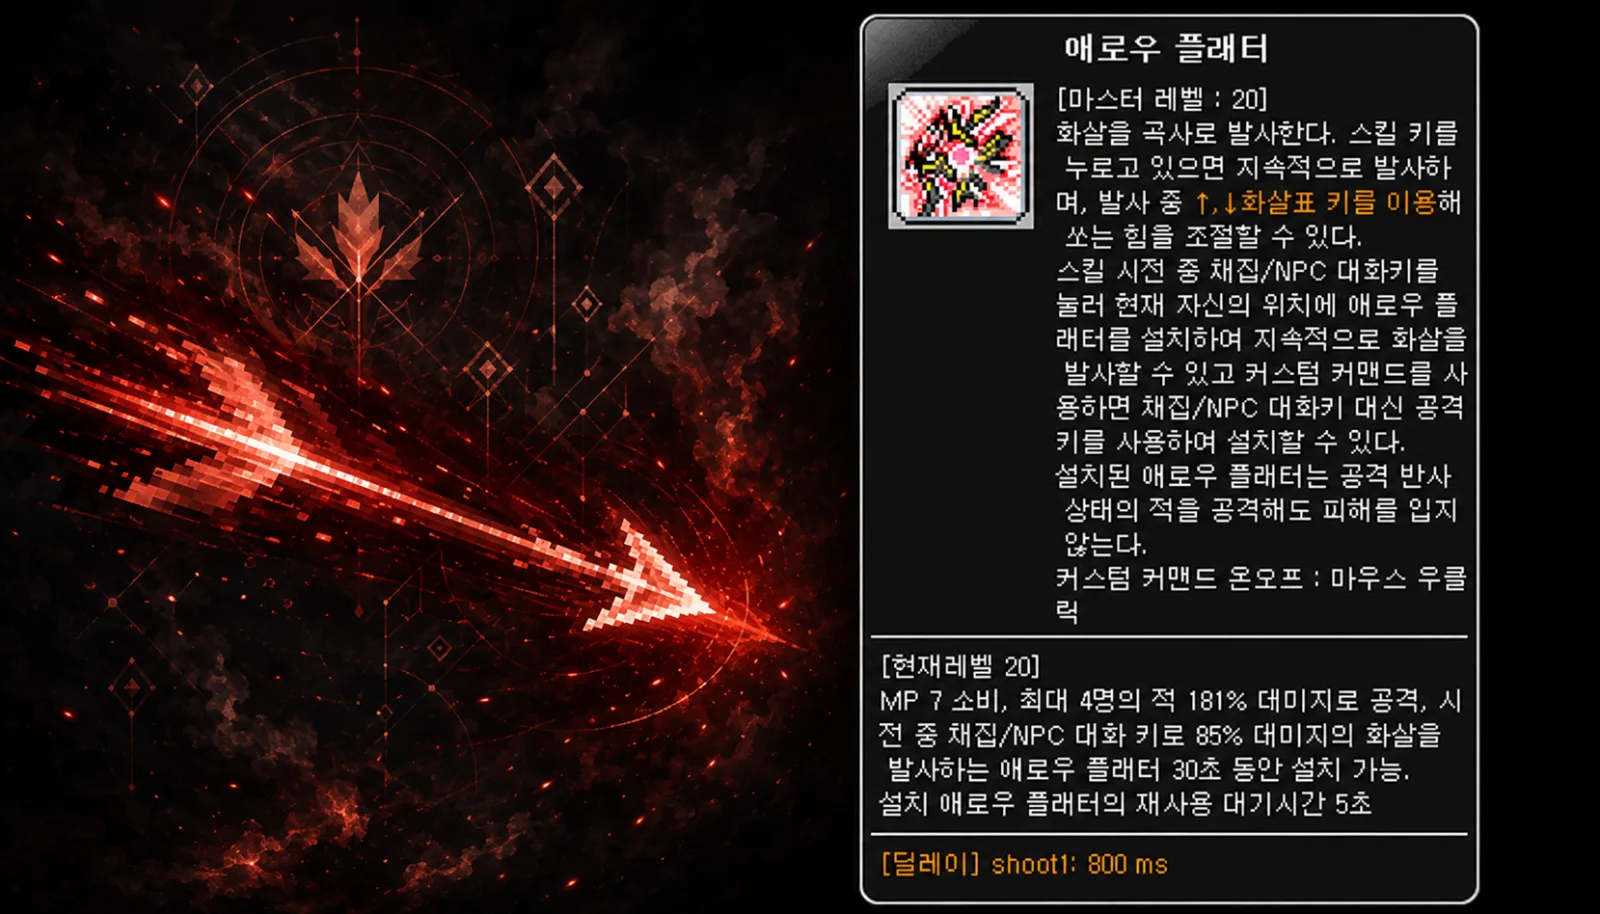
The basic repeated attack plan is short.
1. Place Arrow Blaster
Place it where its attacks can reach the boss. The source uses roughly one minute as a management reminder; the current tooltip and actual uptime take priority over a memorized refresh interval.
Against a moving boss, wait for a useful settled position rather than repeatedly placing it where the boss is about to leave.
2. Maintain Hurricane
Hurricane permits movement while attacking, making small position adjustments possible without abandoning the whole damage loop.
Find a location where the attack can continue safely. Uptime is more important than adding unnecessary inputs.
Burst setup
Group compatible buffs into a Skill Sequence where the client supports it, while keeping attacks and mechanics under control.
The source's checklist includes:
- Phoenix
- Storm of Arrows
- Epic Adventure
- Maple World Goddess's Blessing
- Fury of the Wild
- Concentration
- Quiver Barrage
- Vicious Shot
- Inhuman Speed
- Soul Contract, if the Angelic Buster Link is available
- The applicable Oz ring skill
After the useful effects are active, keep Hurricane connected to the target.
Align the window with the boss's availability and any planned bind. A ready bar is not a reason to burst just before a disappearance or forced move.
Survival and movement

Silhouette Mirage
It creates protective silhouettes over time and can reduce damage from a threatening hit under its conditions.
It is not an invulnerability button you freely trigger at any moment. Track its available protection rather than relying on the effect to cover every mechanic.
Covering Fire
This aerial tool moves you backward and provides hang time. A jump and an applicable Blink interaction can extend an aerial route.
Practice it for ground hazards and landing management before using it over a lethal attack.
Blink Shot
It lets you return to a marked position under the skill's conditions.
Set a useful destination for the particular boss. Think of it as a prepared repositioning route, not a guarantee that the old marker remains safe when mechanics change.
Recovery arrows
The recovery-arrow mode can restore HP while attacking when its conditions are met.
The source treats it as a temporary survival adjustment rather than the default damage choice. Check the current quiver mechanics before deciding how long to keep it selected.
Swift Surge
Use this quick forward movement for repositioning. It can help with some crossing patterns, but movement alone is not universal invulnerability or immunity to knockback.
Inner Ability
The source's bossing candidates are:
- Boss Damage
- Damage to enemies affected by abnormal status
- Critical Rate
Boss Damage is the suggested first-line goal, with useful abnormal-status damage and Critical Rate on the other lines. Vicious Shot can make Critical Rate useful beyond the ordinary 100% attack-crit requirement; compare the actual setup and buff window.
A separate training preset can prioritize Item Drop Rate and Meso Obtained.
Hyper passives
The source's five bossing selections are:
- Hurricane - Reinforce
- Hurricane - Boss Rush
- Hurricane - Split Attack
- Sharp Eyes - Critical Chance
- Sharp Eyes - Guardbreak
The three Hurricane selections support the repeated main attack, while the Sharp Eyes passives add critical and defense-ignoring effects.
Boost-node priorities
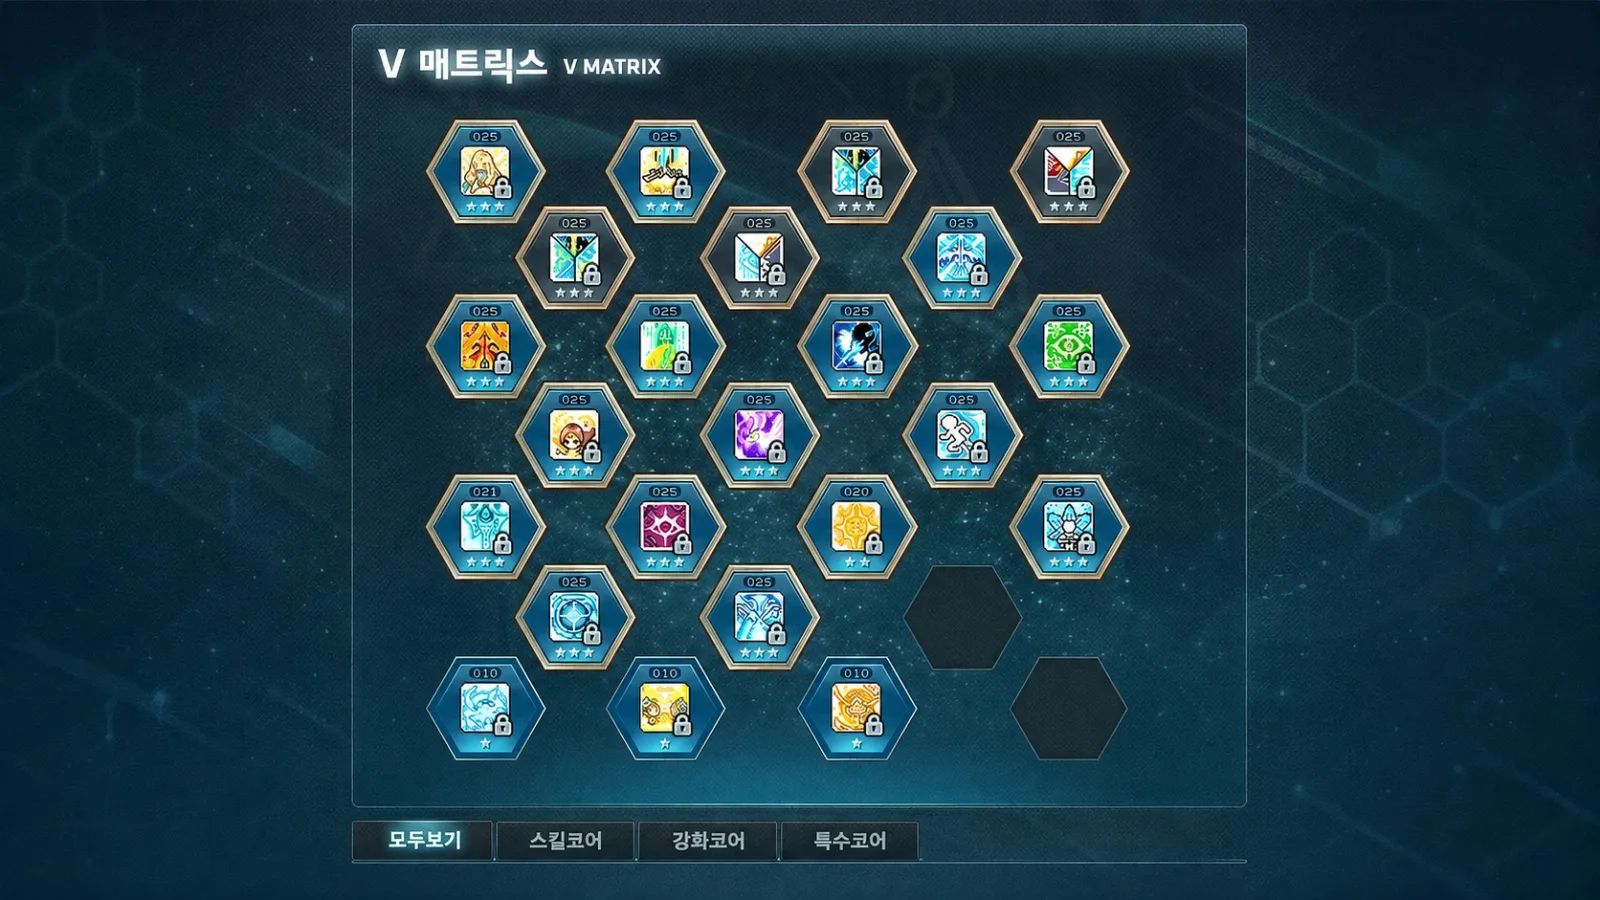
There are several relevant skills, so trying to complete every node immediately can exhaust an early Nodestone supply.
Begin with skills that contribute in the fights and training routes you actually use.
Early main groups
- Hurricane
- Quiver Cartridge
- Arrow Blaster
- Speed Mirage
- Final Attack: Bow
Other groups to develop as useful
- Arrow Stream
- Phoenix
- Gritty Gust
- Covering Fire
Build overlap for the main bossing groups, respecting the boost cap and actual node grouping. Early on, a usable temporary node can help more than waiting indefinitely for a perfect combination.
Decent Holy Symbol is a useful shared-node candidate for training. Compare its next level with class-node upgrades when boss damage is the immediate goal.
Oz ring choice
For the source's Korean Challenger selector, Continuous Ring is a candidate worth comparing.
Its uptime-oriented effect can fit Bowmaster's sustained Hurricane loop and reduce dependence on manually timing one short ring window.
Compare the actual level, equipment, and target boss before choosing a permanent setup. Korean Challenger-only rings have separate expiration, transfer, and linked-selector restrictions.
Strengths and tradeoffs
Reasons to try Bowmaster
- A straightforward sustained and burst flow
- Movement during Hurricane
- Automatic supporting attacks
- Damage reduction, aerial movement, a return marker, and recovery options
- Approachable first bossing practice
- A manageable Korean Challenger progression candidate
Things to consider
- Limited on-demand full invulnerability
- Less concentration of all damage into one very short window
- Arrow Blaster and toggle management
- Placed attacks can lose uptime when the boss moves
- Several useful boost groups to develop
Who may enjoy it?
It is worth trying if you:
- Are learning a character in an event world
- Dislike demanding attack combinations
- Want to dodge while maintaining repeated damage
- Enjoy automatic follow-ups and sustained output
- Prefer using movement and reduction tools for defense
- Want an accessible loop for training and bosses
If you mainly enjoy rapid multi-skill combos or a single dramatic burst, the repeated loop may feel less varied.
An early setup checklist
The Korean source recommends Bowmaster for accessible execution and varied defensive tools. Those strengths still need practice and sufficient character development.
Work through the setup in this order:
- Review Sharp Eyes, Decent Combat Orders, and Holy Symbol auto-buff coverage.
- Check the cartridge mode and required toggles.
- Develop the Hurricane-centered boost groups.
- Place Arrow Blaster and maintain Hurricane.
- Organize compatible burst buffs.
- Practice Covering Fire and Blink Shot destinations.
Start with a familiar lower boss and find the positions where you can keep attacking without losing control of the next mechanic.
Frequently asked questions
Is Bowmaster suitable for a new player?
The repeated loop is approachable, with automatic attacks and helpful utility. Start by maintaining Hurricane while recognizing the boss's tells.
What is the main bossing attack?
Hurricane, supported by Arrow Blaster, quiver attacks, Speed Mirage, and the rest of the active setup.
Which pet buffs should I review?
The source suggests Sharp Eyes, Decent Combat Orders, and Decent Holy Symbol. Use the class's Sharp Eyes rather than the Decent version and check the available slots.
Does Bowmaster have invulnerability?
Its ordinary survival plan relies more on Silhouette Mirage, movement, marked repositioning, and recovery than a freely timed full invulnerability button. Shared and later-version skills need their own tooltip check.
Which nodes first?
Prioritize the main skills you use—Hurricane, Quiver Cartridge, Arrow Blaster, and Speed Mirage—then compare Final Attack, Phoenix, Arrow Stream, and the other groups with your available resources.