

Korean beginner build reference · About these guides
Mayhem Berserker is worth considering if you want a straightforward melee character or an alt with an accessible starting rotation.
Its identity loop and movement speed can leave more attention for boss mechanics. There is still room to improve through Red Dust timing, Rage uptime, and eventually a Dark Rush Ark Grid setup.
Reason 1: An Accessible Identity Loop
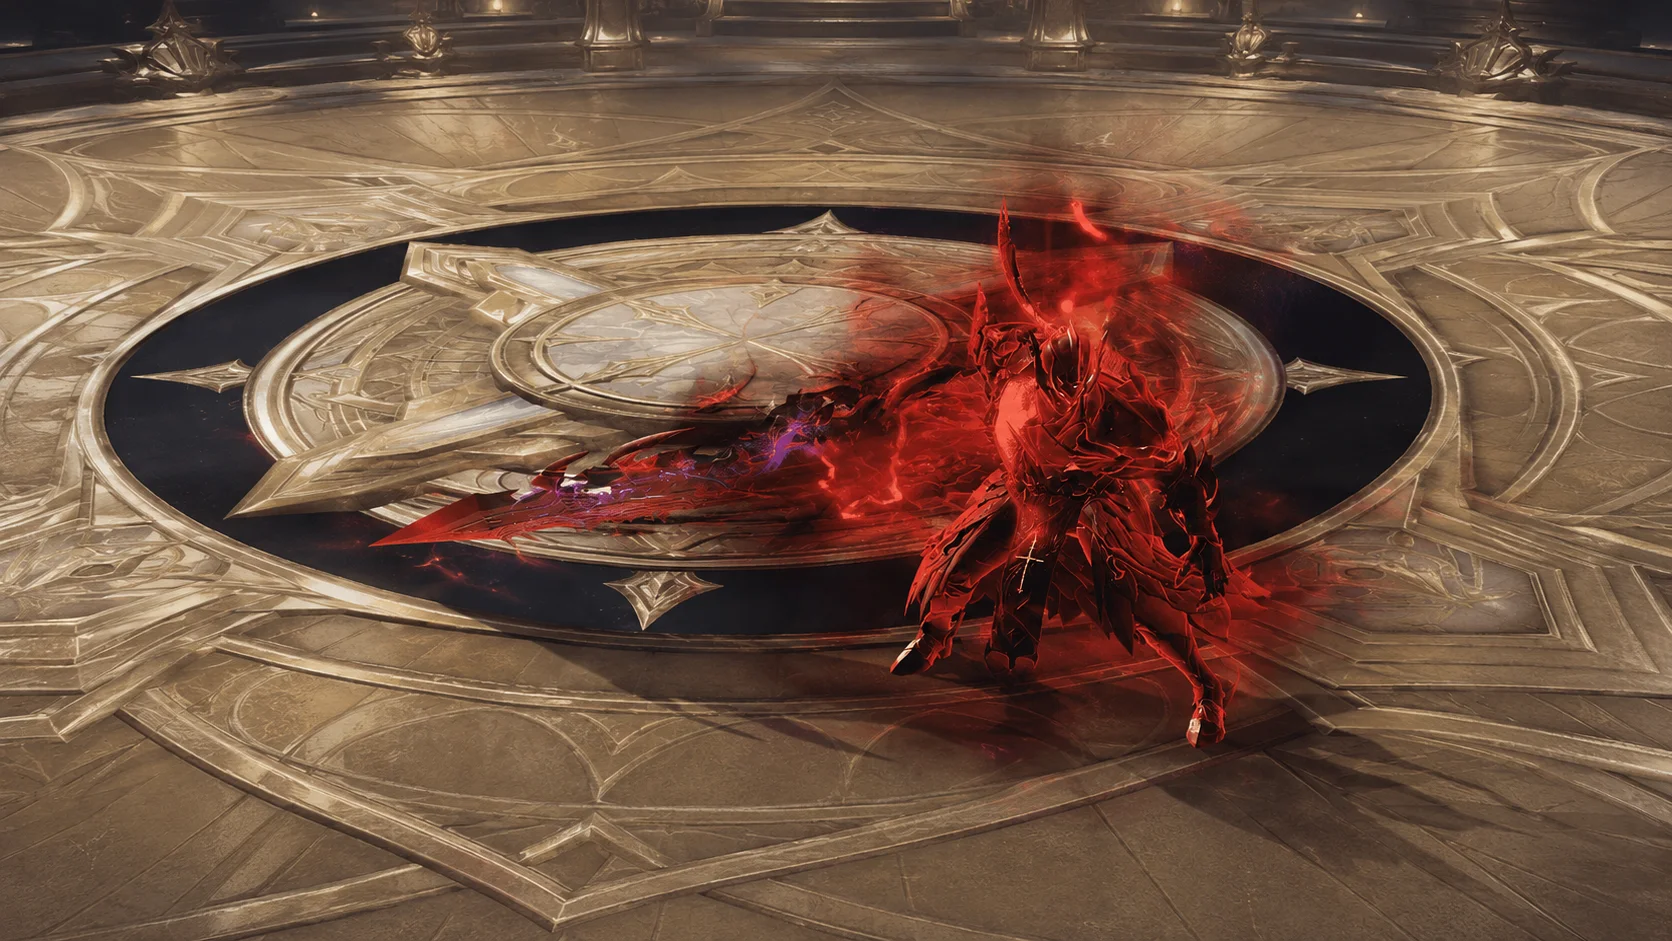 Mayhem keeps the Fury Meter full and lets you enter its version of Burst. The attack- and movement-speed bonuses help offset the heavy feel of a greatsword class.
You spend less time rebuilding a meter or planning repeated Burst entries. That can make it easier to focus on learning attack ranges and mechanics, though the class still requires encounter knowledge.
A Basic Damage Plan
Begin by using Red Dust and fitting your important damage skills into the applicable buff window.
Common skills include:
- Red Dust
- Finish Strike
- Overdrive
- Hell Blade
- Dark Rush
- Power Break
- Shoulder Charge
After activating Red Dust, prioritize available high-value skills such as Finish Strike, Overdrive, and Hell Blade. Use shorter cooldowns and repositioning to prepare the next window. Follow the current buff tooltip rather than assuming every historical hit requirement still applies.
Learn these three habits before chasing a perfect rotation:
- Maintain your Mayhem state.
- Place your main damage skills inside the Red Dust window.
- Save lengthy attacks when the boss is about to move or become untargetable.
Maintaining Rage
The Cold Fury Ark Passive improves the Mayhem loop and lets qualifying skill use extend Rage. The Western September notes list a 1.5-second extension for the relevant skill-use effect; check your selected passive level.
Regular skill use helps maintain Rage, while long mechanics or forced downtime can interrupt it. When damage resumes, rebuild your setup and connect Red Dust with your main attacks.
For better uptime, watch both the Red Dust window and the Rage timer instead of treating the rotation as a fixed button order.
Reason 2: Manageable Positioning Demands
Some melee builds rely heavily on repeatedly reaching the boss’s rear. That can add another challenge while you are still learning mechanics.
Mayhem can benefit from Back Attacks, depending on the setup, but you can keep playing from a safer position when chasing the rear would be dangerous. This does not mean every skill automatically receives Back Attack bonuses.
Landing your main attacks safely is usually more useful than running through a lethal mechanic to reach an ideal angle.
What the 111 Dark Rush Setup Means
The Korean source’s “111” setup uses the first Sun, Moon, and Star choices to emphasize Dark Rush. It is a build shorthand rather than an engraving code.
The source identifies these Order cores:
- Sun: Dark Power.
- Moon: the Dark Rush cooldown/damage core, described as “dark torrent” in the Korean source.
- Star: the matching core described as “frenzy” in the Korean source. Confirm its identity by its effects in your client.
Dark Power increases Dark Rush damage. Its 17-point effect makes Dark Rush always trigger a Back Attack, as confirmed in Western patch notes. This specific effect reduces Dark Rush’s positional demands; it does not apply that guarantee to the whole skill bar.
The matching Moon core changes Dark Rush’s cooldown and damage. Align its actual timing with Red Dust and your other skills rather than copying a rotation without the same unlocked effects.
Check These Before Switching
Core effects require the relevant Core Point totals. Willpower is the capacity used to equip Astrogems; the gems’ Core Points activate the effects. Owning a core or having 17 Willpower is not the same as activating its 17-point effect.
Check:
- Whether Dark Power’s 17-point effect is active.
- Whether the matching Moon core’s required effect is active.
- Your actual Dark Rush cooldown.
- How Dark Rush lines up with Red Dust.
- Your cooldown skill gems.
- Whether you can sustain MP during combat.
During early progression, learn a basic Mayhem setup first. The 111 variant is optional progression once you have the matching cores, suitable Astrogems, and the required Core Points.
Reason 3: Mobility for Learning Mechanics
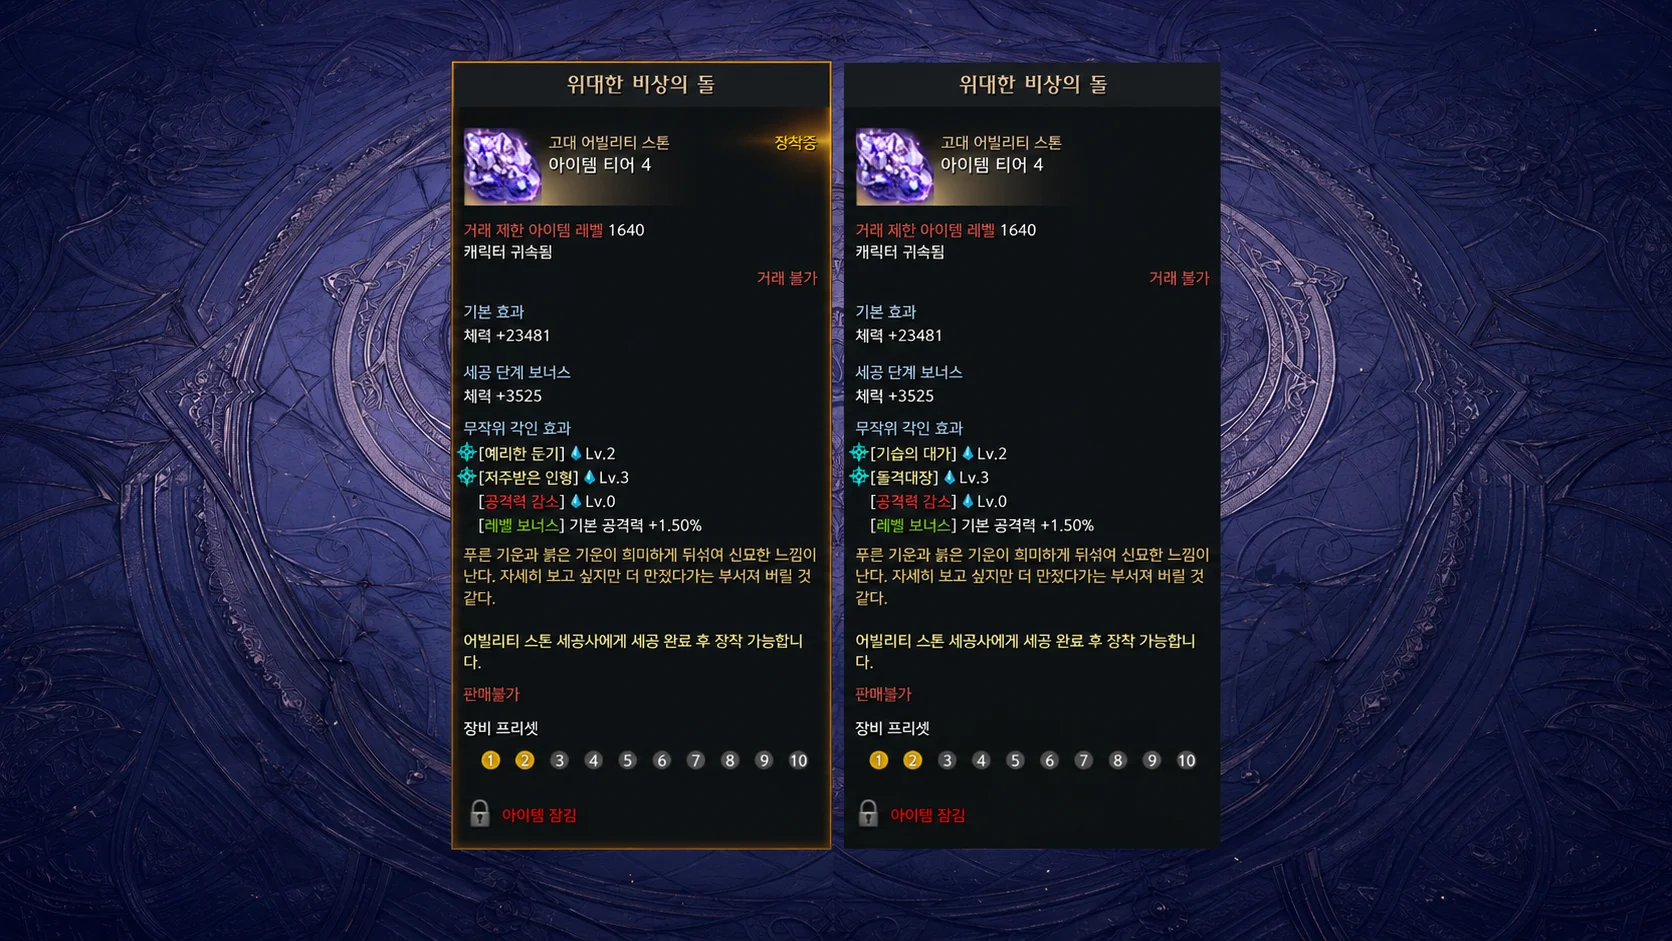
Mayhem’s movement- and attack-speed bonuses make it easier to reposition between attacks.
For a beginner, that extra movement can provide more room to react. It does not replace learning where and when to move.
Using Shoulder Charge
Shoulder Charge can close a gap or move you out of a dangerous attack area.
In an unfamiliar fight, avoid spending it automatically for damage or movement toward the boss. Keep it available for the next pattern when necessary.
Surviving to continue attacking usually contributes more to a first clear than one extra attack before a lethal mechanic.
Stagger and Counter Responsibilities
Skills such as Finish Strike, Hell Blade, and Power Break can contribute to Stagger checks. Bring a suitable Counter skill as required. Check your actual setup: core effects can change a skill’s Stagger value, so its name alone is not enough to judge the contribution.
If a Stagger check is approaching, preserve the skills your party is relying on instead of entering it with everything on cooldown.
Understanding the Low HP Bar
Mayhem limits your HP to 25% of maximum while applying major damage reduction. The low-looking bar therefore does not mean the same thing as an ordinary character unexpectedly falling to 25% HP.
Healing and shield interactions also have their own modifiers. Read your current tooltip and avoid dangerous hits; damage reduction does not protect you from every lethal or consecutive attack.
Keep these habits in mind:
- Understand the HP display before assuming you are nearly dead.
- Dodge avoidable normal attacks.
- Keep Shoulder Charge available when you need an escape.
- Watch for consecutive hits and knock-off mechanics.
- Choose survival over damage in a dangerous situation.
Practice in Solo Mode Where Available
Supported Solo Mode raids let you practice mechanics without needing to coordinate every attempt with a party.
Mayhem’s movement and approachable starting loop can help with that practice. Focus on the following before clear speed:
- Safe areas for major attacks.
- Counter windows.
- When Stagger checks begin.
- The damage windows available after Red Dust.
- Patterns that require you to save movement skills.
Solo practice can ease the transition to party content, but only raids that actually offer Solo Mode support it. Party mechanics can still differ.
Beginner Checklist
- Learn the Mayhem identity loop first.
- Use your speed to reposition for mechanics.
- Practice placing your main skills after Red Dust.
- Maintain Rage with qualifying skill use.
- The 111 Ark Grid variant focuses on Dark Rush.
- Dark Power’s active 17-point effect guarantees Dark Rush’s Back Attack classification.
- Check Core Points and actual cooldowns before switching builds.
- Save movement and Stagger tools for the mechanics that need them.
- Learn how Mayhem’s low HP display and defensive modifiers interact.
Who Might Enjoy Mayhem?
Consider Mayhem if you enjoy fast melee combat with less repeated identity-meter management. It also suits players who want to learn encounters first and optimize their damage windows gradually.
You can learn the fundamentals before completing Ark Grid, then explore a Dark Rush-focused variant once its requirements are met.
These are reasons to try the class, rather than proof that it is the easiest or strongest beginner choice. Test its animations, HP management, and rotation before investing heavily in an alt.