

Korean timeline-build reference · About these guides
The Korean source presents a clock-timing approach for Dimensionalist’s time-focused playstyle. Current Western notes use Time Wielder; older roadmap material called it Time Manager. Its claimed 1.4 coefficient and “SSS” ranking lack a reproducible benchmark.
What the Source Values in This Playstyle It cites relative figures of 1.36–1.37, potentially 1.4 with better execution. Without a common baseline, build, or test conditions, these are source claims rather than a current damage ranking. The useful focus is managing timeline states and ready skills.
The Ten-O’Clock Timing Mnemonic
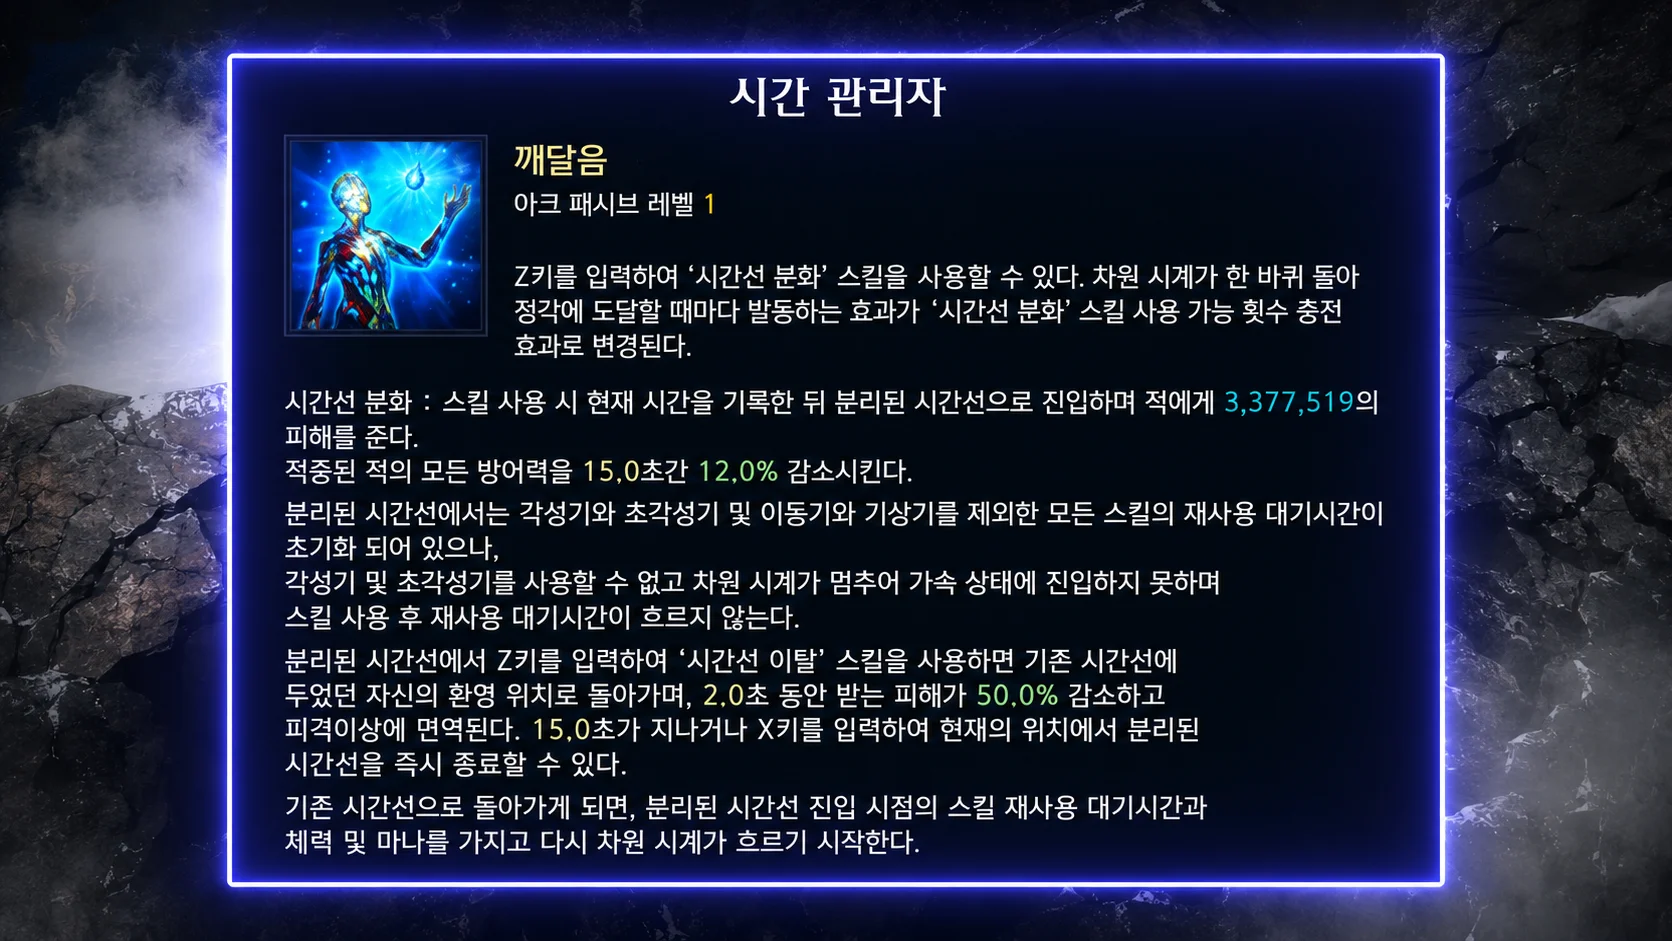
The clock display provides a visual cue for the source’s identity decisions. Follow the actual passive and gauge state rather than literal real-world minutes.
-
Waiting Until Twelve: The source warns that waiting until a clock cycle completes can close a useful entry opportunity. Confirm the current entry and expiration rules; it does not establish that every setup must refill an entire gauge after every missed cue.
-
Entering Before the Window Closes: Its “ten-o’clock” rule means using Z at the appropriate late-cycle entry opportunity. “Ten o’clock” and “50–55 minutes” are loose, inconsistent metaphors, not an exact tested timing window.
-
Stored Timeline State: The playstyle involves returning to a stored state, including relevant HP, position, and cooldown information. Do not assume a return always makes every skill ready: stored cooldowns and current exceptions matter, and repeated casts are not literally unlimited.
Cooldown and Core Choices
-
The Source’s 1111 and 1121 Codes: These are incomplete shorthand without named cores and effects. Use a complete current preset or in-game recommendation rather than spending a Relic selection chest based only on the digits.
-
The Cooldown Plan: The source combines MP and cooldown-related passive choices to reduce gaps between windows. Verify the actual nodes and qualifying triggers; it does not demonstrate zero downtime in every encounter.
-
Engravings and Stone: Compare Keen Blunt Weapon and Adrenaline with the build’s Crit budget. Hit Master or Cursed Doll may fit. Mass Increase’s attack-speed penalty needs a full comparison rather than an automatic ban or recommendation.
Opening and Exit Decisions
-
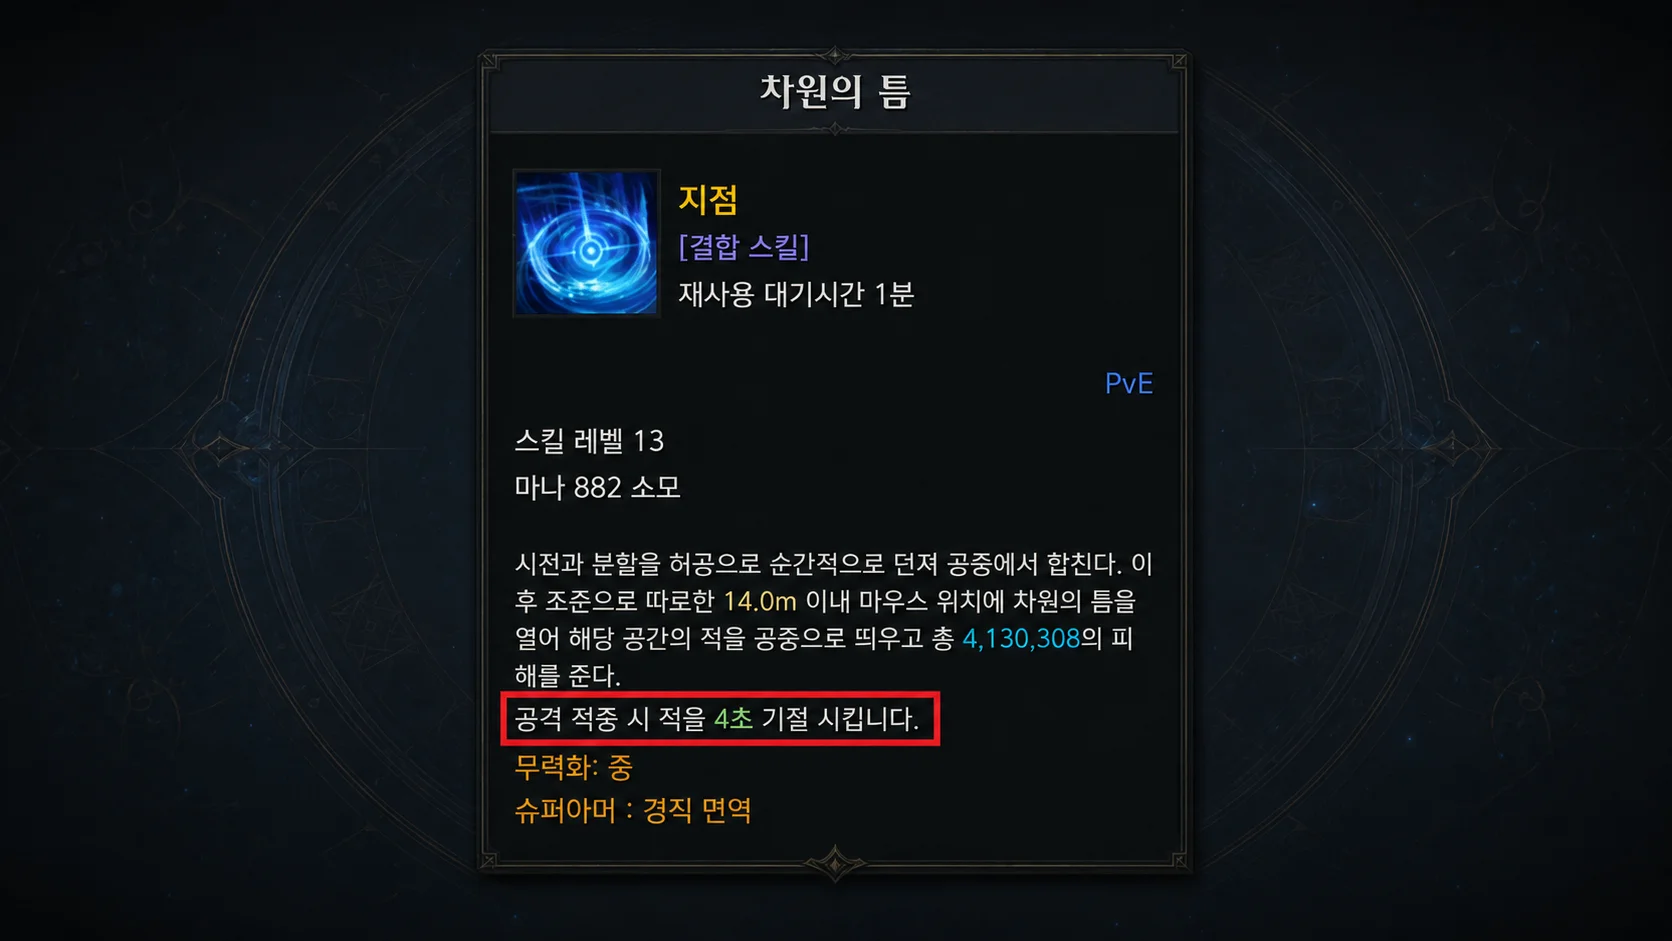
The E–D–Z Example: E and D are the author’s skill-slot bindings, not universal skill names. Match the actual ground-effect and delayed-hit skills, then verify whether the delayed damage receives the intended effect after entry.
-
Choosing Z or X: Read the current return and exit tooltips. The source favors its damage-producing return for burst, but “never use X” is too broad: staying in place or exiting differently may be necessary for safety or a mechanic.
-
Protection After Returning: The source claims three seconds of Push Immunity after exit. Check the current passive’s duration and conditions before relying on it. Push Immunity prevents applicable displacement, not damage, debuffs, or wipe mechanics.
Execution Risks
-
Skill Interruption: The source identifies several main attacks as vulnerable to interruption. Check current skill protection and later changes; position for a safe cast rather than assuming every historical immunity description remains unchanged.
-
Returning to the Stored Position: A return can put you back where the boss has moved away or a hazard has appeared. This concerns a saved location, not a special vertical “Z-axis” mechanic. Plan the destination before committing.
How Does the Playstyle Feel?
That is a preference. The source enjoys planning and cooldown management more than immediate impact. Try the actual timeline decisions before investing based on a promised coefficient.
Is It Difficult?
It can demand planning. Gauge timing, protected cast windows, and the return destination all matter. Practice improves execution but does not guarantee a particular DPS outcome.
Are High-Level Gems Required?
Not universally. The source says its loop worked with Level 7 gems, but provides no complete preset. Check your actual cooldown breakpoints and skill coverage rather than treating that as proof for every setup.
How Much Stagger Does It Provide?
Check the actual skill bar. The source compares it informally with Glaivier, without measurements. Overwhelm runes can improve applicable Stagger skills, but E and D alone do not identify which skills your build should use for a check.