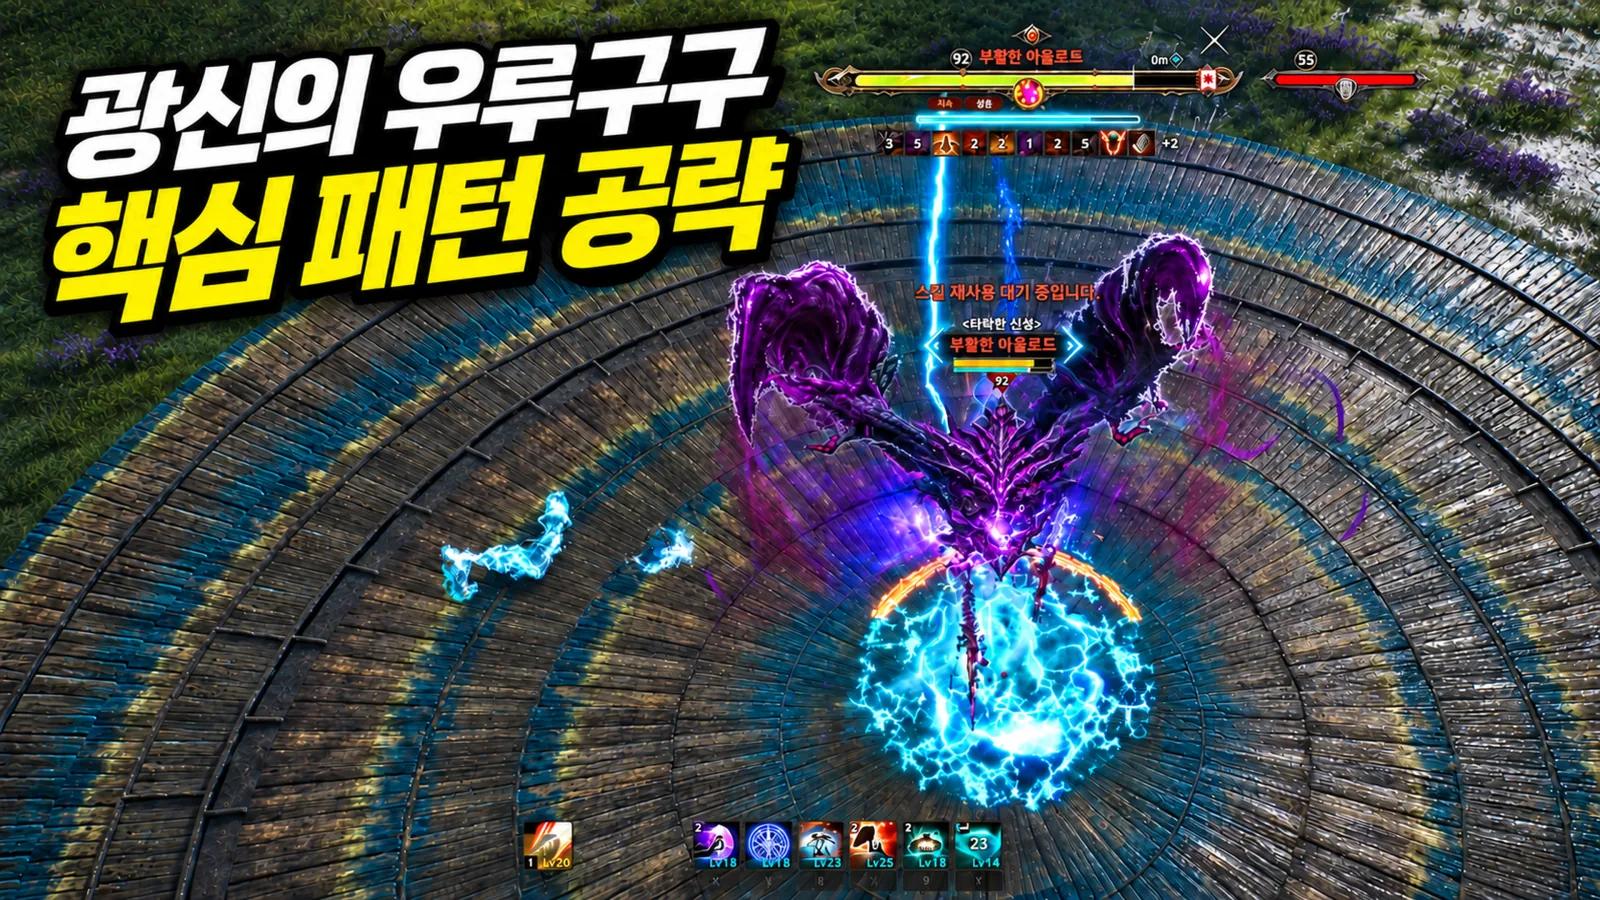

In AION 2's Fanatic Urugugu Canyon, learning when to stop attacking matters more initially than extending your damage rotation. The first boss requires different responses to the pull, ground attacks, jumping, and reflection. The final boss requires guiding lightning into blue circles, then collecting a shield. Ignoring the numbers above shields can send everyone into the same spot. This guide covers the Korean-server content; names are rendered from the Korean version.
The basic focus is simple: watch the first boss's motions and dialogue, then watch your own ground markers and shield capacity at the final boss. Assigning your attention differently in the two fights reduces the pressure to read every effect at once.
Entry requirements differ from the original Urugugu Canyon
Fanatic Urugugu Canyon is a new Expedition, distinct from the original dungeon of a similar name. Added on November 11, it requires character level 55 on both Normal and Hard. Combat Power requirements are 800,000 on Normal and 1,000,000 on Hard. Having run the old canyon does not mean this is the same progression tier.
| Difficulty | Character level | Required Combat Power |
|---|---|---|
| Normal | 55 | 800.0K |
| Hard | 55 | 1.000M |
These are entry thresholds, not permission to ignore mechanics. More stats alone do not fix attacking into reflection or missing a shield. Before deciding to upgrade equipment, identify which cue precedes the damage spike.
The same update changed Expedition, Transcendence, and Sanctuary entry requirements from item level to Combat Power. Use the new dungeon name and current thresholds instead of an old guide's item-level table.
Defeat the mistcaster before descending to the first boss
Moving forward after entry reveals several islands below. Rather than heading straight to the lowest one, find and defeat the mistcaster, which appears at a random island location. Once the mist clears, descend to the bottom island to meet the first boss, Heretic Executioner Raur.
Remember the sequence: defeat the mistcaster, clear the mist, descend. Treating this as a run to a fixed enemy location can disrupt the route while searching. What opens the path matters more than memorizing coordinates.
After the first boss, pass through the narrow wooden doorway ahead, drop below the cliff, then head right to the final boss, Resurrected Auldor. There are only two bosses, but knowing the connecting route prevents unnecessary stops.
Raur: distinguish the post-pull ground attacks from the jump
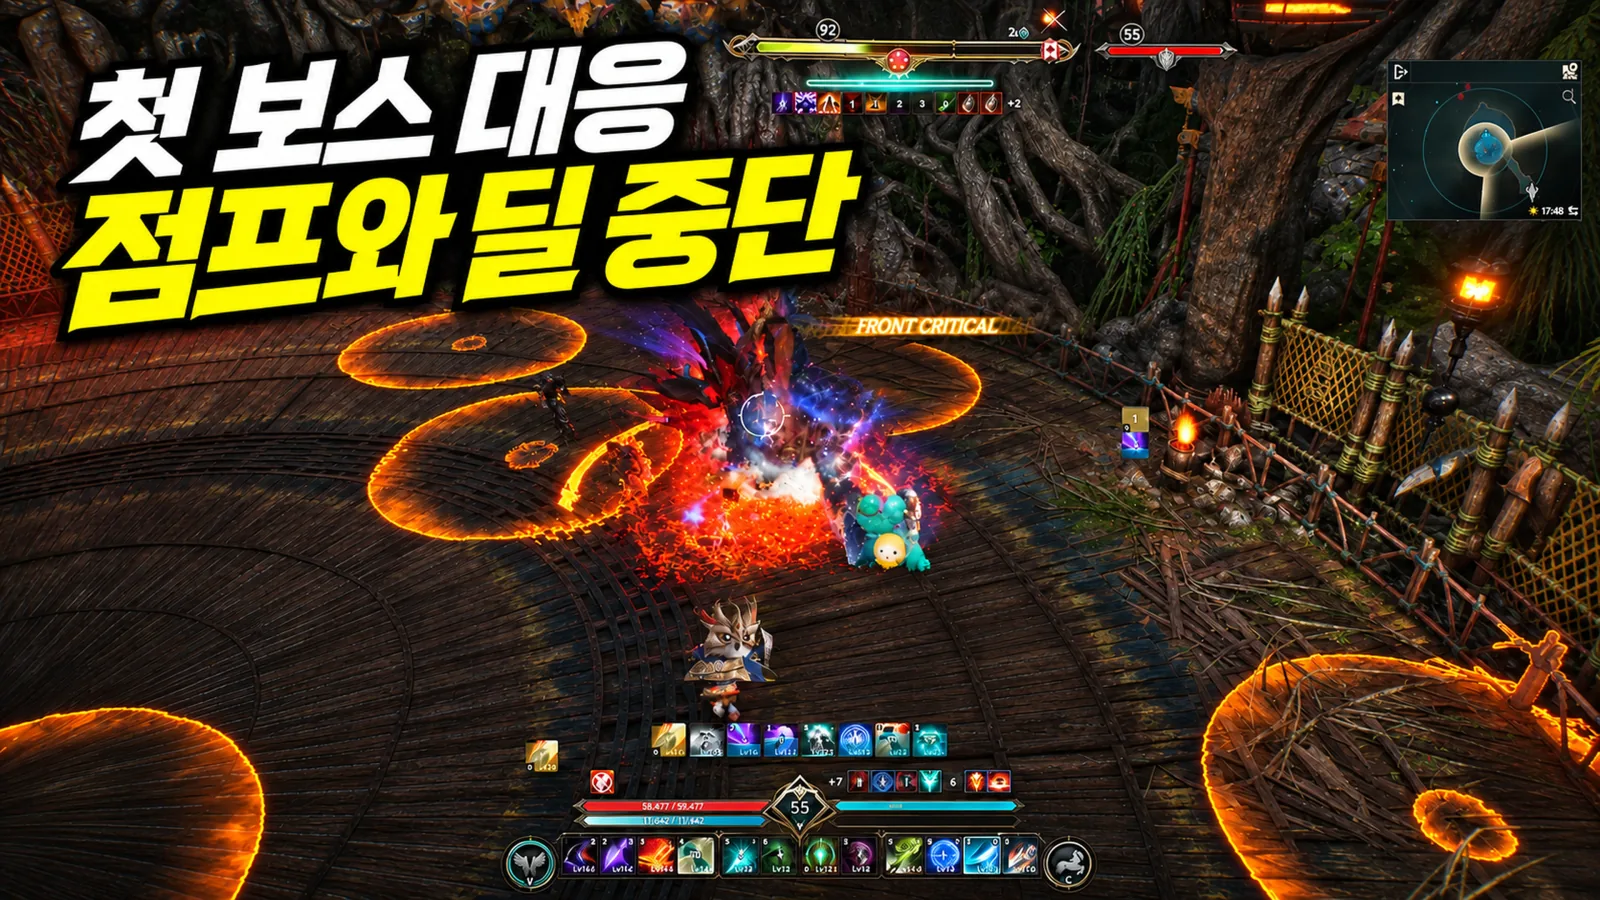
Raur pulls characters in, then creates doughnut-shaped ground attacks under each of them. Watch for overlapping areas. Instead of immediately pressing attacks after the pull, check the ground and block or evade as appropriate. Keyboard players can use Shift to evade.
The danger is what follows the pull. Assuming the risk ends when the pulling animation finishes delays your response to overlapping ground attacks. Link the cue to the action: after being pulled, look under your feet.
The attack marked by a large red circle is avoided by jumping. Watching only how far the floor color has filled can make the timing harder to read amid other effects. Use the boss's own jump as the cue to jump with it.
Do not reduce both attacks to “avoid the red floor.” Block or evade the doughnuts after the pull, and jump with the boss for the large-circle attack. Recognizing which attack has begun determines the response more quickly than color alone.
Stop attacking when the reflection dialogue appears
Raur's third key mechanic is reflected damage. Pause attacks during the dialogue that begins with the Korean line meaning “If you interfere with the ritual.” Unloading skills as usual can make your own attacks a survival problem.
Stopping is not simply lost damage. The goal is to let the dangerous state pass, then resume. Avoid automatically pressing the next skill after the reflection cue, reducing unnecessary health loss and disruption.
For the first boss, give each cue its own focus: your feet after the pull, the boss's jump for the large circle, and dialogue for reflection. Even a visually busy fight becomes easier when the information you need now is limited.
Auldor: watch feather binds and the tank's direction
Resurrected Auldor frequently places converging ground attacks toward the tank. Other players should avoid unnecessarily overlapping that direction. The tank should also track the boss's facing so the group can establish an attacking position.
Being hit and bound by a feather area leads to the boss grabbing the bound player and carrying them upward. A ground attack that needs blocking then appears below. The feather attack itself can be blocked or evaded, so avoiding that initial hit is the starting point.
Treating this as a simple movement restriction misses the follow-up. Separate avoiding feathers from responding to the attack below when someone is carried away. One player being bound is not a cue for everyone else to stare at the boss and keep attacking.
Guide both lightning strikes into blue circles, then take a shield
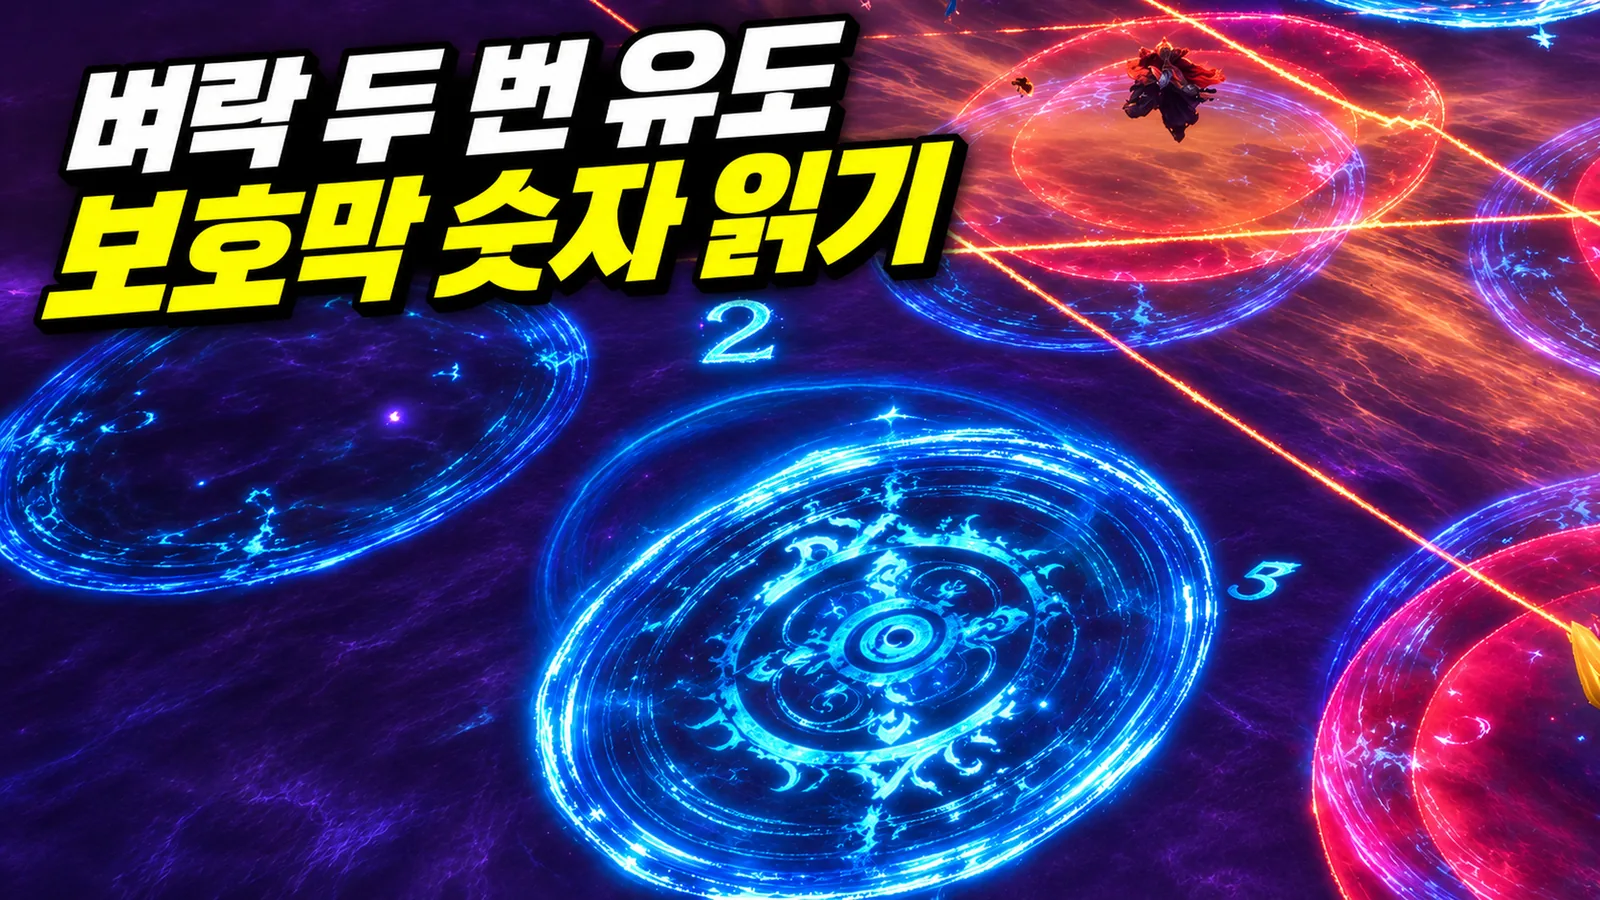
Auldor's main mechanic uses a personal red ground marker and lightning falling onto the marked player. Guide that lightning into a blue circle on the floor. Running away from every blue circle just because you have a red marker prevents the shields needed afterward from being prepared.
Lightning strikes twice. After guiding the first into a blue circle, do not immediately return to attacking: guide the second into another blue circle as well. The complete sequence is two strikes followed by a shield, not one successful bait.
Blue shields then appear with numbers such as 1, 2, or 3. These show how many people that spot can protect. Spread according to capacity rather than everyone choosing the nearest one. Remembering where you guided lightning also helps you locate a shield.
If several players run to a shield marked 1, arriving together does not mean everyone is protected. Shields marked 2 or 3 can accommodate the corresponding number. A blue circle being present and your character actually receiving protection are different things.
The route is not simply an escape path. Decide where to drop your lightning, then connect that to where you will obtain protection. Briefly giving up an attacking position to finish both baits and secure a shield prepares you to continue the fight.
Prepare for a smaller arena and two charges as health falls
At roughly half health, Auldor's arena shrinks and it charges toward the tank twice. The tank should guide it toward a position from which the group can resume attacking. Other players should remember the second charge rather than rushing in after the first.
A smaller arena gives less movement space. Reassess the remaining area and boss facing instead of insisting on the old position. The goal is not merely for the tank to pull it far away, but to create a stable position after both charges.
With roughly one health segment remaining, the shield mechanic returns. Even near the finish, handle both lightning strikes and read shield numbers. Use health thresholds as approximate notice, while reacting to actual personal markers and mechanic cues.
For repeated clears, consistency matters more than a best time
If you intend to repeat Fanatic Urugugu Canyon, reproducing the responses matters more than one fast clear. Having only two bosses does not automatically make it an easy resource sink. First check that the party handles Raur's reflection and Auldor's shields reliably.
Expedition Od Energy costs also changed. All Expeditions now cost 60, and the previous Od rewards from defeating bosses were moved to Od Energy Cubes. Plans based on older costs or reward locations can therefore be misleading.
Memorize the cues that change your action. Jump when Raur jumps, and pause when the reflection dialogue begins. Against Auldor, guide lightning twice and read the shield numbers. Extend damage windows after that sequence is familiar; it is a steadier approach to repeated clears than forcing attacks through every phase.
