

If you click other players every time you turn in a quest in WoW Forever, try using the Interact Key before increasing your cursor size. Face an NPC and stand nearby to open a conversation with a single keypress. On the other hand, when you want to point out a dangerous spot on the dungeon floor to your party, it helps to quickly see where your cursor is. These may seem like similar clicking problems, but they call for different settings.
You don’t need to memorize all eight features at once. Press Esc to open Options, then search for a word that matches your situation in the table below. For features that require a keybind, check your current assignments first. A key that’s convenient for Auto Run might already be assigned to a spell you use often.
| When this happens | Search for this in Options | What changes |
|---|---|---|
| You keep holding the forward key all the way to the next town | Auto Run | Press once to keep moving forward |
| You want to see enemies chasing you while you flee | Camera Look Behind | Look behind you while continuing to move in the same direction |
| You’re having trouble clicking an NPC or mailbox | Enable Interaction Key | Face the target nearby and interact using a key |
| Spell effects overlap and you lose track of the pointer | Cursor Size | Make the pointer itself larger |
| You keep tapping a key to cast the same spell repeatedly | Press and Hold Casting | Keep holding the spell’s key to cast it repeatedly |
| You keep hearing voice alerts about being out of range or lacking resources | Error Speech | Keep on-screen error messages but turn off the voice |
| You want to point out a direction to your party at a fork in the road | Ping System | Send a quick ping on the ground or on a target |
| You need to tell your group which of several enemies to kill first | Target Markers | Place an agreed-upon symbol above an enemy’s head |
Use Auto Run on long trips; use Camera Look Behind when you’re being chased
The benefit of Auto Run is that it frees up a finger when you have a long way to go to a quest location. Assign a key under Options → Keybindings → Movement → Auto Run. If Num Lock is far from your movement keys or your keyboard has no number pad, the mouse wheel button is another option. If you already use the wheel for something else, choose any unused button.
While running with the forward key, turn on Auto Run and let go. Your character keeps moving forward, so now you only need to steer at forks and stop when you reach your destination. Your character won’t automatically turn when the path bends to follow the quest marker. To get the hang of it, start on a clear road in town, then press Auto Run again to stop where you want.
Fleeing brings a different challenge. You might turn the camera to see how many enemies are behind you, then find yourself approaching another enemy while you look back toward the path. Search for “Camera Look Behind” in Keybindings and assign it to an unused key. You can look behind and then back ahead while your character keeps moving in the same direction. Auto Run is handy for long trips, while Camera Look Behind is useful even when you’re holding the forward key to escape.
Think about when you’ll press each key as you choose where to bind them. You only need to press Auto Run once when you start a long trip, but you might need to look behind in a hurry with the same hand that’s holding the forward key. If you have only one free mouse side button and often lose track of the path while fleeing, you could bind Camera Look Behind there and keep Auto Run on the keyboard.
Use the Interact Key to talk to NPCs obscured by a crowd
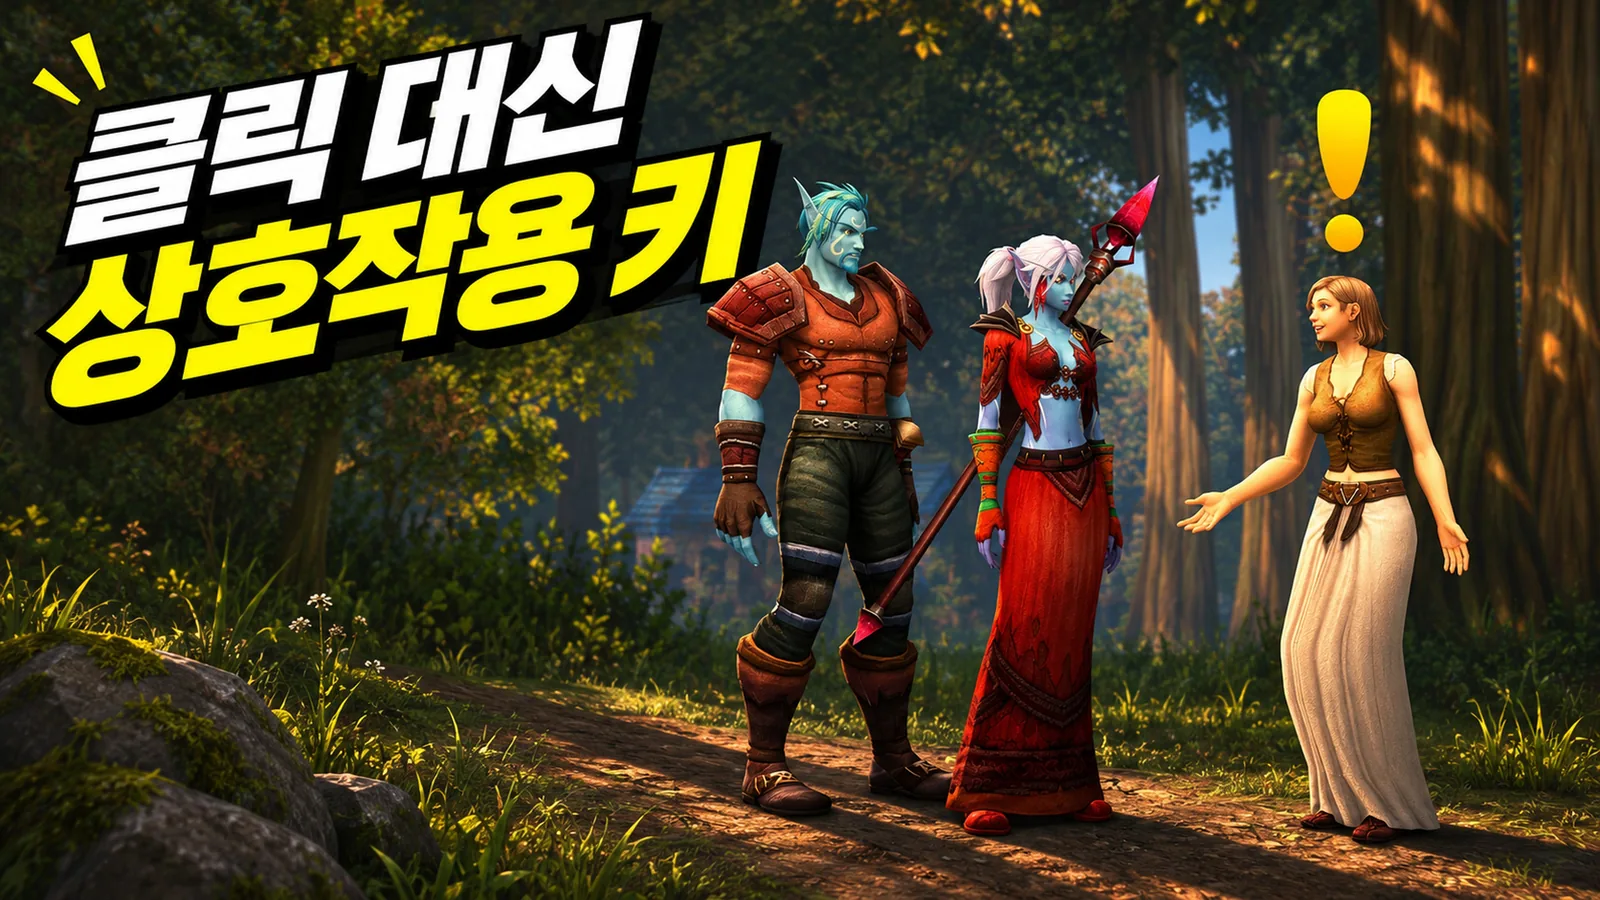
You can see a quest NPC’s yellow exclamation mark, but a crowd may obscure their character. Turn on Options → Controls → Enable Interaction Key, then assign a key under Interact With Target just below it. Turning on the feature and choosing the key to press are separate steps, so if the key field is empty, you’ll need to assign one before you can use it.
Move your character close to the NPC and face them. When the interactable target is highlighted, press the key you assigned. You can start a conversation without moving the pointer over the NPC. The same key can also open a mailbox or pick up a quest item from the ground. If several targets are close together, check which way your character is facing and what’s highlighted before pressing the key. In town, try using it on a vendor and then a mailbox to get a feel for the distance and direction you need.
Cursor Size is useful when you know what you want to click but keep losing track of the pointer. Adjust it under Options → Accessibility → General, or search for “Cursor.” If you keep shaking the mouse around to find the pointer when trying to ping the floor during combat, try increasing its size by one step. It’s also worth checking whether you can see the tip clearly when pointing at a small icon on your usual action bar. Use the Interact Key when an object is obscured; adjust Cursor Size when you keep losing track of the moving pointer.
When you keep casting the same spell—and when a spell fails
Imagine a shaman repeatedly casting Lightning Bolt at the same enemy. You have to press the number key again every time the cast bar finishes. Turn on Options → Combat → Press and Hold Casting to keep casting a spell on your action bar by holding down its key. Put a spell you often use on your action bar and try casting it with the assigned key to see the difference.
This reduces how many times you need to press the same key. You still decide which spell to use next, whether to target a different enemy, and when to stop casting to move. If you need a healing spell instead of another Lightning Bolt, let go of the key and choose the spell and target you want to heal. This option is most useful when you spend a lot of time casting the same spell repeatedly. When trying it for the first time, use a key bound directly to a spell rather than one on an action bar with macros or items, so it’s easier to see how the feature works.
On the other hand, if you press a key but are out of range or don’t have enough mana, your character tells you why. When you’re just starting out, hearing that you need to get closer to an enemy can be helpful. If the same alerts keep overlapping and the red error text on screen is enough, find “Error Speech” in Options and uncheck it. You’ll still see text explaining why you can’t cast a spell. There’s no need to turn down combat sounds or dialogue, too.
Use pings to show where to go and markers to show what to attack
At a dungeon fork, if someone says “Come right,” party members looking the other way may pause for a moment. Enable pings under Options → Ping System and assign a ping key so you can point to the floor in the direction you want to go. Use a movement ping to show where you’re headed and a warning ping when a patrolling enemy is approaching. You can also ping enemies or allies directly. The idea is to quickly show your party where to look.
To assign roles for the next fight, use Target Markers, commonly called markers. If you ping the floor where the monsters were standing, they may get mixed up once combat starts. Put a skull or moon on a target so party members can identify the enemy they’re responsible for, even after enemies rush toward the tank.
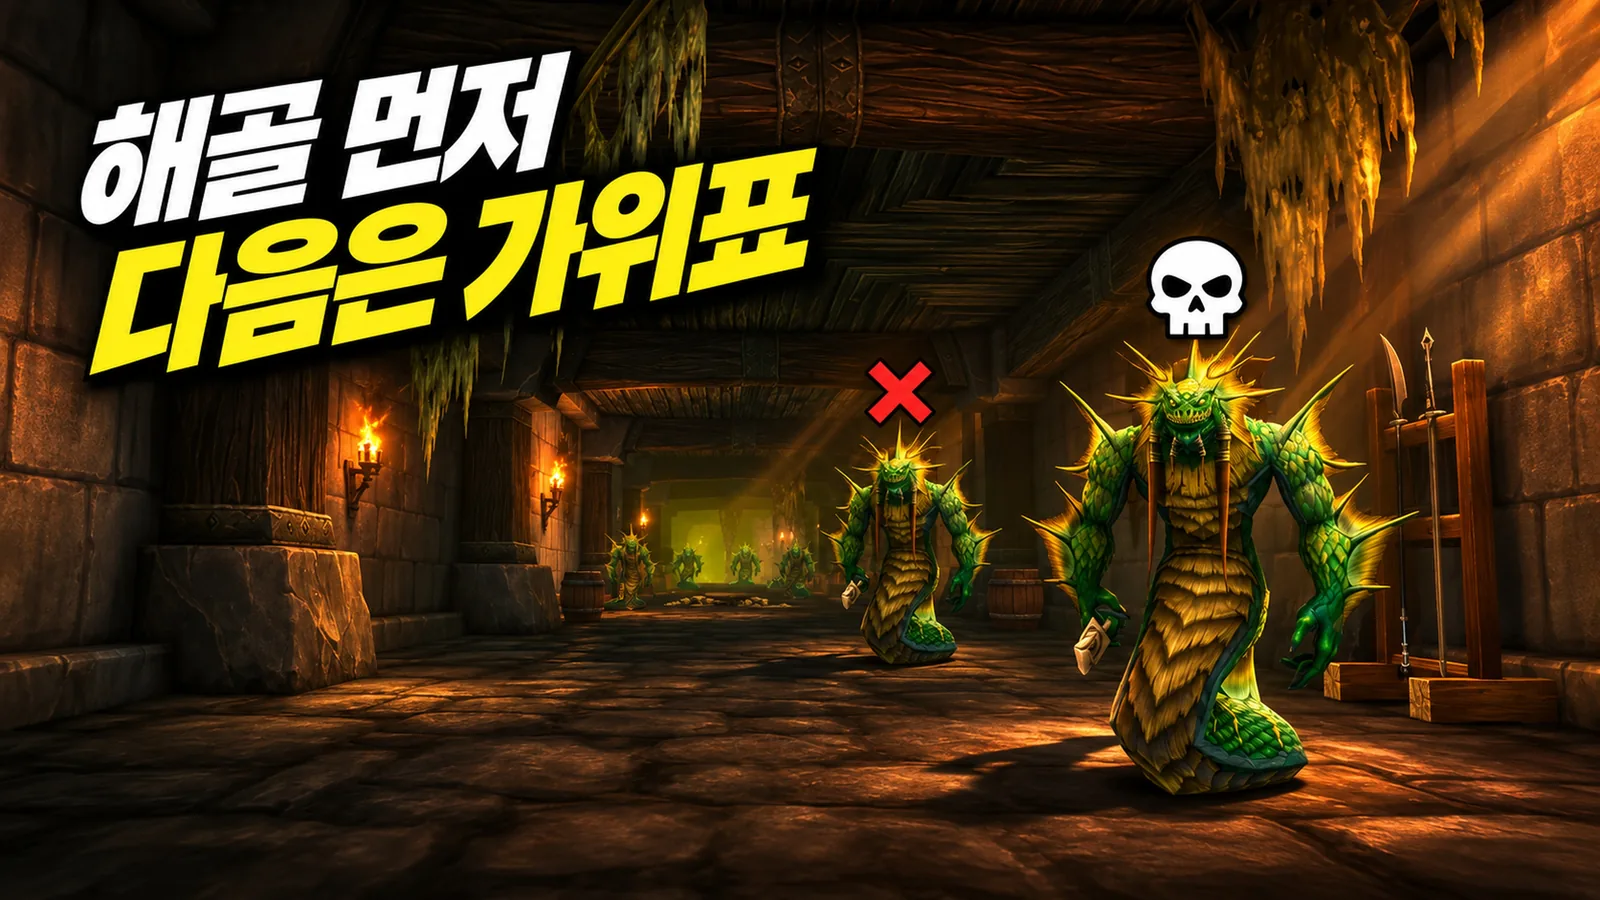
Say you agree on a plan before fighting three enemies: “Skull first, then X. I’ll polymorph the moon.” The skull and X show the attack order, and the moon marks the enemy to keep out of the fight temporarily. The moon’s meaning depends on the party’s agreement. Placing a marker doesn’t assign someone to cast Polymorph, so when you’re in a party of players meeting for the first time, a single sentence is enough to say who will use which ability.
For occasional use, select a target and right-click its portrait to choose a marker. If you’re marking every group of enemies, start by binding the skull and X under Options → Keybindings → Target Markers. You don’t need to bind every marker right away. In your first dungeon, try pinging one fork in the path and placing a skull on an enemy in one fight. That’s enough to learn when to use each feature.
