
New NIKKE players often ask which characters to get first. If stages still block you after assembling them, inspect the team before the next Recruit. A lineup condition may disable a key effect, materials may be going into unnecessary gear rolls, or daily rewards may lack a clear goal.
The early-game question is whether an investment actually opens the next step of progression. Start with improvements that cost nothing, such as combat settings, then spend equipment and reward resources on your current shortage. That reconciles saving gear materials with upgrading the pieces that matter.
Check Burst rotation before replacing your damage dealer
Burst normally progresses through stages I, II, and III into Full Burst. Five strong Nikkes can still stall if a stage is missing or cooldowns do not align. When an enemy survives with a little HP, reaching the next Full Burst on time may help more than adding another carry.
Anis: Star is a useful example of lineup-dependent behavior. She is separate from the original SR Anis and Anis: Sparkling Summer. Her effects change according to whether another ally has a base Burst Stage I. Alone in that role, she uses personal ATK and allied Burst cooldown reduction; adding another switches toward Stage I re-entry and healing.
Re-entry means her Burst does not immediately advance to Stage II: the team goes through Stage I again. That healing trades away some solo-stage offensive and rotation effects. Another strong Burst I is therefore not automatically an upgrade. For her damage and cooldown utility, solo Burst I is the simpler starting point; a healing re-entry team serves a different purpose.
Auto-fire does not require leaving every Burst timing to automation. Manually triggering available Bursts can reduce stage delays when time is tight. Hold briefly when a dangerous wave or interruption check is about to arrive. Manual play means matching Full Burst to a useful moment, not always pressing faster.
Minimum firing correction and quick firing solve different problems
Inspect the minimum firing-count correction option in combat settings. It compensates firing counts for weapons such as MGs, but the setting warns of possible frame-rate drops on weaker devices. Keep it if combat stays stable; adjust graphics and the option if stuttering becomes severe. It is not a uniform damage boost for every weapon and device.
Rapidly tapping Sniper Rifles or Rocket Launchers is often called quick firing. Instead of waiting for a full charge, short shots build Burst gauge quickly. It can help stages where a slow first Full Burst prevents timely enemy clearing.
Do not quick-fire every charge weapon continuously. Some Nikkes trigger major effects or extra attacks through fully charged hits, including Anis: Star. Skipping those charges can lose damage. Special weapon behaviors also exist, so weapon category alone does not determine the correct input.
Decide the goal: accelerating the first Burst or maximizing the main attack during Full Burst. Fast hands are not the metric. If a technique reduces essential skill triggers, there is no reason to apply it indiscriminately to that Nikke.
Prioritize equipment by slot and character role
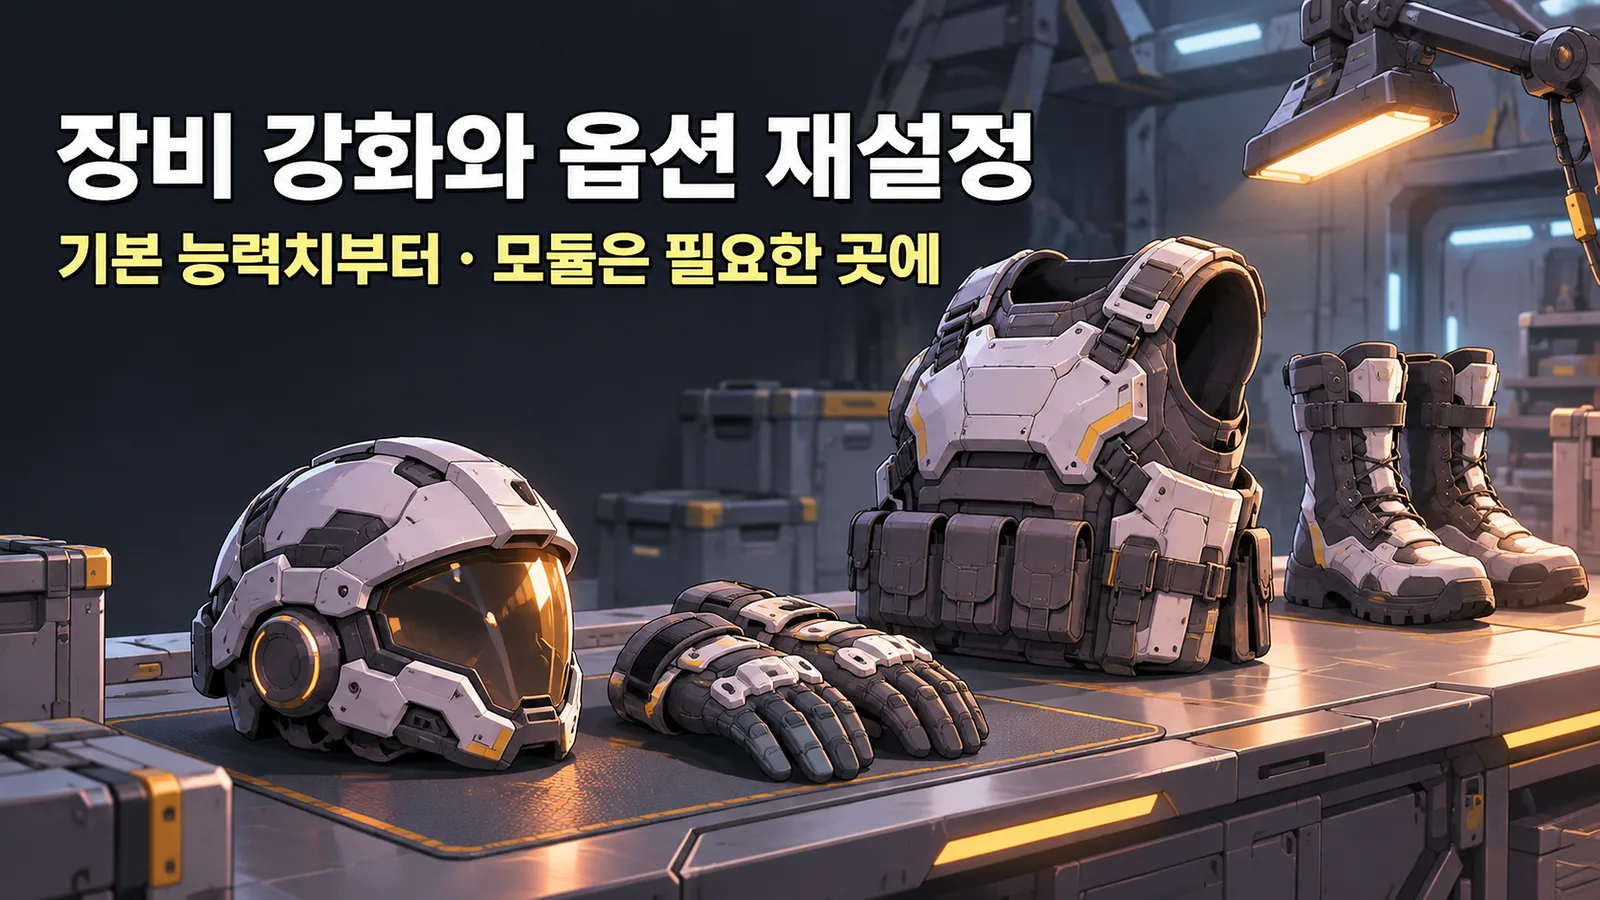
Separate leveling equipment, turning manufacturer T9 into Overload gear, and rerolling its additional effects. All strengthen a character, but require different materials and deliver different kinds of benefit.
To Overload a piece, level matching-manufacturer T9 gear to +5 and use a Custom Module. Ordinary T9 and a mismatched manufacturer are not equivalent candidates. Overloaded equipment binds to that Nikke, so decide the recipient before committing a shared piece.
Slot stats explain the early priorities. Headgear and gloves matter for ATK, while boots have no base ATK. A damage-starved carry naturally prioritizes the first two. The community's 4/3/1/0 allocation—head, hands, torso, feet—is an interim efficiency plan based on that distinction.
It is not a universal finished build. An Overload candidate eventually needs +5, and Campaign also depends on survival and squad Combat Power. Repeated deaths or a large CP deficit can justify torso and boot upgrades. Conversely, maxing soon-replaced low-tier gear across the roster scatters Credits and materials.
Supports are not automatically last. A buff based on the caster's ATK can benefit from raising the relevant base stats through equipment. That differs from increasing a recipient's ATK by a percentage. Do not assume a piece's base ATK and an Overload ATK effect enter every caster-based buff identically; check what the skill actually references before rerolling needlessly.
Set an Overload stopping point before chasing perfect lines
A desirable effect has to be weighed against the modules spent finding it. Perfecting one Nikke's third line may leave another main unit unable to Overload an already available manufacturer piece. Completing the team's basic equipment can unlock more than a small personal record increase.
The first Overload line and later lines have different appearance conditions. Matching both effect types and high values across all three can take many attempts. Start by securing the effects a Nikke needs to work and preserving modules for the next conversion, rather than demanding three perfect lines immediately.
Support effects can matter too: ammo and reload flow may maintain skills. But do not copy a carry's priority list mechanically. Max Ammunition can even delay skills triggered by firing the last bullet.
Separate Campaign CP from real boss damage. A currently imperfect line may still provide useful CP through a high roll, making an immediate reroll unattractive when materials are scarce. This is a temporary goal-based decision, not a reason to abandon useful damage effects forever.
Choose Interception by rewards, not only full clears
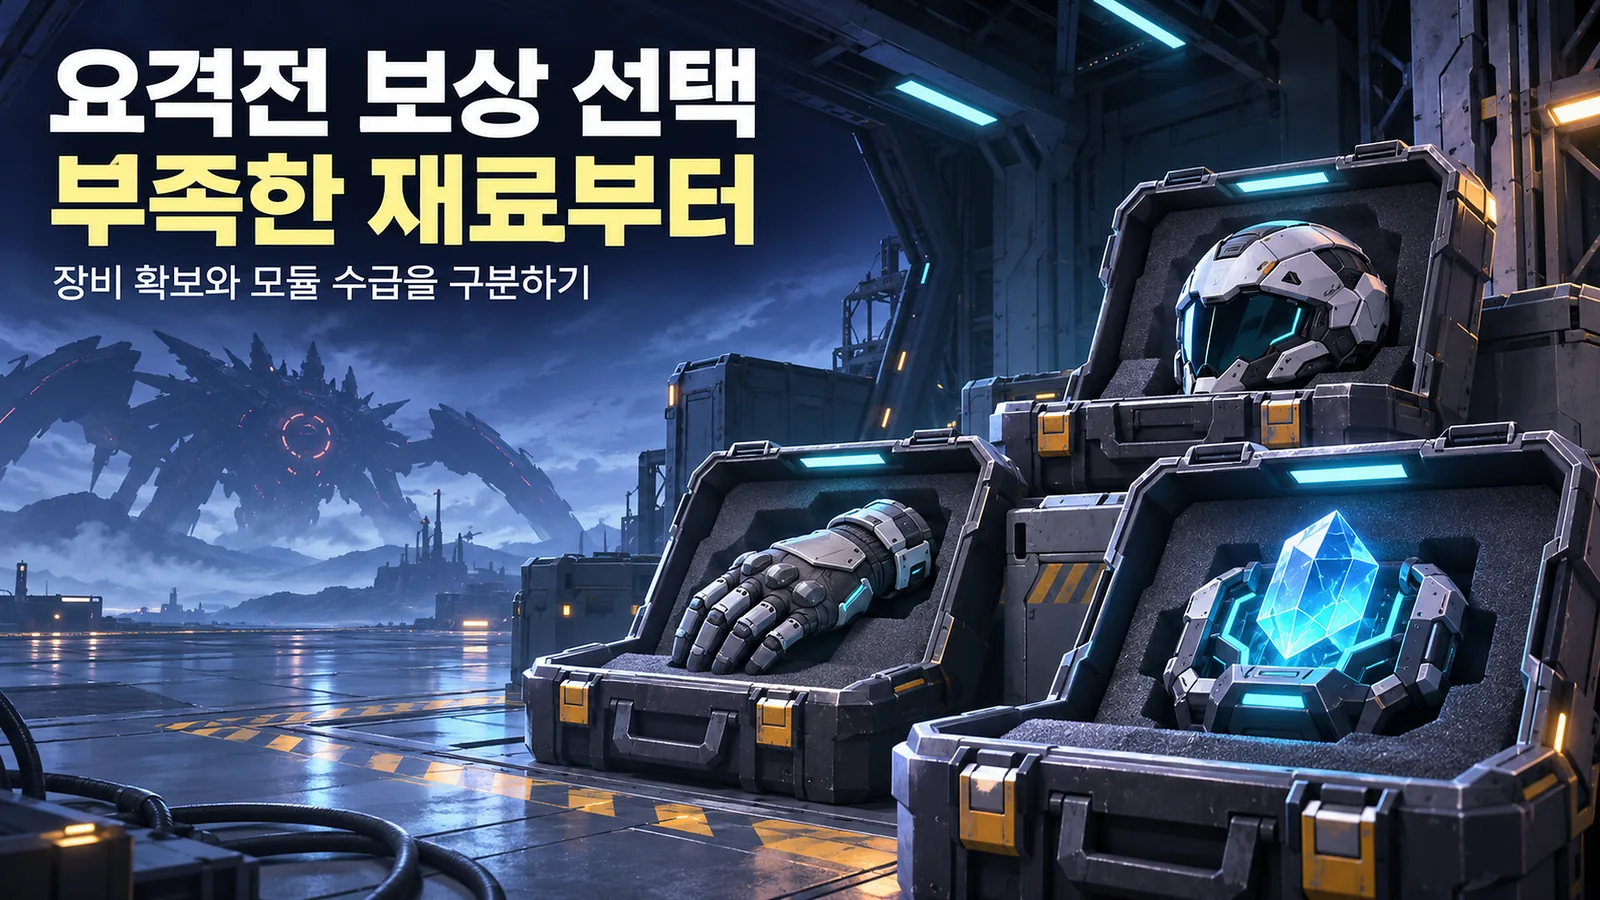
Difficulty and reward stage are separate. D, S, EX, and Anomaly describe content tiers; damage within them determines rewards. Reaching Stage 9 below does not mean you should avoid a newly unlocked tier. Higher equipment and development materials may become accessible before you can clear it.
Normal Campaign 16-28 is a major unlock for EX Interception, and 22-36 for Anomaly Interception. These are Normal-mode milestones. They expand your daily progression rewards, rather than only opening the next story chapter.
Comparing EX Stage 9 with early Anomaly stages requires more than a clear icon. Anomaly offers routes toward Custom Modules, Custom Locks, and targeted equipment slots. That does not mean every reward category, including enhancement EXP and random manufacturer gear, is always larger. Its new sourcing routes matter particularly to early progression.
Once Anomaly unlocks, you do not need to select Kraken forever. It matters for module farming, but missing manufacturer pieces can justify the boss associated with their slot.
| Current shortage | Anomaly boss to consider |
|---|---|
| Manufacturer headgear | Ultra |
| Manufacturer gloves | Mirror Container |
| Manufacturer torso gear | Indivilia |
| Manufacturer boots | Harvester |
| Custom Module priority | Kraken |
This does not guarantee the manufacturer you want. It identifies each boss's reward focus. Other bosses also supply modules, so filling equipment slots does not completely halt conversion-material income. Accounts with many empty slots need a different recommendation from fully equipped ones.
Do not overlook Dispatch rewards and timed resource cases
When collecting Favorite Item materials, choose the relevant target on the Bulletin Board. You can change that Dispatch reward to a specific Nikke's materials rather than accepting random results. Check the target before auto-dispatching so resources do not spread across characters you are not developing.
A resource case marked 2h or 24h describes production based on your Outpost Defense level when opened. It is not a countdown until the case expires. Actual limited-item expiry labels are separate information.
If you can keep progressing, do not open every case because its hour label looks urgent. Raising Outpost Defense first increases the same case's yield. Equally, do not hoard forever: if a few cases fund the upgrade that opens the next stage, use what you need to move forward.
Early NIKKE progression need not be a race to the most expensive setup. Functional lineup effects, upgrades that solve a block, and daily rewards feeding the next investment give the account direction. Spend first on what changes the reason you are stuck, and pause on extras that do not. That principle remains useful well beyond the beginner stage.
