

Korean starter Astrogem guide · About these guides
Uncommon and Rare Astrogems can be awkward to sort. Their secondary effects may be limited, but some can still help activate a Core. Astrogems are Ark Grid items, separate from skill gems.
The Korean source treats them as temporary ways to reach useful Core points. A compatible calculator may help screen candidates, but recommendations depend on the rules, targets, and costs entered. This guide does not verify a particular external tool as optimal.
Why keep some lower-rarity Astrogems?
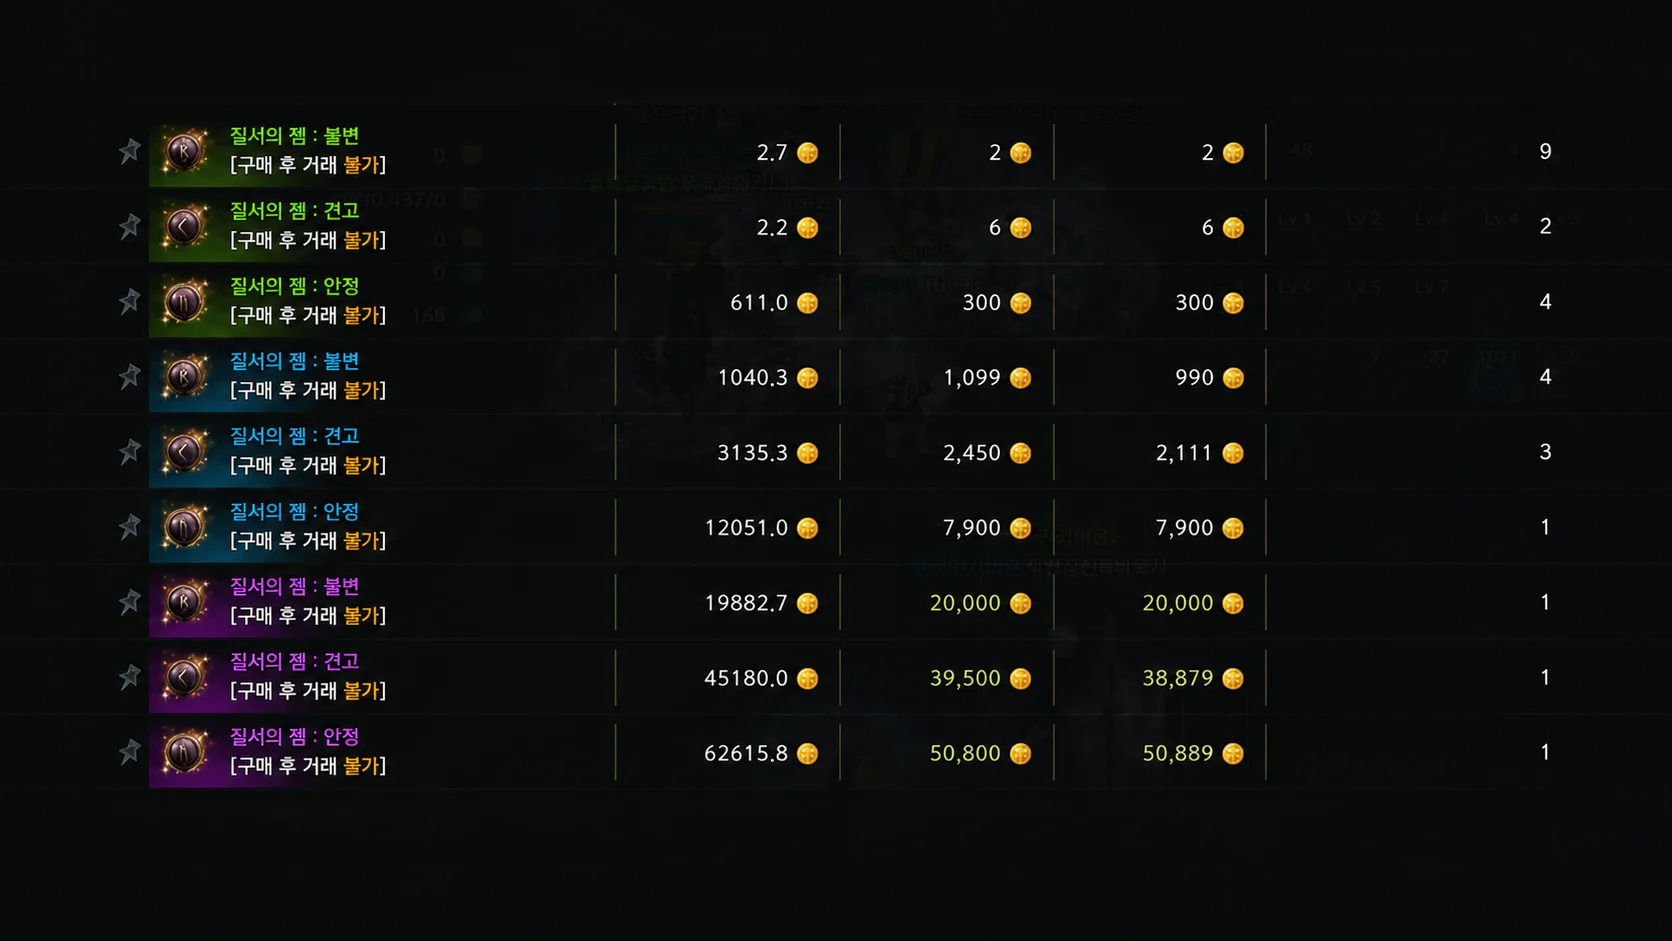
Two important constraints are:
- Willpower required to activate the Gem
- Points supplied to the matching Order or Chaos Core
A modest Gem can be useful if its Willpower cost and points fit the arrangement.
It may fill the gap to an applicable 14-, 17-, or 18-point effect. The breakpoint depends on the Core and grade.
For Uncommon Gems, prioritize usable Core points
Limited processing opportunities make optimizing every secondary effect difficult. Chasing an ideal Gem can defeat the purpose of a temporary option.
The source uses these screening ideas.
Review Stability and Erosion candidates first
It highlights Order: Stability and Chaos: Erosion for their starting requirements. Compare the actual values with your Core capacity; the type alone does not guarantee the best fit.
A lower-rarity result can work when its activation cost and points fill a real gap.
Stop when the remaining path no longer fits the goal
Use an affordable stopping rule. Poor early results do not oblige further spending.
A calculator’s stop or finish suggestion can prompt a review. Screening several candidates limits spending per rejected item, but does not establish a guaranteed total success rate or saving.
Rare Gems offer a wider candidate pool
The source also considers Firmness and Distortion where their actual values fit. These are descriptive English labels for the Korean types; match the tooltip rather than inferring effects from the name alone.
A Rare label is not a reason to use every attempt. Processing for usable points does not itself promise a higher rarity.
The source’s paired-value examples include these; confirm which field is which in the calculator and client.
- A 5/3 result contributing toward a 17-point Core
- A 4/5 result fitting the actual Willpower and point requirements
- A 5/4 or 4/4 result adequate for a temporary arrangement
These are examples, not universal pass thresholds. Check total points and costs across the entire arrangement.
Using a processing calculator

Use it to compare remaining possibilities and costs, not to make every Gem succeed. No specific tool or new processing probability is validated here.
1. Enter the current state accurately
Match type, rarity, attempts, Willpower values, and points. Set a target for your actual setup and use rules matching the regional client.
2. Compare process, refresh, stop, and finish
Read each recommendation within those assumptions.
- Process: continue with an available effect that fits the goal
- Refresh: compare the reroll’s cost and limits with its potential benefit
- Stop: the remaining target is not worth the budget
- Finish: the current result can serve the intended setup
Do not continue only because gold has already been spent. A tool’s output still needs checking against the actual client and build.
3. Compare a finished arrangement
Auto-equip may find combinations you missed, but check its objective. More displayed Combat Power does not prove essential build effects remain active.
The source reports processing roughly 10–15 candidates and stopping others early, then gaining about 3,100 displayed Combat Power after rearrangement. That is its example, not a result independently reproduced for this localization.
Starting inventory matters. Do not expect the same score increase or equate it with an equal percentage of damage.
Spending traps
Finishing every candidate
Past spending does not improve the next result by itself. Judge remaining chances and costs under the actual mechanics.
Demanding perfect secondary effects immediately
Requiring ideal offensive effects can turn a modest point target into an expensive one.
Processing before defining the target
Check whether the setup needs 5/5 or already functions with another combination. Do not reject a usable result for missing an unnecessary ideal.
Mixing rejected and usable candidates
Organize items before finishing or dismantling. Check warnings and reversibility; those actions are not harmless ways to hide an item.
A practical sorting order

Use this checklist.
- Identify missing Order and Chaos points
- Compare low-cost candidates, including Stability and Erosion
- Consider other Rare types where their values fit
- Enter the correct state and target into a compatible calculator if using one
- Compare processing, refresh, and stopping costs
- Stop at the budget limit when the target becomes unattractive
- Compare finished arrangements and required effects, including auto-equip results
- Check dismantling outcomes before disposing of unused items
Keep candidates selectively
There is no need to dismantle every lower-rarity Gem or finish them all. Select around a real point requirement and an affordable limit.
More ambitious effects can be a later target on suitable Epic or higher Gems. A functioning arrangement matters before a perfect one, with each upgrade assessed separately.
Check a candidate’s fit cheaply, stop when the remaining cost no longer makes sense, and keep results that improve the actual setup.