

Korean progression framework · About these guides
Progression in Lost Ark is not simply a matter of buying the most expensive item. Start with the character’s current state and compare which affordable upgrade addresses its largest practical weakness.
At higher stages, skill gems, Relic engravings, accessories, bracelets, Ark Grid, and Korea’s armguard system all appear in the source’s planning. This is an August 2026 Korean framework, not a current North American entry checklist. Regional systems, progression relief, and recruitment expectations can differ.
The source’s progression priorities at a glance
| Source item-level range | Initial checks | Later comparisons |
|---|---|---|
| 1640–1660 | Cards, horizontal progression, engravings, and basic skill gems | Honing with usable bound resources |
| 1660–1680 | Skill gems and Ark Passive | Weapon and armor honing |
| 1680–1700 | Eligible Ancient accessories and main-skill gems | Relic engraving planning |
| 1700–1720 | Relic engravings and Ark Grid | Accessory and bracelet weaknesses |
| 1720–1740 | Balanced honing and actual combat readiness | Astrogem and bracelet improvements |
| 1750 | Korean Belgardin Normal preparation | Obtaining and then budgeting the armguard |
| 1770 | Korean Belgardin Hard preparation | Compare armguard and existing equipment upgrades |
| 1780 and above | Main-skill gems, Relic engravings, and bracelets | Optional expensive optimization |
The order is not universal. Bound resources, prices, class mechanics, and the next goal change the comparison. The ranges describe the source’s suggested focus, not official requirements for every item listed.
Questions before spending
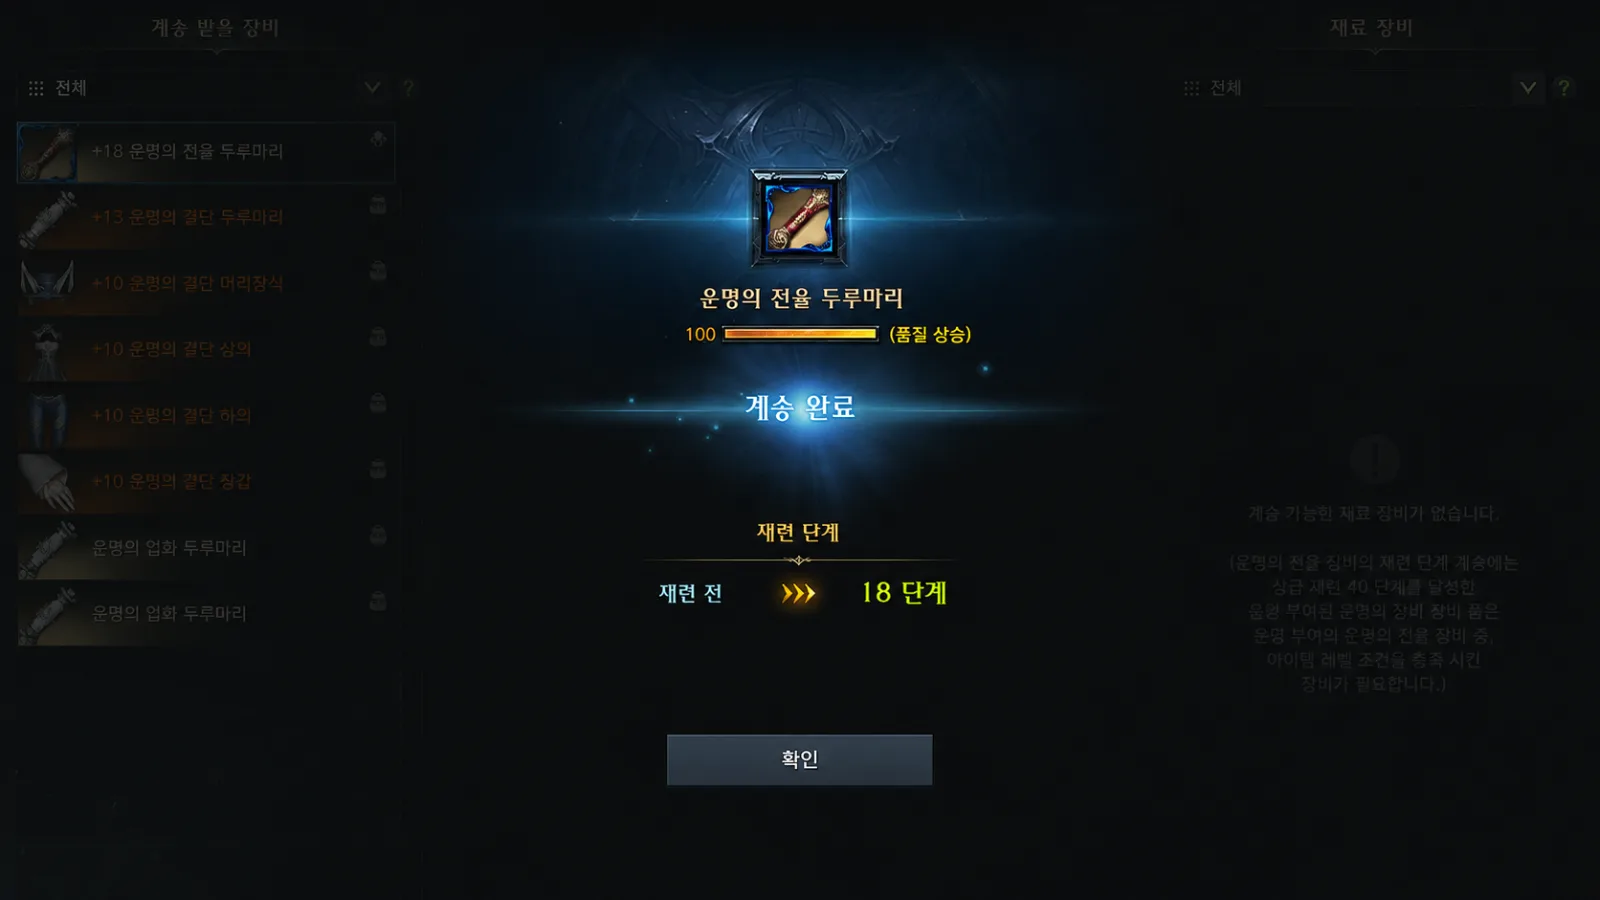
Item level and combat readiness are different
Item level is an entry condition. Groups can also examine the build and its ability to contribute in the actual encounter.
A character rushed through honing can still have weak gems or missing effects. A more complete setup may be more useful at the same or a slightly lower eligible item level, though no build guarantees Party Finder acceptance.
Compare cost with a meaningful benefit
Consider three things together.
- Gold required
- Relevant performance gain under your build
- How long the upgrade is likely to remain useful
An affordable engraving upgrade or bound-material honing step can sometimes beat an overpriced accessory or gem. That needs a current comparison rather than a fixed shopping order.
Separate known outcomes from random optimization
Buying a specified engraving or compatible skill gem gives a more defined result than rerolling a bracelet, processing an Astrogem, or attempting random honing. Price and correct eligibility still matter for the specified purchase.
With limited resources, compare predictable gains first and use earned resources thoughtfully for variable outcomes. No random system becomes guaranteed merely because it appears early in a priority list.
1640–1660: the source’s foundation checks
Cards and horizontal progression
Check relevant skill points, Enlightenment points, permanent-stat rewards, and an appropriate card setup. Identify what applies in the current regional progression system.
Some rewards require time rather than a market purchase. Review missing collection or progression rewards instead of assuming more honing solves every weakness.
Appropriate engravings and basic skill gems
Use the correct class identity and combat setup. In an Ark Passive build, class-defining nodes and compatible combat engravings need to be understood together; do not buy obsolete class-engraving items solely from an older guide.
Assign gems to important damage and cooldown skills. Prioritize actual benefit and required rotation breakpoints rather than assuming every skill deserves identical spending.
Count bound materials before additional purchases
Rapid honing can consume stones, leapstones, fusion materials, and gold. Count usable event and bound resources, then compare the cost of closing the actual gap to a defined content goal.
1660–1680: gems and passive activation
Review the entire skill-gem setup
One expensive main gem does not compensate for every missing cooldown or important secondary gem. Conversely, equal levels everywhere are not automatically optimal. Balance the setup around how the class actually works.
Consider the likely build and skill assignments before buying. Reassignment, compatibility, and resale costs can change the value if the setup changes later.
Check Ark Passive points
Equipment alone does not guarantee the needed Enlightenment or Leap nodes are active. Confirm both point sources and the actual selected nodes.
Different classes need different combinations. Adapt a build to the points available instead of copying a high-progression setup that cannot function on the character.
1680–1700: accessories and honing balance
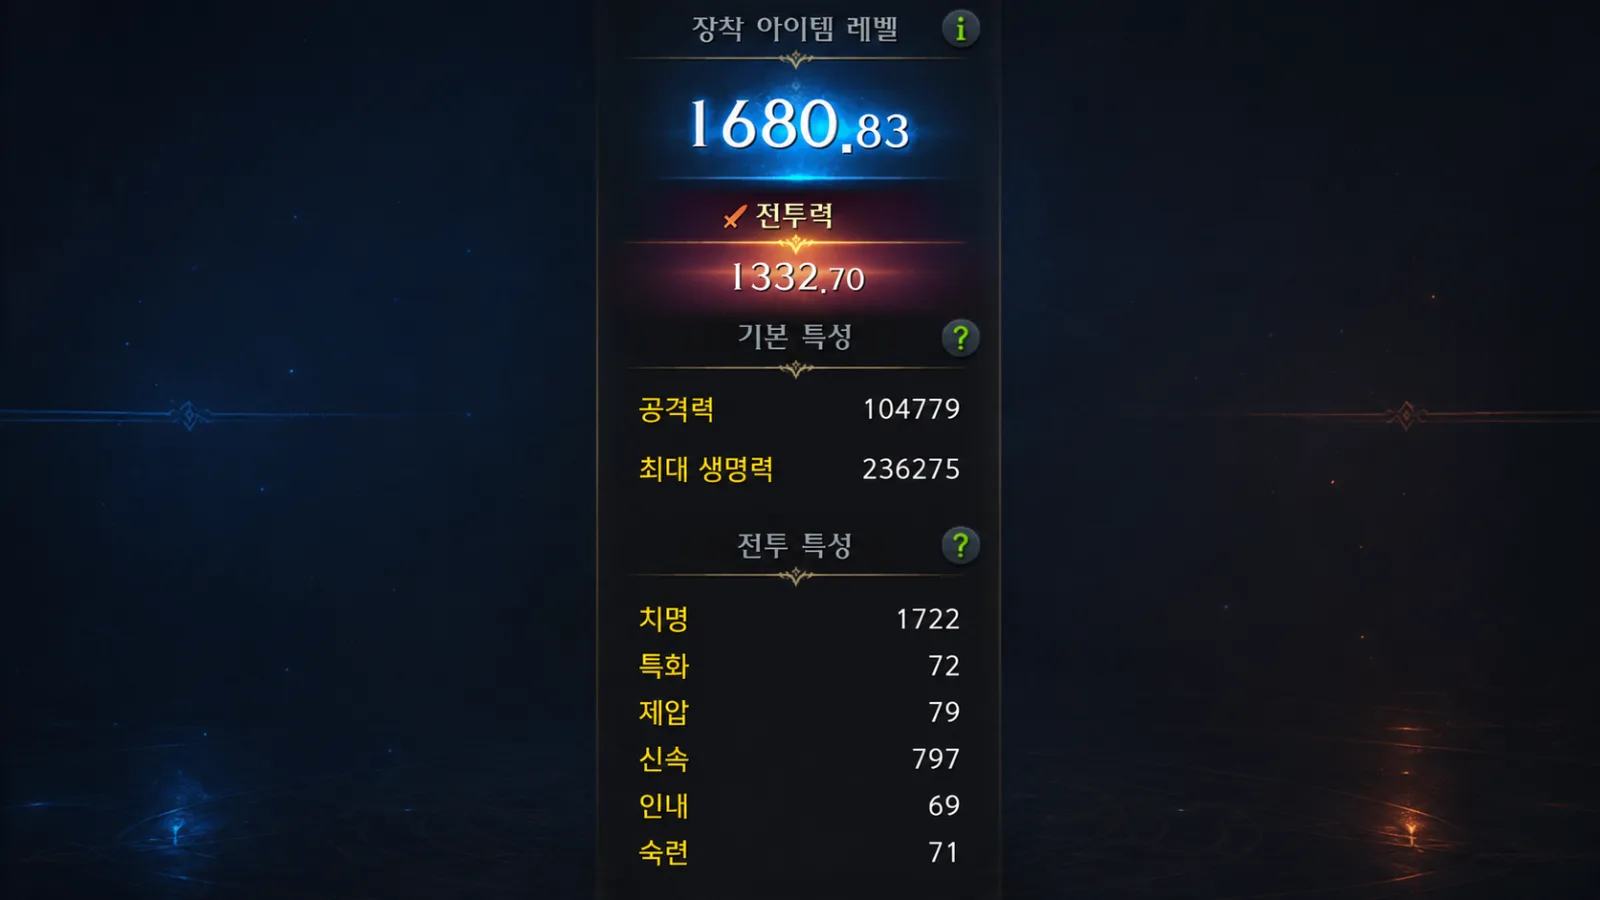
Compare accessory quality, effects, and cost
A highly priced top-roll item is not always the best marginal gain. A cheaper item with suitable quality and useful effects may address the current need better.
For damage builds, the source discusses foe-damage effects on necklaces, attack-related earring effects, and critical-related ring effects. Exact values and priorities depend on the current item rules, class, and final Crit Rate; no universal best combination is established here.
Avoid allocating everything to the weapon
Weapon honing raises attack, but later stages can be costly. Compare the next armor and weapon gains, including item-level access, rather than continuing on the most visible item by habit.
Supports also need a build-specific comparison of balanced honing, accessories, skill gems, and engravings. A weapon contributes to support scaling in applicable systems, so this is not a claim that it has no value.
1700–1720: engravings and Ark Grid
Compare useful Relic engravings by current price
The source suggests checking affordable engravings actually used by the build, rather than automatically starting with the most expensive Grudge or Keen Blunt Weapon upgrades. Those examples do not apply to every class or role.
Compare the real effect and price when purchasing. Buying an inexpensive engraving the character will not use is not efficient progression.
Make the Ark Grid setup function before chasing ideal Gems
A higher-grade Core alone does not complete Ark Grid. Check Core capacity, matching Astrogems, their relevant values, and which effects actually activate in the current system.
Start with a usable combination for the intended build. Only then compare further offensive or support effects, using the actual available Gem options rather than assuming all rolls benefit every role.
1720–1740: compare several routes
Honing and engraving progression together
If the next equipment step becomes expensive, compare engravings, accessories, and other missing effects. Balanced honing is a candidate, not a universal mathematically optimal rule.
Stop bracelet optimization at an affordable point
Random bracelet improvements can become expensive. A usable bracelet may be sufficient while other meaningful upgrades remain.
Earned bracelets and reroll resources can support gradual improvement. Specialization builds should compare actual breakpoints; a cheaper mixed-stat option is useful only if the resulting build still works.
1750: Korean Belgardin Normal preparation
The Korean introduction required 1750 for Normal and included Holding Just Guard and gate checkpoints. Gate 2’s first clear awarded the initial armguard, with later raid materials used for its progression. These are Korean encounter rules.
The source’s Normal preparation checks
- Important skill gems
- Accessory examples such as two medium effects, or a high effect paired with a low/medium one; these are source suggestions, not official entry rules
- A cost-aware weapon and armor plan
- Useful affordable Relic engravings
- A functional bracelet
- The intended class’s active Ark Grid effects
Reserve resources for the armguard if it is part of the plan. Obtaining the initial item from a qualifying clear is different from upgrading it: its subsequent honing is random, not guaranteed growth.
1770: Korean Belgardin Hard preparation
The source emphasizes a balanced setup rather than a high entry level masking a major weakness. Recruitment preferences vary; none of these suggested purchases guarantees a party slot.
The source’s Hard preparation checks
- Review main-skill gem gains
- Progress applicable Relic engravings in stages
- Compare accessory effects such as a high-plus-medium pairing when affordable
- Compare contributing armor and weapon honing stages
- Review useful Astrogem effects
- Keep bracelet spending proportional to its actual gain
- Compare an owned armguard’s next upgrade with other options
An armguard or armor upgrade may compete well with an expensive weapon step. Its random cost and material requirements still need to be included alongside engravings and accessories.
1780: Korean Belgardin Nightmare preparation
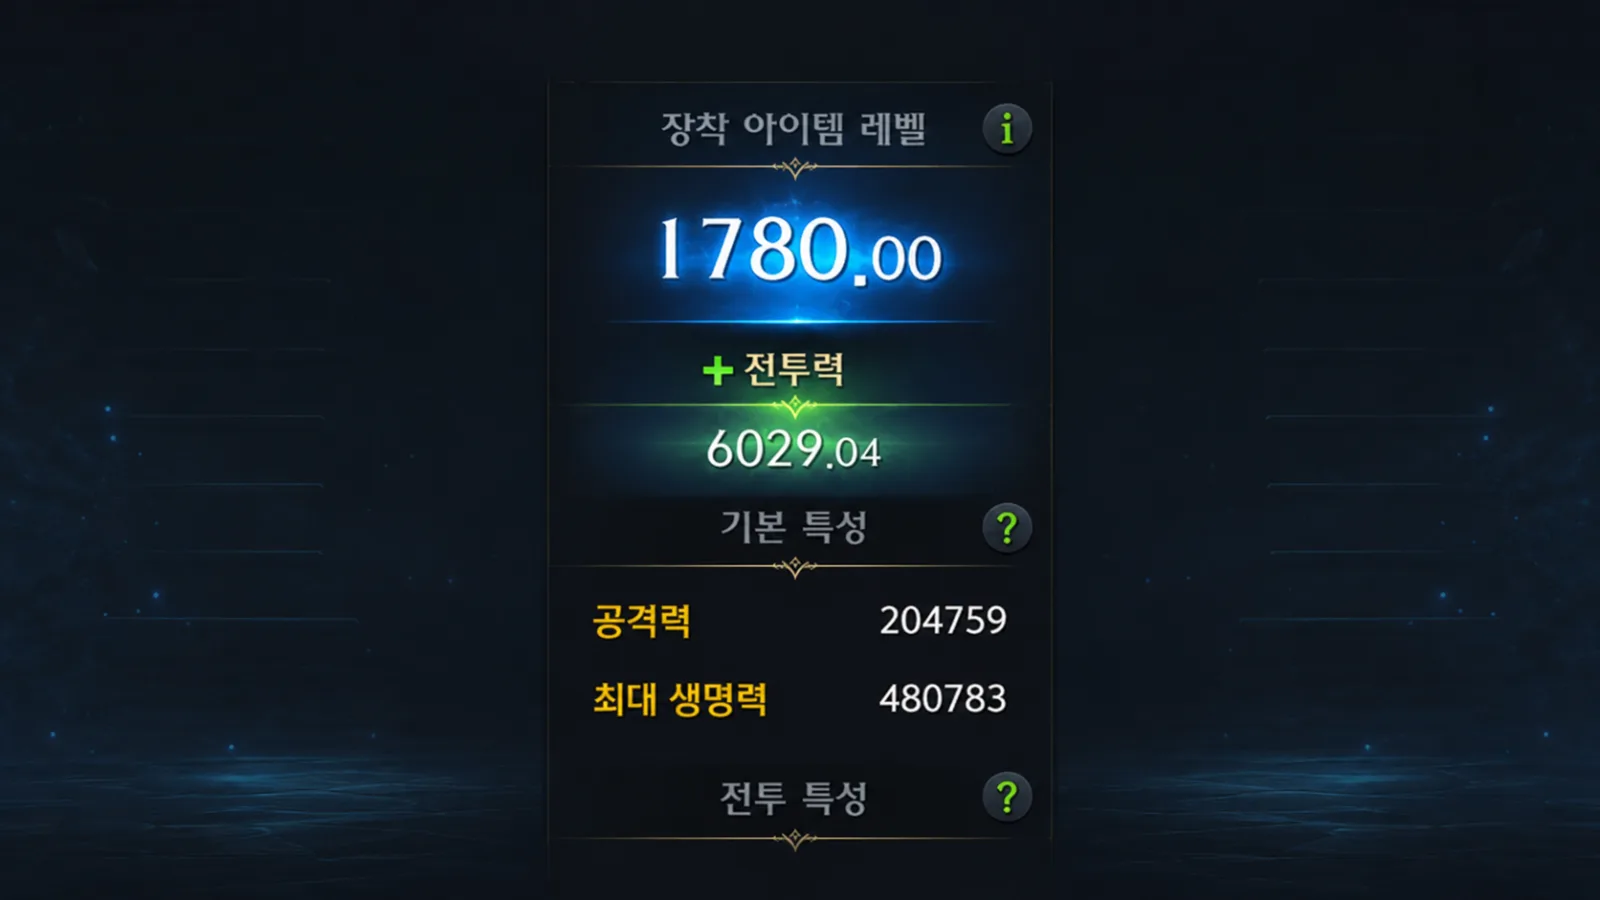
The source’s emphasis shifts toward a functioning full build and consistent execution. Entry item level alone is not evidence of clear readiness.
The source’s Nightmare preparation checks
- Compare higher main-skill gems where they provide value
- Avoid neglected important cooldown or secondary gems
- Complete relevant engraving progress as affordable
- Compare suitable accessory effects rather than treating a roll shorthand as a mandatory standard
- Review the weapon/armor plan
- Assess bracelet and Astrogem gains without assuming ideal random rolls
- Check the armguard stage and affordable next step
A 9/7 Ability Stone or exceptional bracelet can help some builds but is random and not a universal requirement. Compare defined purchases before speculative optimization. Ordinary equipment and armguard honing also remain random; they are not guaranteed simply because they precede a stone attempt here.
The source’s armguard priorities
Normal: considering +10 as an initial goal
The source favored early armguard progression after obtaining it. A +10 target is a planning suggestion, not an official Normal-clear requirement or a verified best purchase for every account.
Hard: staged progression toward +20
Higher armguard stages require appropriate raid materials, gold, and substantial Silver. A suggested +20 target should fit the actual unlocks and budget, not be treated as immediate mandatory spending.
Allocating support and special-honing materials
The source proposed these allocation ideas, subject to actual eligibility and costs.
- Compare Lava’s Breath use on weapon honing first
- Use special-honing resources only on equipment eligible for that specific material
- Consider reserving Glacier’s Breath for armguard attempts
- Do not chase an upgrade by automatically buying a price spike
Recalculate for the actual material and stage before attempting. The item names here describe Korean materials, rather than prove identical regional availability.
Spending traps to avoid
Rushing only item level
A missing functional build can remain a problem after reaching an entry threshold. Check what your character actually lacks before the next encounter.
Exhausting the budget on the weapon
Compare whether engravings, an armguard stage, armor, or accessories provide a more useful gain for the same affordable allocation.
Buying the most expensive accessory first
Prices depend on combinations and available listings. Several appropriately chosen improvements may be more useful than one near-perfect item.
Overcommitting to bracelets or Astrogems
After reaching usable effects, compare more predictable upgrades before repeatedly chasing small random improvements.
A general review order
If the next step is unclear, use this as a checklist rather than a mandatory sequence.
- Cards, skill points, and relevant horizontal progression
- Correct engravings and Ark Passive
- Main and supporting skill gems
- Useful affordable Relic engravings
- Accessory effects and quality
- Weapon and armor marginal honing costs
- Ark Grid Cores and Astrogems
- A functional bracelet
- Armguard acquisition and separately budgeted upgrades after the Korean raid
- Optional expensive honing, ideal bracelets, or a 9/7 stone only with an appropriate risk limit
The useful order depends on materials, prices, regional rules, and the class. Keep the distinction between a source recommendation, an official entry rule, and a guaranteed outcome clear.