

Historical Korean honing example · About these guides
At item level 1680, Lost Ark players can pause to accumulate resources or work toward 1700 for further content and character power.
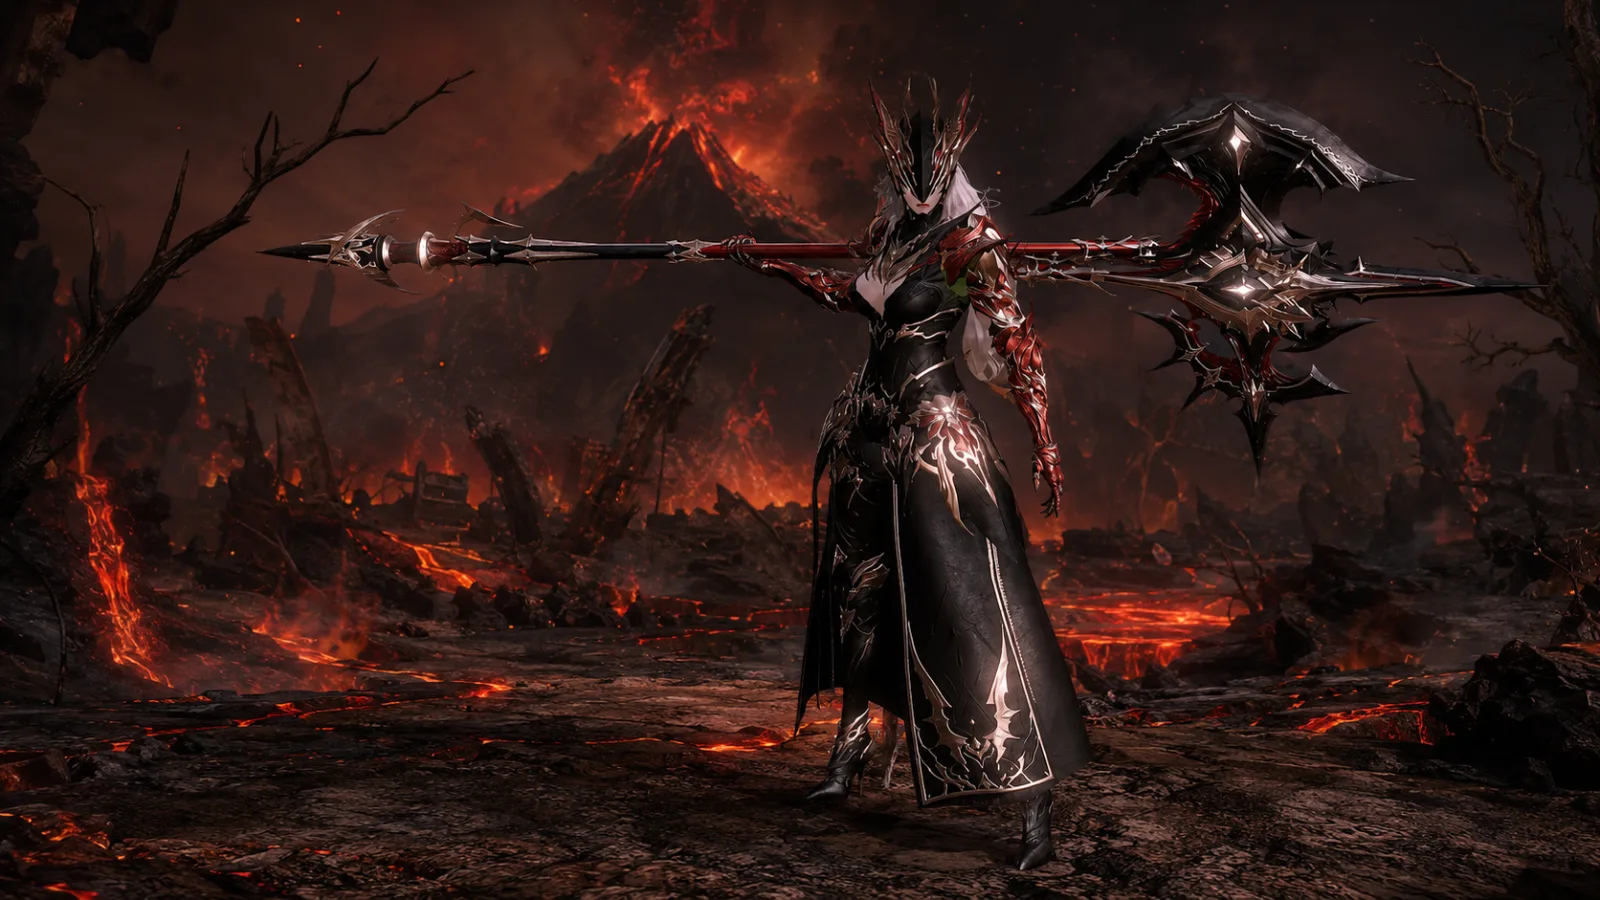
The Korean source found its Guardianknight satisfying to develop, but that is a build-specific impression rather than a promise for every setup. Before committing, budget the full route instead of judging one honing attempt at a time.
This is a historical Korean case study published September 1, 2026: a 1,000,000-gold budget and a reported result around 620,000. It is not a current North American cost quote, verified average, or guaranteed ceiling. Later regional honing changes mean today’s costs need a fresh calculation.
What did the Korean 1680–1700 example cost?
The total varies with bound materials, fusion-material prices, successful attempts, and Artisan’s Energy. Starting equipment and Advanced Honing progress matter too.
The source proposed roughly 1,000,000 gold when substantial material purchases were needed. That was its planning estimate, not evidence that the amount safely covers every outcome. Existing bound stones, leapstones, and fusion materials can reduce additional gold purchases.
It reported reaching 1700 for approximately 620,000 gold after setting that larger budget and receiving favorable honing results.
That single outcome is not a minimum or average. The source also discussed costs above 800,000; less favorable attempts and different material prices can move costs further. Use an affordable stopping limit and the actual current rules.
Factors affecting the estimate
Check the following before comparing costs.
- Bound Destruction and Guardian Stones available
- Destiny Leapstones and fusion materials available
- Applicable support materials, Tailoring, and Metallurgy items
- Current normal honing on weapon and armor
- Advanced Honing progress on each item
- Successful attempts and accumulated Artisan’s Energy
- Current regional market prices
Buying all fusion materials can materially change the bill. Check usable materials in storage, event rewards, and exchanges first, including their binding and eligibility requirements.
Normal honing versus Advanced Honing after 1680
Compare both routes on the actual equipment. Their relative cost changes with the starting stages, available resources, and regional rules.
The source compared examples such as normal +16 with Advanced Honing 30, and normal +18 with Advanced Honing 20. These are source-era planning combinations, not a universal current recipe for 1700; verify the actual item-level gains and applicable stages in your client.
When normal honing may be worth comparing first
Possible reasons include these.
- A shortage of materials needed for Advanced Honing
- A supply of applicable normal-honing support items
- Only one or two equipment upgrades needed for the target
- A specific goal of improving weapon attack
Normal honing costs vary with the result. Early success can save resources, while repeated failures and Artisan’s Energy accumulation can consume the allocated budget.
When Advanced Honing deserves comparison
Review it under conditions such as these.
- Low Advanced Honing progress on most equipment
- Usable bound materials or support items for that system
- A plan to develop several equipment pieces
- A longer-term goal above 1700
Advanced Honing adds progression through its own stages, but its cost is not fixed independently of materials and current relief measures. Use a calculator that matches your region, equipment, and patch.
Planning the honing order

Decide whether weapon power or reaching an entry level is the immediate priority. Weapon-first can serve an attack goal; cheaper contributing armor stages may better serve an item-level goal. Compare marginal costs rather than assuming one order always wins.
1. Record the current equipment state
Check these details first.
- Normal honing on weapon and armor
- Advanced Honing on each piece
- Available bound materials
- Remaining applicable progression support
- The target content’s actual entry requirement
The character sheet alone may miss useful stored or exchangeable resources. Count what the intended character can actually use before purchasing a shortfall.
2. Set a separate weapon budget
Weapon honing can be expensive relative to armor, while directly increasing weapon attack. The exact benefit and price depend on the relevant upgrade.
Separate weapon, armor, and later build costs. Spending everything on the weapon can leave the character short of its item-level target.
The source credited favorable weapon results for much of its saving. Do not assume the same attempt count in your own budget.
3. Compare remaining armor upgrades
After the planned weapon upgrade, compare the five armor pieces and the cost of their next contributing stages. Lower-honed pieces may offer better entry-level progress, but actual prices and support effects decide the order.
A per-piece limit can help prevent overcommitting after repeated failures. Switching pieces does not itself improve success chances; it is a budgeting choice, not a luck mechanic.
Why the source reported about 620,000 gold
It attributed the lower-than-budget result to early successes on the weapon and some armor. No attempt log or independently reproduced average is provided here.
Avoiding a long sequence before the Artisan guarantee can save substantial resources. Favorable armor results also left more of the original budget unused.
That does not establish a fixed 1680–1700 price. Purchased materials, less favorable attempts, and later system changes can produce different totals, including costs beyond the source’s example budget.
The source grouped its historical planning figures as follows; these are examples, not present-day minimums or safety guarantees.
- Favorable example with ample bound materials: around 600,000 gold
- The source’s suggested planning range: around 800,000–1,000,000 gold
- A larger allocation for purchases and poor results: over 1,000,000 gold
None is an absolute threshold. Recalculate for your current equipment, prices, materials, and risk limit.
Ways to review unnecessary spending
Count usable bound materials first
Check bound resources, event rewards, and exchanges before buying the entire material requirement. Buy only the shortfall you actually need, respecting item restrictions.
With several characters, define a priority. Simultaneous upgrades can spread the available gold thinly and delay the main goal.
Compare Tailoring and Metallurgy costs
Applicable books improve success chances, but a purchased book is not automatically economical. Its cost needs comparison with the expected attempts and resources saved.
Comparing only one failed attempt with the book price is incomplete. Include current chances, Artisan’s Energy, the book’s exact effect, and any expiry or stage restrictions.
Evaluate honing support materials too
Adding the maximum amount of support material at every stage is not automatically the cheapest approach. Compare its effect at the specific upgrade and price.
Expensive tradable support materials may cost more than they save; usable bound ones change that calculation. No option removes the need to consider the actual success and guarantee rules.
Pause at the defined goal
After reaching a target such as 1700, reassess before spending further. Skill gems, Cores, engravings, or accessories may address a larger practical weakness.
Entry item level alone does not produce a complete build. Reserve resources for those other systems rather than exhausting the budget on honing.
Guardianknight impressions in the source
The source valued durability, Push Immunity, and Stagger in the setup it played. Guardianknight builds differ; Push Immunity prevents displacement under its conditions, not damage or lethal mechanics.
It also found the daily-content controls and impact appealing. Treat ease of use and the ability to commit through some attacks as subjective, encounter-dependent impressions.
Understanding skills and Core effects remains important. More item level does not replace checking the actual build and executing it in a raid.
Other build checks after the item-level goal
Review what applies in your regional client.
- Core points supporting the intended main skills
- Skill-gem levels and assignments
- Relic engraving progress and appropriate engravings
- Useful accessory effects
- Weapon and armor quality under the current system
- Combat stats and any still-applicable legacy progression; do not treat the source’s Elixir reference as a current purchase instruction without checking your client
- Ark Passive and Enlightenment setup
Balance the systems that affect actual performance instead of allocating all resources to item level.
Pre-honing checklist for this route
Use these checks before spending.
- Define why the target item level is needed.
- Compare normal and Advanced Honing for each piece.
- Count usable stored and bound materials.
- Compare applicable book and support-material costs.
- Separate weapon and armor budgets.
- Recalculate an affordable reserve; the source’s 800,000–1,000,000 range is historical, not a verified minimum.
- Keep resources for the build after honing.
- Stop rather than extending spending simply because recent results were poor.
How to use the Guardianknight example
The source planned around 1,000,000 gold and reported a favorable result near 620,000. Use that as one historical account, not proof of what a current regional 1680–1700 route will cost.
Compare the current normal and Advanced Honing routes using your own equipment and materials, while preserving armor and later build budgets.
The useful lesson is to set a goal and stopping point around your own situation, rather than reproduce someone else’s favorable roll sequence.