

Korean Ark Grid guide adapted for Western system differences · About these guides
A useful Ark Grid setup starts with activating compatible Astrogems within the core’s Willpower capacity and reaching the required Core Points, rather than finding the most expensive-looking effects.
For a Relic or Ancient core whose defining effect needs 17 points, reach that breakpoint first. Then improve damage effects for DPS or ally-enhancement effects for supports without breaking the functional setup.
Solidity and Distortion can be practical intermediate choices before more demanding Eternal or Collision combinations. Western Astrogems cannot be traded on the Auction House, so the source’s Korean purchasing and Pheon examples do not describe a North American market route.
Compare Willpower requirement, activated Core Points, combat effects, and actual acquisition cost together.
- For a suitable Relic or Ancient core, prioritize the relevant 17-point effect. Check your specific core; not every build has the same breakpoint priorities.
- Keep the four equipped gems’ combined requirements within the core’s capacity.
- Compare boss-damage effects for DPS and ally attack or damage enhancement for support.
- Korean Auction House advice includes Pheons; Western players instead need eligible reward, NPC, crafting, or fusion routes.
- Consider high-end Eternal or Collision results after a functional affordable combination.
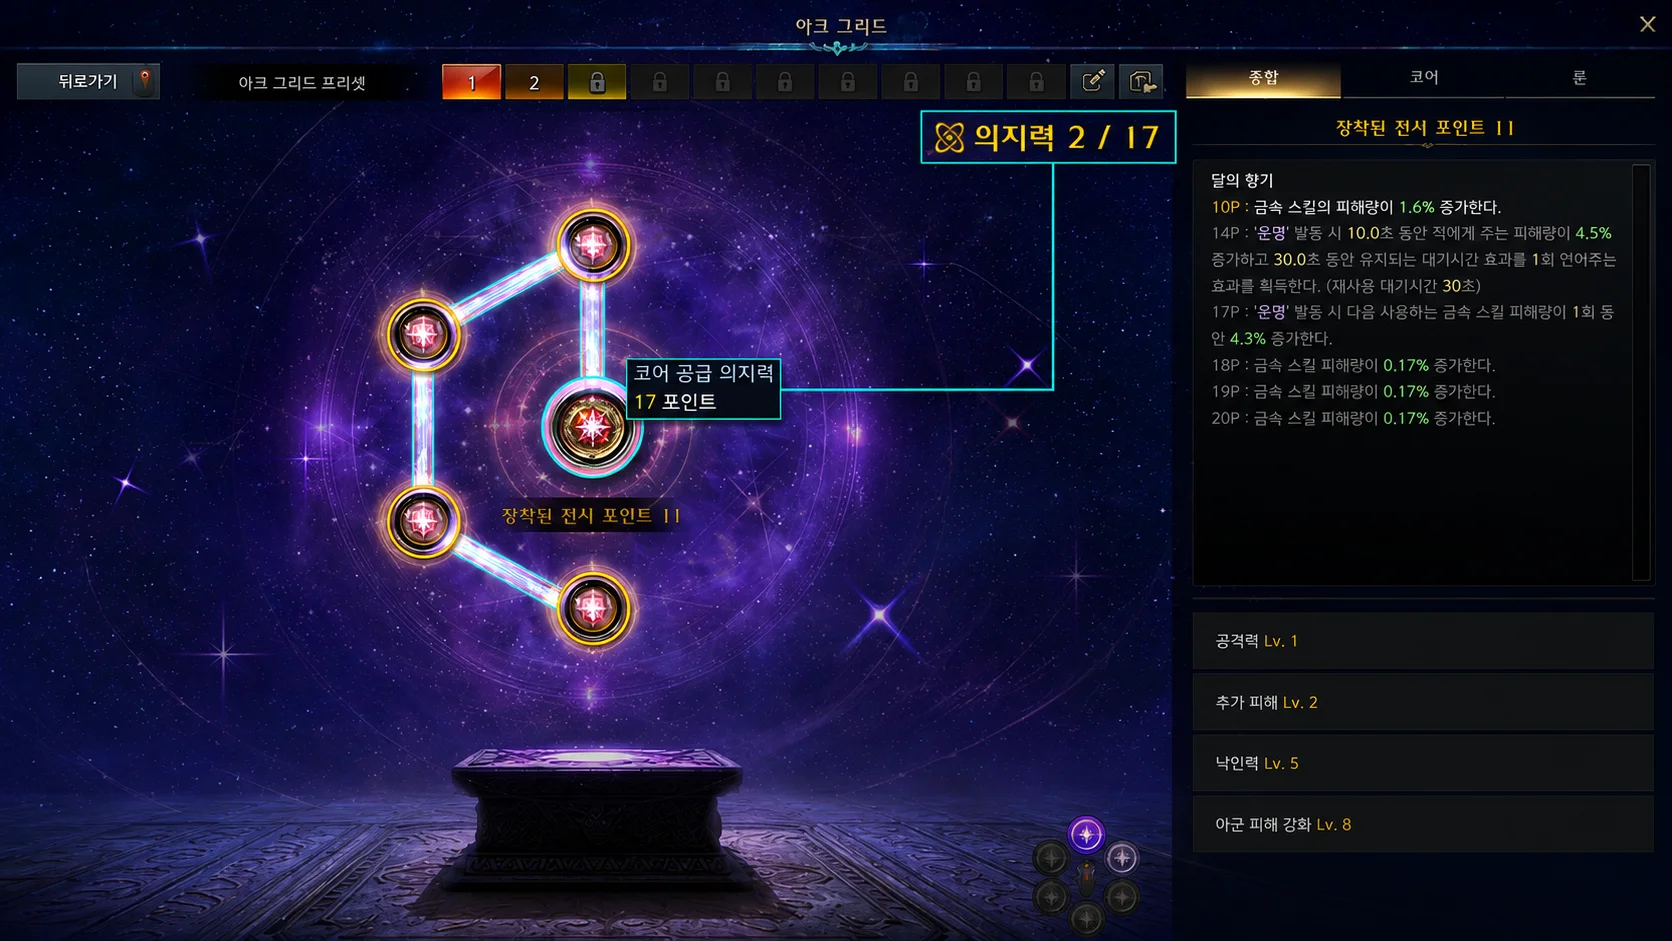
How Ark Grid Works
Ark Grid combines cores and Astrogems.
A core supplies Willpower. Active Astrogems consume that capacity and contribute combat effects plus Core Points, which unlock the core’s threshold effects.
Keep three values separate:
Core Willpower Capacity
The capacity available to activate connected gems. Higher core grades provide more under the applicable system rules.
Astrogem Willpower Requirement
The capacity one gem needs. Willpower Efficiency gained during processing can reduce this requirement.
Astrogem Core Points
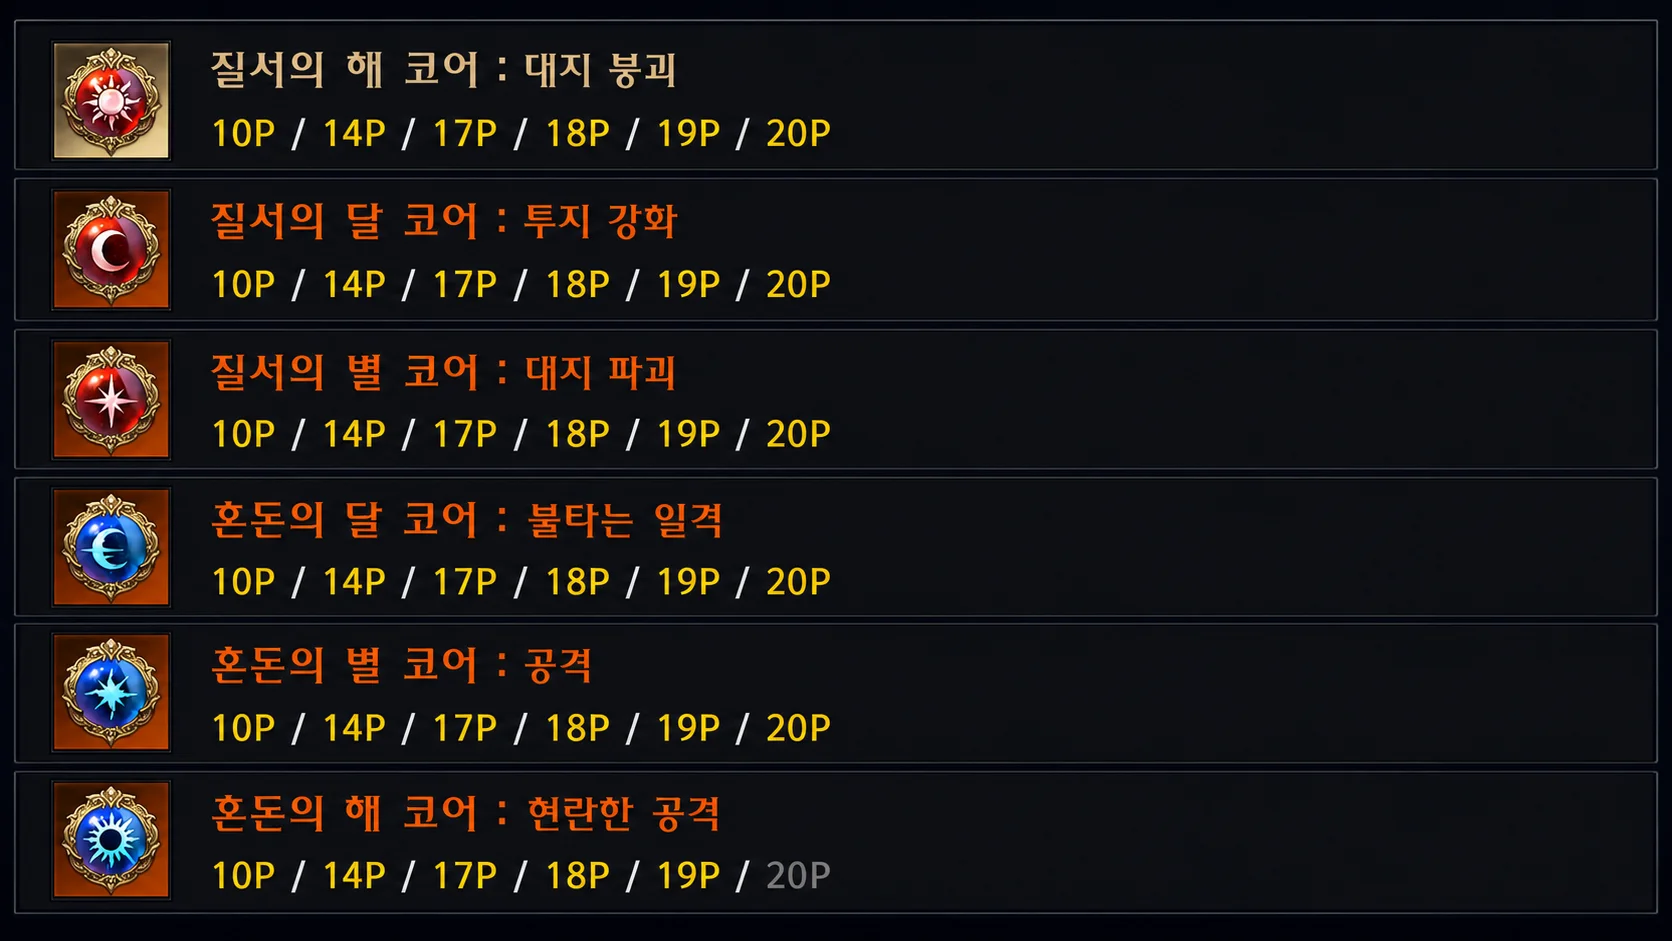
Only active gems contribute points. Their combined total can unlock effects at 10, 14, 17, 18, 19, and 20, subject to core grade and effect availability.
A slotted but inactive gem provides neither its effects nor Core Points. A high-point result can therefore be unusable if the full combination exceeds capacity.
Core Grade and Available Effects
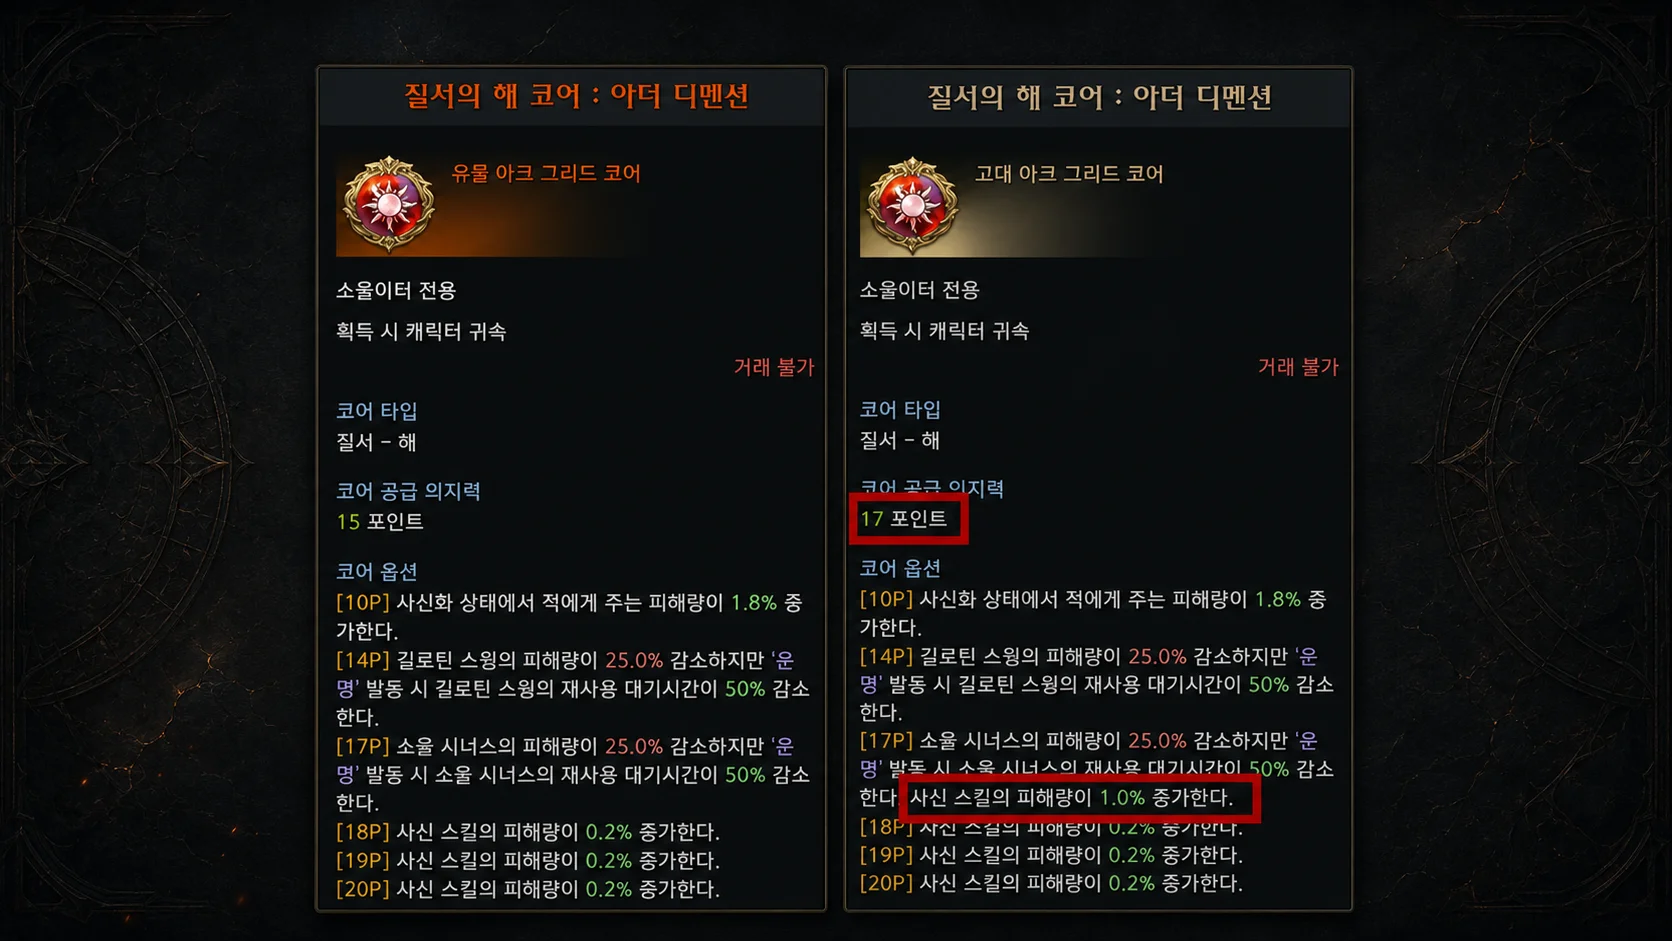
The Korean source summarizes core capacity and breakpoints as follows. Confirm the values on the core you actually equip.
| Core Grade | Willpower Capacity | Available Point Effects |
|---|---|---|
| Epic | 9 | 10 points. |
| Legendary | 12 | 10 and 14 points. |
| Relic | 15 | 10, 14, 17, 18, 19, and 20 points. |
| Ancient | 17 | 10, 14, 17, 18, 19, and 20 points. |
Legendary cores stop at the 14-point effect. Relic and Ancient cores can unlock higher effects, making 17 points an important goal where the build depends on that effect, rather than an effect a Legendary core gains just by adding more points.
Ancient cores provide more capacity than Relic and have a stronger grade-dependent 17-point effect. Other threshold values should be read from the actual tooltip rather than assumed to scale the same way.
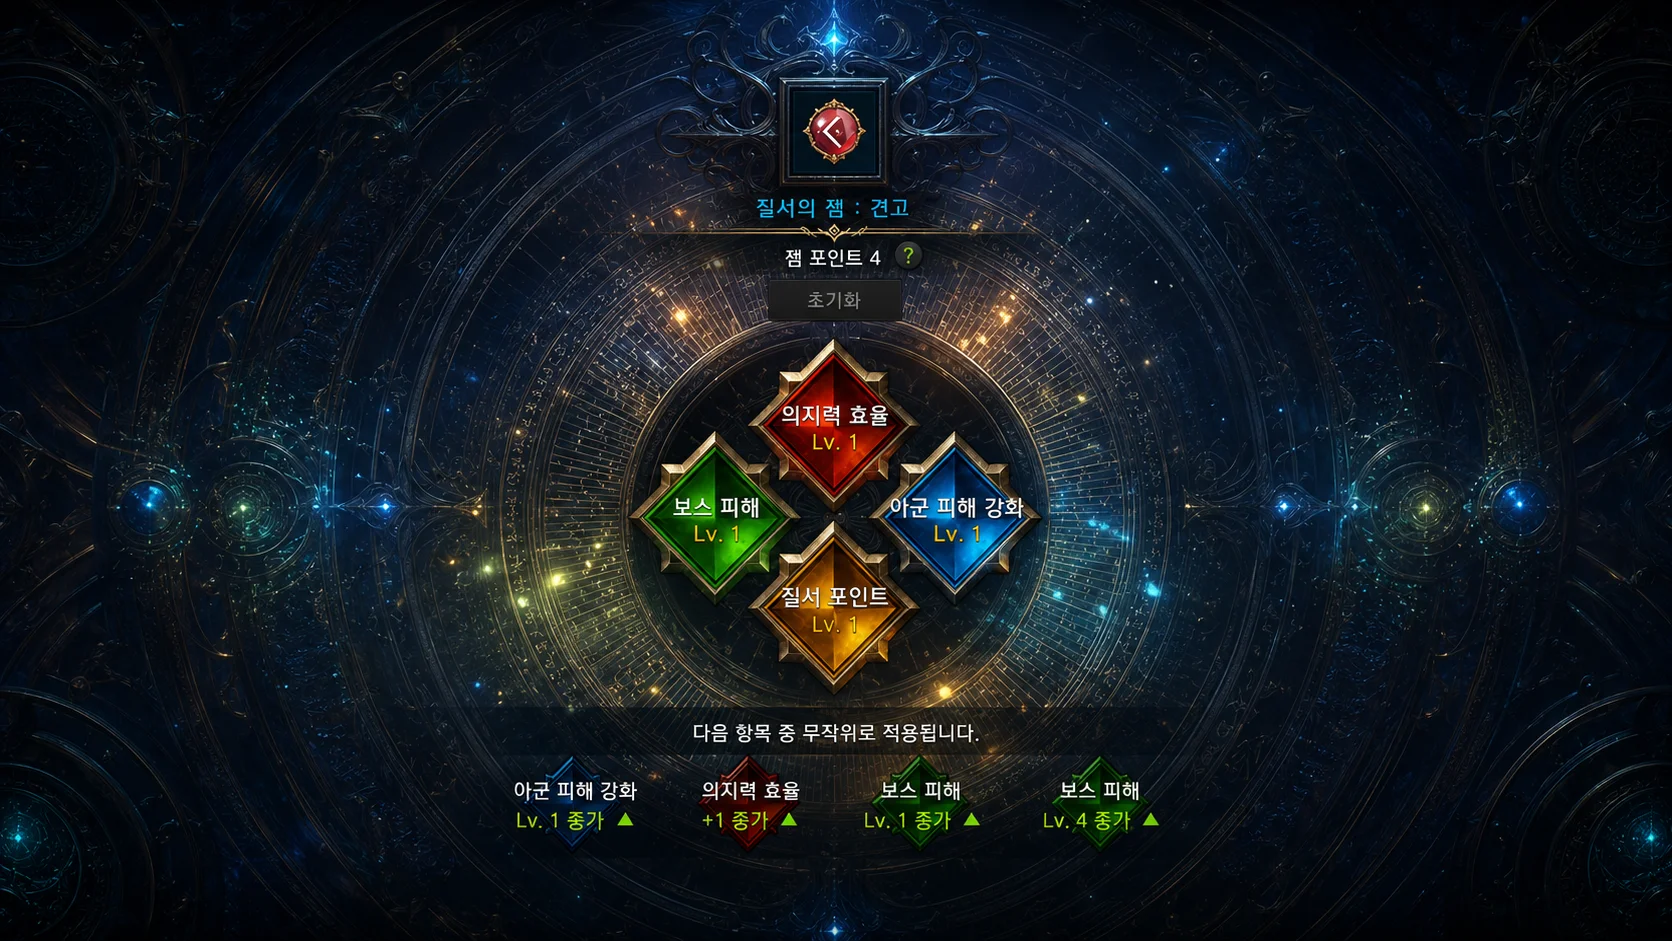
Order and Chaos Astrogems
The two categories are Order and Chaos. An Order core needs Order gems; a Chaos core needs Chaos gems. Names below follow the official Western overview, while effect wording may vary in the client.
| Category | Subtype | Base Willpower Requirement | Offensive Effect Pair | Support Effect Pair |
|---|---|---|---|---|
| Order | Stable | 8 | Attack power and additional damage. | Brand Power and ally damage enhancement. |
| Order | Solidity | 9 | Attack power and boss damage. | Ally damage and ally attack enhancement. |
| Order | Eternal | 10 | Additional damage and boss damage. | Brand Power and ally attack enhancement. |
| Chaos | Erosion | 8 | Attack power and additional damage. | Brand Power and ally damage enhancement. |
| Chaos | Distortion | 9 | Attack power and boss damage. | Ally damage and ally attack enhancement. |
| Chaos | Collision | 10 | Additional damage and boss damage. | Brand Power and ally attack enhancement. |
Stable and Erosion start with lower capacity requirements. Solidity and Distortion offer another balance between useful effects and capacity demands. Ordinary gems’ actual combat-effect rolls can differ; the table describes the role-specific pairs rather than a guarantee on every random gem.
Eternal and Collision can offer an attractive effect pair but start at higher requirements. Getting strong effects, enough points, and sufficient efficiency together can take more resources.
Reaching 17 Core Points
For a 17-point effect, your active gems must contribute at least 17 Core Points.
One possible four-gem combination is:
4 + 4 + 4 + 5 = 17 Core Points.
That arithmetic is only useful if every contributing gem activates. Check both the point total and the combined Willpower requirement.
A Step-by-Step Setup
- Check whether the core is Order or Chaos.
- Read its Willpower capacity and required Enlightenment setup.
- Prepare four compatible processed gems.
- Add their Willpower requirements.
- Find an active combination totaling at least 17 points where that effect is needed.
- Then compare combat effects and actual build performance.
Willpower flows outward from the core. A missing or inactive gem blocks activation farther along the row. Moving a cheaper gem forward can help activate an earlier slot, but rearrangement cannot make four gems fit if their total requirement still exceeds capacity.
Budget Setups for Beginners and Alts
Chasing ideal Eternal or Collision results immediately can be expensive. Begin with the effects required for a functional build, then improve the combination in stages.
Step 1: Activate Your Gems
Find a compatible combination that fits capacity, even if its combat effects are imperfect.
Stable and Erosion can help early. Well-processed Solidity or Distortion results can also fit an affordable starting setup.
Step 2: Reach the Required Breakpoint
With an appropriate Relic or Ancient core, a 4/4/4/5 point combination can reach 17 if all four gems activate.
You do not need four five-point gems to reach 17.
Step 3: Improve Combat Effects
Replace a weaker gem while preserving the needed point total and capacity fit.
- DPS: compare boss damage, additional damage, and attack power.
- Support: compare ally attack enhancement, ally damage enhancement, and Brand Power.
Changing one slot at a time can make the cost and result easier to evaluate. Check the complete combination before confirming the swap.
Choosing DPS Effects
Set a realistic budget for the next improvement rather than pursuing every effect at its maximum level at once.
Solidity and Distortion as Intermediate Choices
These subtypes can provide attack power and boss-damage effects.
Their lower base requirement compared with Eternal and Collision can make a useful active 17-point combination easier to assemble.
Consider them for:
- A character starting Ark Grid.
- A limited-budget 17-point target.
- An alt with a defined resource limit.
- A DPS setup where the available boss-damage roll adds useful value.
Eternal and Collision for Higher-End Results
These subtypes can pair additional damage with boss damage, but their base requirement is 10 before processing improvements.
A usable high-end result still needs:
- Strong relevant combat effects.
- Enough Core Points.
- Sufficient Willpower Efficiency.
- A requirement that fits alongside the other three gems.
A stronger-looking subtype can lower your full build’s performance if it deactivates another gem or loses a defining breakpoint.
DPS Checklist
- Do gem and core categories match?
- Do all required gems activate?
- Does the active total reach the relevant 17-point effect?
- Are useful boss-damage or additional-damage contributions actually improving?
- Does the complete build improve, beyond just its displayed Combat Power?
- Is the gain worth the resource cost?
Choosing Support Effects
Support Astrogem comparisons involve Brand Power, ally damage enhancement, and ally attack enhancement. Evaluate their actual contribution to your class’s buffs.
Solidity and Distortion for Support
Their support pair includes:
- Ally damage enhancement.
- Ally attack enhancement.
Their lower base requirement can ease a 17-point combination compared with Eternal or Collision.
For a budget setup, start with usable high-value rolls that fit capacity rather than demanding a perfect pair immediately.
Eternal and Collision for Support
Their support pair includes:
- Brand Power.
- Ally attack enhancement.
The pair can be useful, but obtaining it alongside enough points and low requirements can be costly.
A well-fitting Solidity or Distortion result may be better value if it supplies the party-buff contribution your current setup needs.
Support Checklist
- Activate the required gems and the core’s defining point effect.
- Compare actual ally attack and ally damage enhancement.
- Evaluate the marginal benefit of additional Brand Power.
- Set a budget instead of forcing both preferred effects at any cost.
- Judge actual values and capacity requirements rather than the subtype name alone.
Processing and Final Grade
Processing presents four potential outcomes affecting categories such as:
- Willpower Efficiency.
- Order or Chaos Core Points.
- One combat effect.
- The other combat effect.
One displayed outcome applies randomly when processing. The starting grade determines the baseline number of outcome refreshes. Refreshing the offered outcomes is distinct from resetting the entire processing run.
| Starting Grade | Base Outcome Refreshes |
|---|---|
| Uncommon | 0. |
| Rare | 1. |
| Epic | 2. |
After completion, the total Astrogem Points across its four attributes determines the final grade. This total is distinct from the Core Points contributed by one attribute.
| Finished Grade | Total Astrogem Points |
|---|---|
| Legendary | 4–15. |
| Relic | 16–18. |
| Ancient | 19 or more. |
Good processing is not only about raising a combat effect. It means balancing efficiency, Core Points, and combat effects for a usable full setup.
When to Consider a Processing Reset
The Korean source quotes a 100-Crystal fallback when no reset ticket is available. Western updates also allow Crystal resets, but check the current cost, remaining-attempt requirement, reset limit, and the actual item’s rules before paying.
A fresh run may be worth comparing for a valuable starting gem, but a reset discards the accumulated processing result. Evaluate:
- Whether the initial effect pair offers useful boss-damage potential.
- Whether its starting support effects fit your class.
- Whether you would lose a valuable efficiency result already rolled.
- Whether you would lose Core Points needed by the current setup.
- How difficult replacing the starting gem would be under your region’s rules.
A good current roll is not, by itself, a reason to reset it. If a different reward gem can solve the gap more cheaply, another reset may be unnecessary. Confirm before finishing processing, since reset eligibility can depend on remaining attempts.
Astrogem Fusion
Fusion consumes three eligible Astrogems to produce one new gem.
The result’s grade is random. In the Western system, fusion can produce a roster-bound gem; it does not create a market-tradable gem.
Fusion Eligibility
- Processed gems can be fused with other processed gems.
- Gems awaiting processing can be fused with others in that same state.
- A gem currently being processed cannot be used as fusion material.
- Within the eligible matching state, different types or grades can be combined under the system’s rules.
Fusion consumes the selected materials without guaranteeing the desired replacement. Check locks and equipped gems before registering materials.
Choosing Fusion Materials
Start by comparing genuinely surplus gems, such as:
- A type your planned cores do not use.
- A result with a requirement that prevents it fitting useful combinations.
- Weak Core Points and weak combat effects together.
- A processed gem unlikely to be needed by this character or an eligible roster character.
Dismantling and Astrogem Shards
Dismantling unused gems provides type-appropriate Astrogem Shards. Compare their remaining use value first.
| Processing State | Grade | Source Shard Yield |
|---|---|---|
| Unprocessed or in progress. | Uncommon, Rare, or Epic. | 2. |
| Processed. | Legendary. | 2. |
| Processed. | Relic. | 15. |
| Processed. | Ancient. | 50. |
The source’s yield table is a Korean reference; confirm your dismantling preview. Shards can support Astrogem crafting, with item-level and weekly limits on some recipes.
A higher shard yield does not automatically justify dismantling a useful Relic or Ancient gem. Check the current character’s future core combinations and any permitted roster use first.
Korean Auction Costs and Western Alternatives
Korean auction comparisons can include Pheons. Western Astrogems cannot be listed on the Auction House, so that buying route does not apply to a North American character.
Korean purchase-cost comparison: listed gold price + the relevant Pheon cost.
For Western progression, compare actual NPC, crafting, event, and fusion costs instead. Do not assign a Korean resale price to an untradable Western item.
Before Spending on Additional Supply
- Check the actual local gold or product price.
- Only include Pheons where a real regional transaction requires them.
- Check available resources and eligible free rewards.
- Match Order or Chaos type.
- Check the Willpower requirement.
- Check active Core Points.
- Read combat-effect types and values.
- Compare the full build before and after replacement.
If the build is already functional, you can collect suitable rewards gradually rather than rushing an additional purchase or processing run.
Comparing Astrogem Packages
A package can supply needed items, but its value depends on the contents you can actually use. A historical Korean package is not evidence of an available Western offer.
Compare:
- Gem quantity, grade, and processing state.
- Whether the required subtype can be selected.
- Character or roster binding; Western market trading is unavailable.
- Useful processing reset tickets.
- Crystals and other contents you would otherwise need.
- Purchase limits and event deadlines.
A matching selection plus useful tickets may solve a real gap. A bundle dominated by unneeded contents can cost more than waiting for rewards or using another local source.
Using Selection Chests
Selection can remove uncertainty about a needed subtype, but its practical value still depends on the chest’s actual pool.
Save a suitable chest for a specific gap, such as:
- An Eternal or Collision high-end attempt.
- A Solidity or Distortion gem for the desired offensive pair.
- A support gem with the needed ally-enhancement pair.
- The missing type in an otherwise workable 17-point combination.
Check the core and existing gems before opening. Selecting the wrong category cannot fill the intended slot.
A Gradual Progression Plan
| Step | Goal | Action |
|---|---|---|
| 1 | Match the core. | Prepare the correct Order or Chaos type. |
| 2 | Activate the gems. | Fit their requirements within available Willpower. |
| 3 | Reach the required 17-point effect. | Use a realistic combination such as 4/4/4/5. |
| 4 | Improve useful combat effects. | Compare offensive effects for DPS or party buffs for support. |
| 5 | Improve capacity flexibility. | Replace requirements without losing the needed point total. |
| 6 | Consider a higher-end combination. | Compare Eternal or Collision and 18–20 points against the cost. |
Progressing in stages helps keep each purchase or processing decision tied to a real gain. The right goal is a functional build first, then affordable improvements.
Astrogem FAQ
How Do I Count 17 Points?
Add the Core Points from active connected gems. Four active results worth 4/4/4/5 contribute 17.
Why Is the Effect Inactive Despite a Listed Total of 17?
Check whether every gem actually activates, whether the core grade supports the threshold, and whether the corresponding Enlightenment passive is active. Inactive gems do not contribute points.
Which Subtype Pair Should I Prefer?
Solidity and Distortion can ease an affordable capacity fit. Eternal and Collision may offer a preferred pair but require better processing to fit. Compare the complete active combination rather than assuming one pair is always superior.
Which Support Effects Come First?
Compare ally attack and ally damage enhancement alongside the marginal benefit of Brand Power. Actual values, buff interaction, points, and capacity matter more than the subtype name.
Can I Buy a Cheap Astrogem Listing?
That is a Korean-market question. Western Astrogems are not Auction House items. For a North American character, use eligible local acquisition routes and evaluate the resulting gem’s effects, points, and capacity.
Should I Reset After Rolling a Useful Effect?
Not automatically. Resetting removes accumulated rolls. Compare the value of a fresh attempt against the good result you already have, and check remaining attempts, limits, and the cost before confirming.
Should I Fuse or Dismantle an Unused Gem?
Fusion offers a random replacement and, in the West, a possible roster-bound result. Dismantling supplies crafting shards. Compare both with keeping the gem for a future setup; neither choice guarantees a better equipped result.