

If you want to try Secret Cow Level in Diablo IV Season 15, the shortest way is to ask someone who has already completed the quest for ‘Moo’. However, if what you are looking for is a cow pet, the starting point is different. The boss that gives the pet is not the Cow King in the Secret Cow Level, but Moo-phisto on a separate island. Even if you have never opened the Secret Cow Level, you can obtain the ribs needed for your first summon by receiving a Butcher request from Old Tristram.
If you are hesitating on which of the two to go first, I would like to vote for Old Tristram. Once you open the village, the Butcher quest, Cow Gloves, and the path to Hellfire Torch will appear all at once. Conversely, if you just want one pair of cow pants, there's no reason to start collecting long journals.
What the Cow Level shortcut unlocks
As a character who has completed the ‘Lord of Hatred’ campaign, stand next to the player who obtained the emote in the Secret Cow Level formal quest. When a message pops up saying that the opponent has written ‘Moo’ and has taken on a new sin, go to the sacred juniper tablet at the southern main gate of Kyovashad. Carve and burn the new ‘Moo’ option and then cross to Skartara, west of Skovos. You can find the Secret Cow Level portal north of the Cataclysm dungeon, where the Exile’s Journal is located. The portal does not open immediately at the location where the other person expresses their emotions, so it is good to remember these two locations.
You can also take this shortcut to meet the Cow King and get some loot. However, when a character hears someone’s ‘Moo’, he or she does not have an emotional expression to invite another person. The rewards are connected to the process of combining Stamina Potion, Rusted Bardiche, and Neyrelle's Hand into the Horadric Cube and then obtaining the Torn Page from the inventory. If you and your friends are planning on taking turns sending each other's characters in, this difference is quite significant.
The most difficult part when starting a formal quest alone is the 666 cows needed for the first artifact. If you have the unique necklace ‘Bell of the Bovine’ dropped by Moo-phisto, you can shorten this section. The cow summoned by the necklace effect when attacking is also included in the number of defeats. This means that there is less need to search for cows outside the village. Still, there remains the process of collecting artifacts and obtaining potions, weapons, and hands.
If you already got the page, leave the three Rusted Cowbells that you fished out. If you convert it in the box with Page, you will receive an Exile's Travel Pouch, and the pouch will also be registered with the little merchant in Themis. The bag contains the three ingredients mentioned above. This saves new characters the trouble of keeping track of the same potions and weapons from the beginning. Even if you receive Stamina Potion and Rusted Bardiche from other players, you must obtain Neyrelle's hand yourself.
Open Old Tristram with Deckard’s ten journals
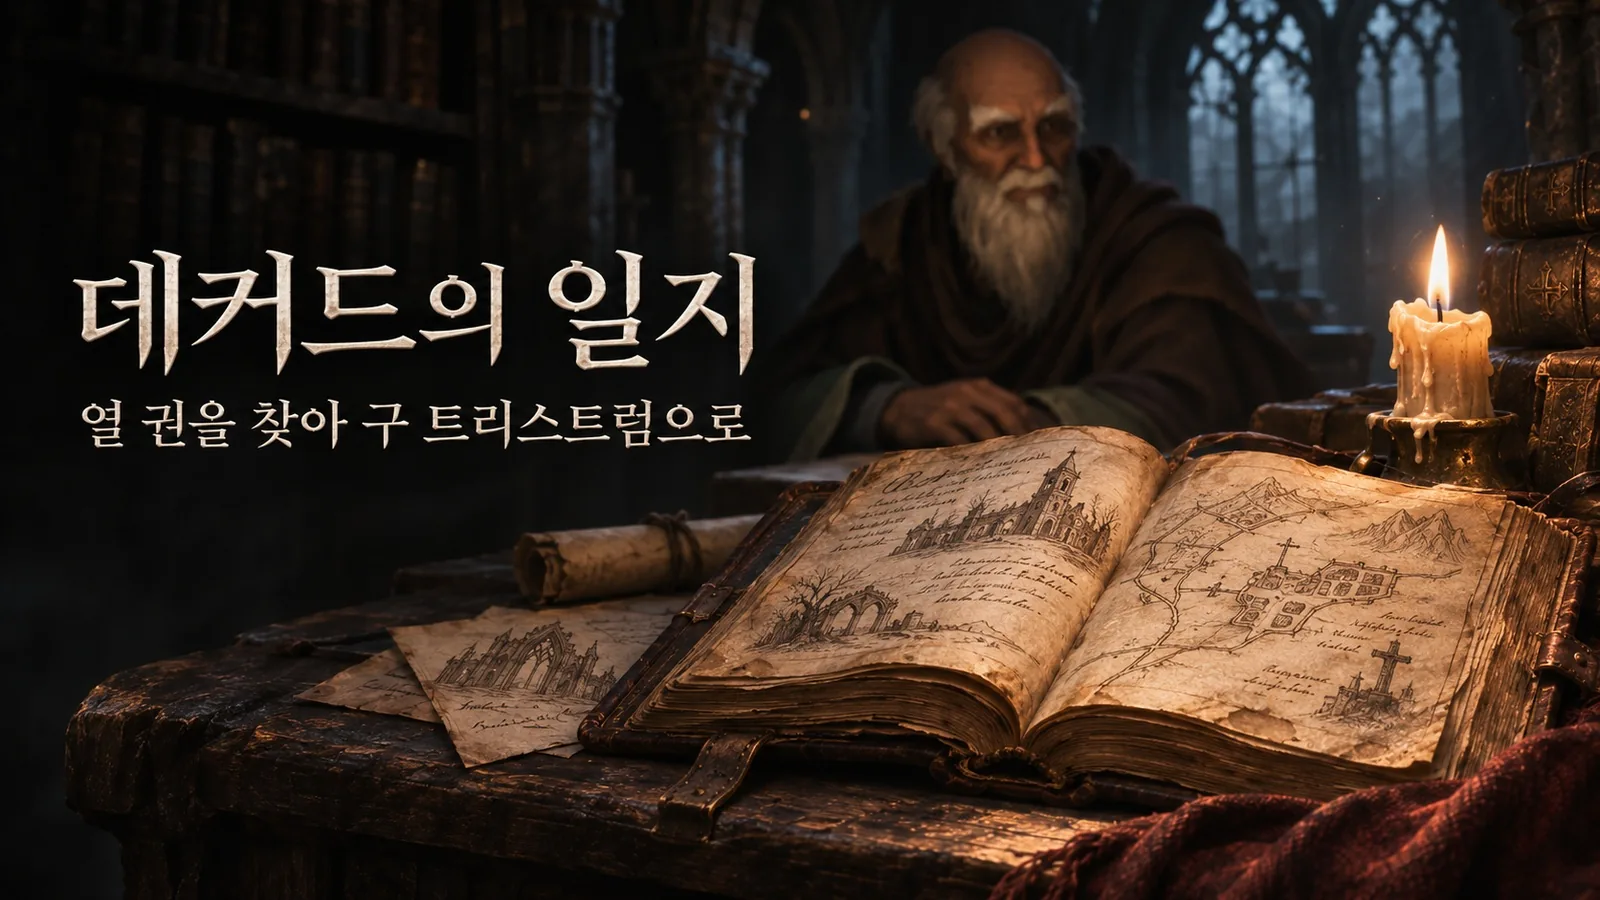
What you are looking for is not the book dropped by the monster, but the journals placed throughout the sanctuary. As you get closer, a small blip will appear on your minimap. Since there is no need to travel back and forth between continents in chronological order, it is convenient to group together the same regions and read them.
| Region | Where to find the journal |
|---|---|
| Kehjistan · 3 journals | Gea Kul docks, Imperial Library of Caldeum, desert ridge northeast of Tarsarak |
| Scosglen · 3 journals | Marowen Docks, entrance to the cairn dungeon northeast of Braestaig, inside the fief house west of the ancient stone dungeon |
| Fractured Peaks · 2 journals | Inside Lorath's hut near Nevesk, the forest path from Yelesna to the Horadric vault |
| Dry Steppes · 1 journal | Broken bridge from Hidden Lookout towards Guulrahn |
| Hawezar · 1 journal | Inside the alchemist's hut in Wejinhani village |
If you read the ten books and return to the Caldeum Imperial Library and talk to Cain, a portal to Tristram in your memories will open. When you arrive at the village, take the Butcher request from the injured villager and the Lost Signboard request from the innkeeper Ogden. For those who remember the old Diablo, it's fun to hear each villager say something different about a stolen sign, but there's actually an achievement at stake in this conversation. While both quests are in progress, go around the village and listen to the new dialogue items that pop up about the butcher and the sign.
After completing the Butcher quest, you will receive five Prime Ribs. If you try to find Ogden's sign inside the town's cathedral, the road is blocked. You must return to Sanctuary and enter Scosglen's Seasonal Labyrinth dungeon. The flow is to talk to the Fallen who stole the sign on the first floor, find the sign in a locked box, and return. If you return it to Ogden, you will receive a Harlequin Crest, so even if you are not interested in cow pets, there is a reason to stop by this town.
Moo-phisto, ribs, and the five cow cosmetic pieces
Once you have the five Prime Ribs, head northeast from Tyrael's Camp in Skovos. The Altar of the Bovine on the mainland is the entrance to the island called Bovine Sanctuary. Here the ribs are left intact. When you arrive at the island, take the teleportation camp, and go up to the northern clearing, there is another altar with the same name. The moment you offer five ribs, the ingredients are used up and Moo-phisto appears. If you want to sing one more time, you can replenish your ribs by catching the Cow King in the Secret Cow Level.
Moo-phisto’s rewards include a cow chest armor appearance and a pet ‘Milky Marquis’. Neither of these are rewards you receive every time you defeat them. Especially if you are collecting the five appearance parts, check the closet first before waiting in front of a boss.
| Missing part | Where to go and what to do |
|---|---|
| Head | When ‘Outskirts of Tristram’ appears in a random rift, talk to the man dressed as a cow several times. Finish the raid that takes place after your identity is revealed. |
| Chests | Defeat Moo-phisto in Bovine Sanctuary and aim for the drop. |
| Gloves | Pet the cow behind Old Tristram Cathedral several times. If nothing happens, finish the village quests and check again at another Torment difficulty. |
| Pants | Defeat the Cow King inside the Secret Cow Level. |
| Boots | At the Secret Cow Level, press ‘Leave Dungeon’ to fish from the beach of the island you arrive at. This is an island where you can see a dead unicorn. |
When aiming for both pants and boots, the habit of pressing the return portal actually becomes a hindrance. If you choose Leave Dungeon when you catch the Cow King, it will lead you to an island where you can catch boots. You only need to return to Bovine Sanctuary with the ribs when your chest is empty.
Hellfire Torch and Annihilus have different routes
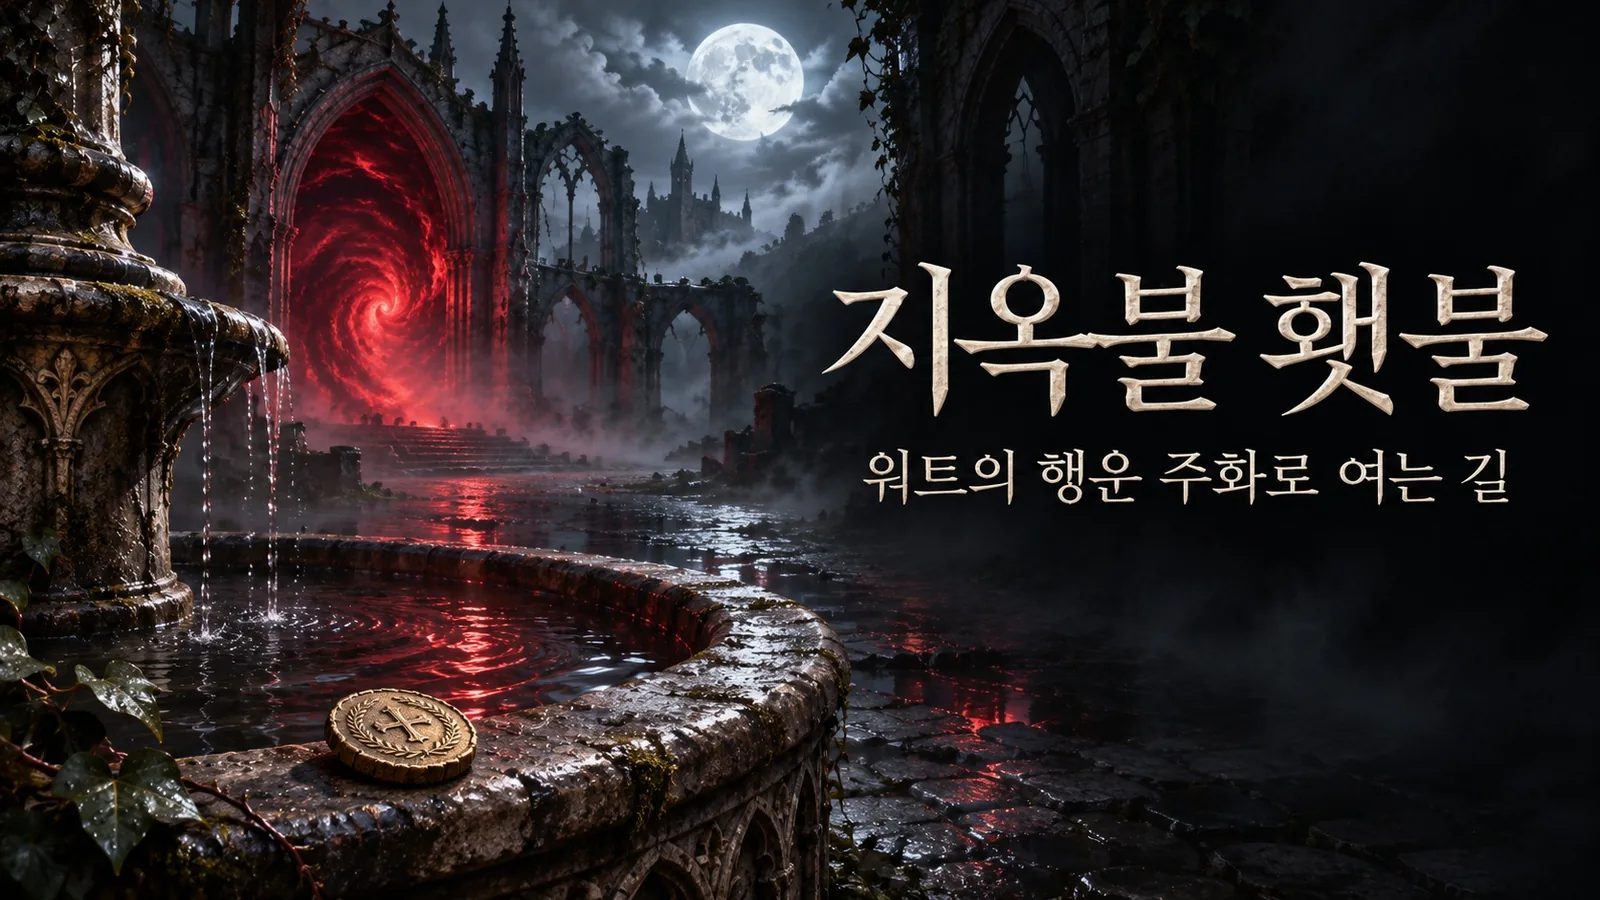
There is a fountain in the middle of Old Tristram. If you just passed by it when you first came to town, it's normal. The item needed for this fountain is Wirt’s Lucky Coin. Fight against the Great Evil of the Seasonal Dungeon or open the recurring stash of Seasonal Reputation to acquire Thorns of Fear, Destruction, and Hatred. Thorns are originally items consumed to change the Great Devil's abilities used by the character, so if you want a torch, don't use it as soon as you get it, but collect three types first.
After converting the three types of thorns in the Horadric Cube, interact with the fountain with Wirt’s Coin on Torment difficulty and a red portal will open. Inside, ‘Echoes of Tristram’, commonly called Uber Tristram, you face the echoes of Diablo, Baal, and Mephisto all at once. The defeat reward, Hellfire Torch, grants bonuses to all skill ranks, all elemental resistances, and allows you to equip an additional unique talisman. The composition of the amulet changes with just the first torch, and some values, such as skill level, vary from torch to torch. Therefore, acquiring it for the first time and trying again for a better option are separate goals.
If you are looking for the Annihilus charm, another collectible from Diablo 2, the destination is different. Season 15's Annihilus is a unique Horadric emblem. The acquisition path is through Uber Diablo, which rarely appears after defeating a regular outdoor boss. Even if you repeatedly catch Diablo Echo of the Helltide and Diablo Beyond the Fountain, you will not be able to meet the conditions for this appearance. Prepare materials, such as torches, to distinguish between items that can initiate battles and items that see opportunity based on the outdoor boss schedule.
Three coins and the accessories needed for Uber Horadrim
The most valuable thing here is someone to spend time with. The first ring requires different jobs, and the last necklace requires party members who can move in four places simultaneously. There is no need to use Wirt’s Coin here. The Scosglen Well, Nahantu Tomb, and the pillow near Themis each respond to different coins.
The First Ring starts with the effect of the Shrine of Greed. Search the fields for corpses of villagers executed by monsters to obtain lucky coins, then throw them into the tax collector's wishing well to the east. If you throw it once, you get a personal achievement. To receive the Ring of Bad Luck, characters from different classs must stay in the same world and each offer coins. There are strategies for obtaining rings with five different classs, but there are also records that explain the additional procedures for opening the well to the bottom and the number of people involved.
The Second Ring can be completed alone. In Nahantu, use the Explosive Wave Shrine effect to destroy destructible containers whose names appear when you hover over them. When a special rat appears, chase it first rather than attack it. If you take the ‘Greater Lucky Coin’ left behind when the rat disappears to Samuk’s Mossy Tomb, you will receive a Cursed Ring.
Necklace begins with four people taking on different elemental golems in Skartara, defeating them almost simultaneously. After arriving at each location, all four must match the signal to receive the ‘biggest lucky coin.’ Place the coin in the pillow of the bed near the bridge to Lykander's Island, south of Themis, and return 24 hours later in real time. You have about 2 minutes to take out the necklace, so it is safer to insert the coin when you can access it at the same time tomorrow. For the four people to make an appointment, all you have to do is go to the golem, and each person can go to the pillow at their convenient time.
You can enter the Horadric Vault by wearing both rings and the Necklace of Dark Omens and finding Lorath's Hut between Nevesk and Qiyovashad in Torment 12. The opponent is Echo of Doan·Lorath·Neyrelle. To receive rewards, you have to fight while wearing accessories, so you have to consider excluding two rings and necklace from your usual build. In particular, the Ring of Bad Luck has an effect that can cause you to lose all of your resources, so if you are building a build that collects resources and uses them all at once, your normal attack sequence may be messed up.
Horadric coins, which are victory rewards, also have the use of reducing the next challenge. If you put two engagement rings obtained from fishing and one lost amulet together with the coins in the box, you can create a bag containing three accessories and also open the items for sale by the Themis merchant. Secret Cow Level Like the travel pouch, a secret you find out the hard way becomes a short preparation process for the next character.
Fishing bosses and Whimsyshire rewards
If you accumulate legendary or unique grade fish while fishing, mix the two grades and put ten in the box. When a message pops up saying that a torn net and a bad smell will appear, you will have a chance to rescue the boss Mephishsto (Mefishto) from the next fishing trip. There are records of it appearing on the eastern shore of Themis and on the island outside of the Secret Cow Level, so it's a good day to target boots. Moo-phisto, which is called ribs, and Mephishsto, which is caught on a fishing line, are different in the places where you go to meet them.
Whimsyshire can be entered with Liquid Rainbow, the 5th stage reward of the season journey. The portal opened by the rainbow goblin you meet in the field is another opportunity. What is easy to confuse here is the term ‘colorful portal’. The door to the garden and the appearance of my character's return portal are separate. If appearance is your goal, you must obtain the rare reward ‘Perfect Cupcake’ from the boss inside the garden. What you can secure with one season journey is one opportunity to enter the garden.
The acquisition route for the Star Map—investigating a sheep carcass in the Lonely Hut and obtaining it at the Hidden Temple—is known, but its later purpose remains unclear. There is not enough evidence to treat Black Mushrooms or the Gibbering Gemstone as required ingredients in a proven recipe like the Torch’s. Keeping one is reasonable; postponing a reward you actually want to stockpile several is harder to justify.
If you are looking for secrets for the first time in Season 15, your goal on the first day should be open a path that can be used next time, rather than ‘get everything’. For those who collect appearances, the way to the island is to grab the Cow King, and for those who match the amulet, the portal to Cain's memories is the way. Just by knowing where to go the next time you log in, you can leave room for any mysteries you haven't yet solved.
